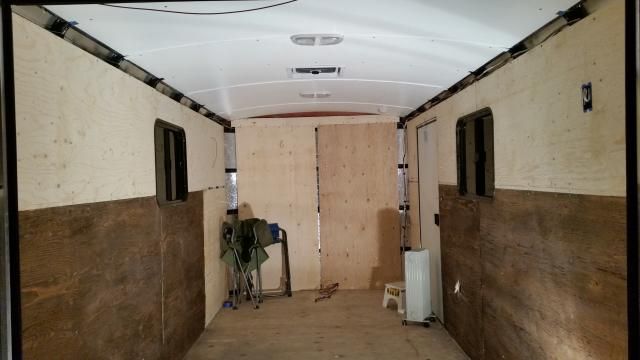
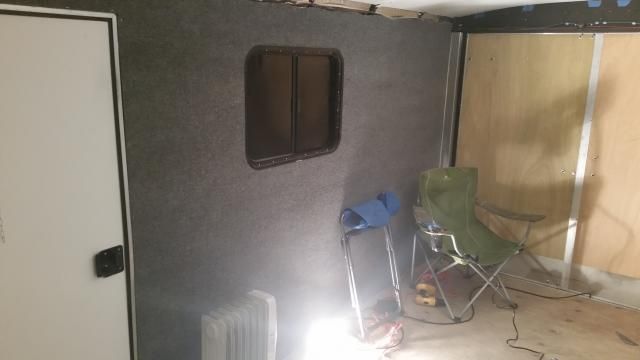
I made some progress this week on the trailer. First, I wanted to lay down some white paint on the panels that would be inside the cabinets, as this will help make things bright when you are digging through cabinets for items. Here is the before picture for the work this week.
Next, carpet needed to be installed on the interior walls. I've carpeted walls before, but always used contact cement. This time, I thought I would try indoor/outdoor carpet glue. This installs with a notched trowel, so a one step gluing process instead of applying contact cement to both surfaces. No reason this glue shouldn't hold up in the trailer, and it was very easy to use.
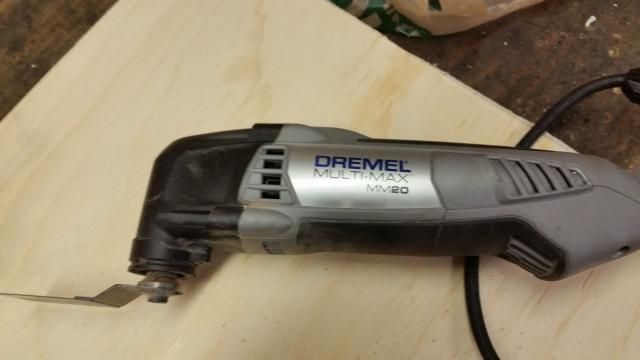
The finished product is often dictated by the prep work, and there was certainly some prep work needed on the walls before the carpet could be installed. When the trailer was built, the plywood panels were not installed so they touched, so there were gaps at every seam that the manufacturer covered with strips of luan. It would have helped if the gaps were even, but every gap had a taper. Since I didn't want to build a tapered fill piece, I had to make all of the gaps the same. I used a vibrating saw for this process, and quite frankly, this is one of the most useful tools on a job like this. Here is the one I use.
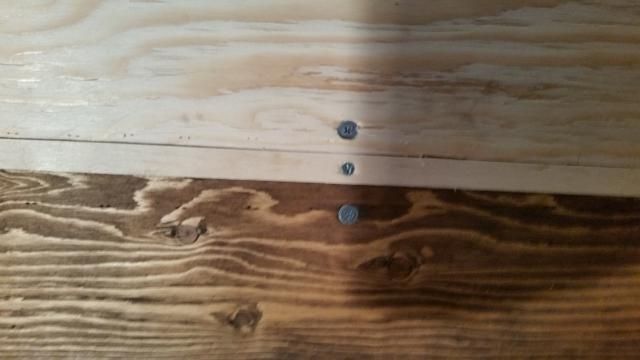
I used a 1x2x24 to mark the section that needed to be cut by placing the board on the board at the bottom of the gap and drawing a line on the top board. Once marked, I cut with the vibrating saw held at an angle as I walked along the line. I had to be careful near the metal studs, but the vibrating saw is easy to control. Here is a picture of the finished product.
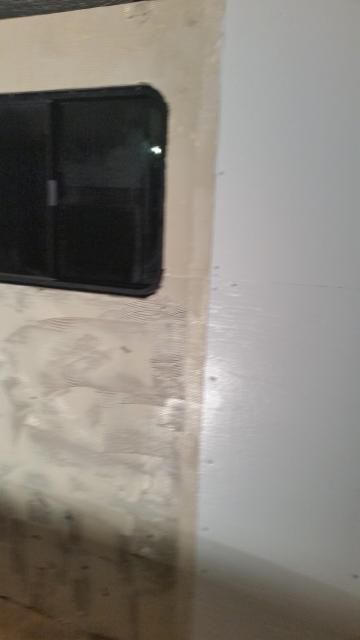
Here is a picture of a partially filled gap.
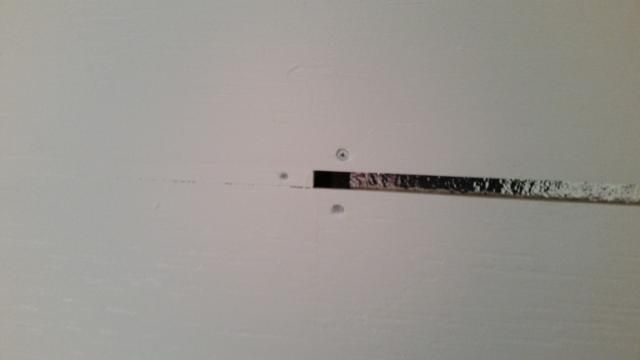
I won't need to fill this gap since this is between the upper and lower cabinets, so will be filled with a backsplash of some kind. I have some ideas on backsplash, but nothing set in stone yet.
with the gaps filled, it was time to setup my hanging jig. As mentioned previously, my wife is very petite, so does not handle weight well and is not near my 6'4" height. Using 1x2 pieces from Home Depot that were purchased for less than $1 each, I had a jig for less than four dollars.
The jig consisted of a top piece that was 12 feet long that was made from two 6 foot pieces with an 18 inch splice piece in the middle. I made two legs that were 78 inches long (wall height is 75 inches, so these will not stand up straight, which allows them to be wedged against the floor) that would attach to the top piece with one screw so they could pivot down into place. I also had the carpet rolled backwards so it would unroll as we lifted the entire 12 foot by 7 foot carpet section to put in place.
I should also mention that when I purchased the carpet, I had the folks at Home Depot (I used gray indoor/outdoor carpet that was a lot cheaper than boat carpet I have used in the past) cut two pieces 7 foot long so I didn't have to cut once I got home. they have a nice machine with a straight edge slot, so the cut would be close enough since I purchased an extra 8 inches that would need to be trimmed.
With my first roll of carpet on the floor of the trailer, I stapled the top rail of the jig to the top edge face of the carpet. You will understand why I stapled to the face when you look at the picture, but essentially, I needed the jig on the face of the carpet so it face away from the wall instead of against the wall. The jig put the carpet next to the ceiling, and I planned to just cut off the jig after the carpet was stapled in place. So, the process was to staple the jig on the carpet and collapse the legs so they were parallel with the top rail. Remember, the legs pivot on one screws so they could collapse and then be pivoted in place as I lifted the carpet into place.
Once the jig was stapled to the carpet, it was time to use a 1/8 notch trowel and lay down part number 6700 indoor/outdoor carpet glue. Quite frankly, it took longer to put glue on the walls than to put the actual carpet on the walls.
Oh yes, my windows are clam type windows, so removing the inside trim meant the window could fall onto the ground. Since I really didn't want to remove the windows from the hole, I taped the windows to the trailer skin, then taped the tape to the skin and the tape to the window. Yes, I used a lot of tape, but since the tape was less than $5, and the windows were almost $200, I was willing to throw away some tape to keep the windows in place during carpet installation.
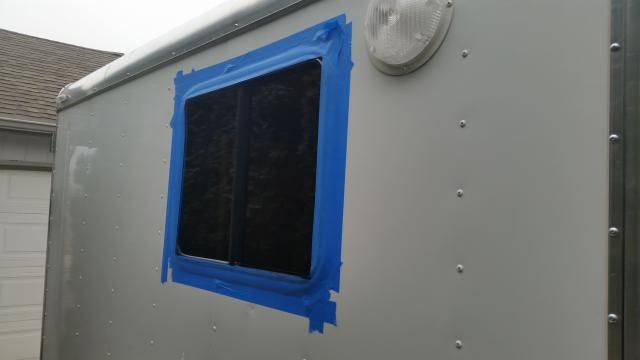
Yes, yes, I could have easily removed the windows, but it's about 27 degrees outside, and we wanted to work in warmth, so the window staying in place which allowed the trailer to stay warm with the radiator style heater we were using inside.
Ok, that's the process, now for some pictures....
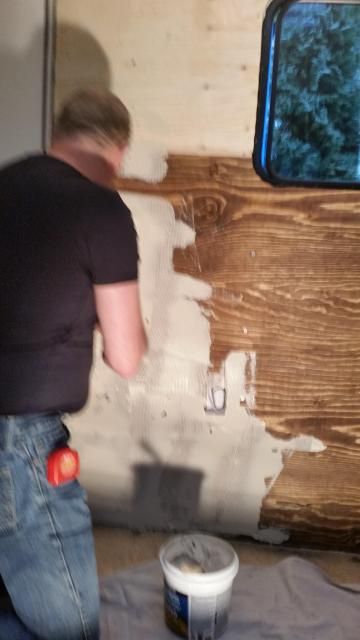
Applying glue
Glue on entire wall up to the line that will be where the cabinets begin.
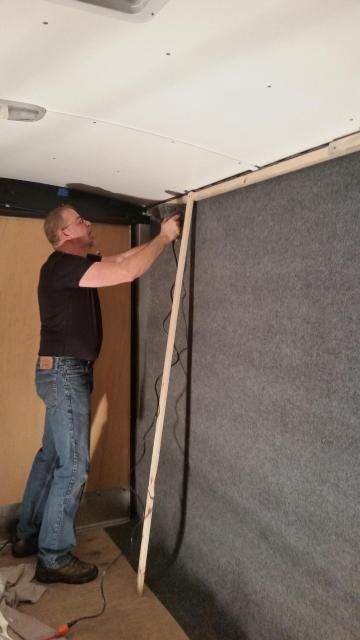
Jig in place holding carpet in place. I stapled the carpet to the jig every 3-4 inches so the carpet didn't have a wrinkle. I also stapled the jig in place from one end to the other, again, so no wrinkles were formed.
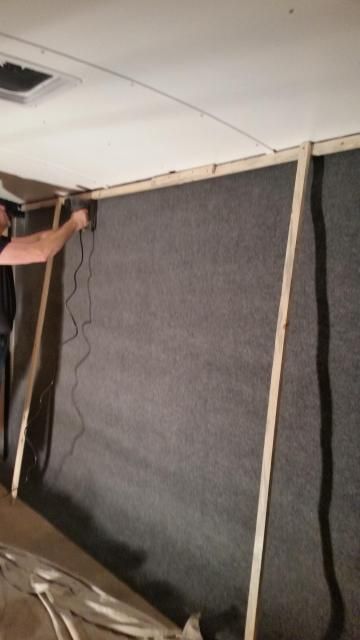
Another picture of the jig. Remember, the legs pivot on one screw, so they collapse. They would never fit inside the trailer if they didn't pivot. You can also see that I started by stapling the entire top edge. Then, I pressed the carpet against the wall down to the window, found the window opening with my fingers and stapled all straight edges. Last step was to cut the carpet for the window.
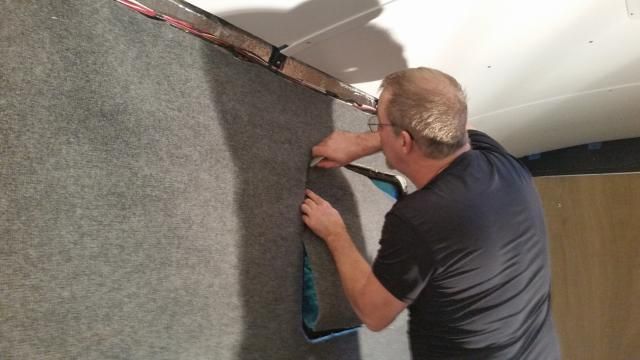
Replace that blade often so it's always sharp. Blades are cheap, and there is no substitute for a sharp blade when cutting carpet. you want to cut it, not hack it off.
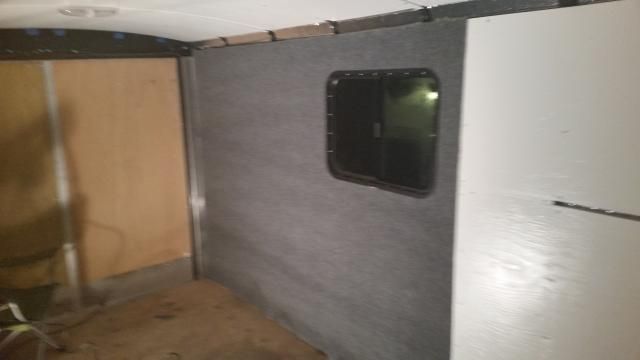
Once the window was cut, I installed the trim, as this made me feel better about taping the windows. next up, trim the floor.
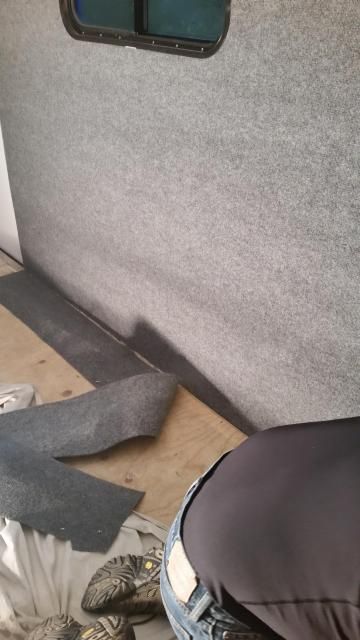
Here again, I smoothed the carpet to the floor, then stapled the carpet to the wall at the floor. I will be using base boards, so no one will ever see the staples. Oh yes, I used T50 staples and a Stanley electric staple gun, as staples for my air stapler only go down to 1/2 inch, which would not work with 3/8 plywood. The T50 staples worked just fine to hold things in place while drying.
The finished walls. I will take pictures from outside the trailer later, but I need the heat to dry the glue, and it's going to be 19 degrees tonight, so no pictures from the outside until later. You can also the the white panels in the kitchen area that I discussed earlier.
Tomorrow, the floor gets installed....


 Ditto.