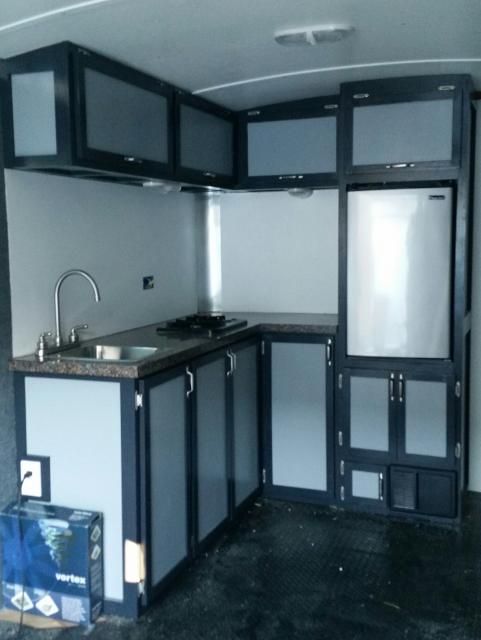
hankaye wrote:professorkx, Howdy;
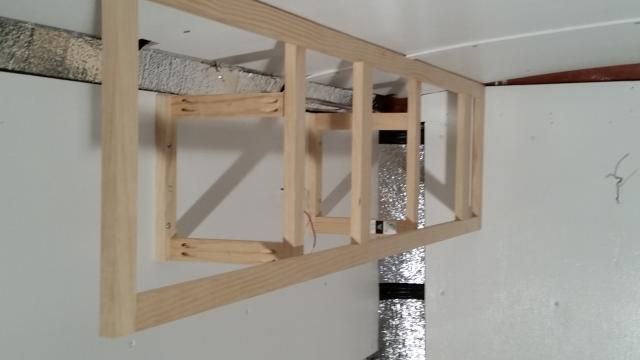
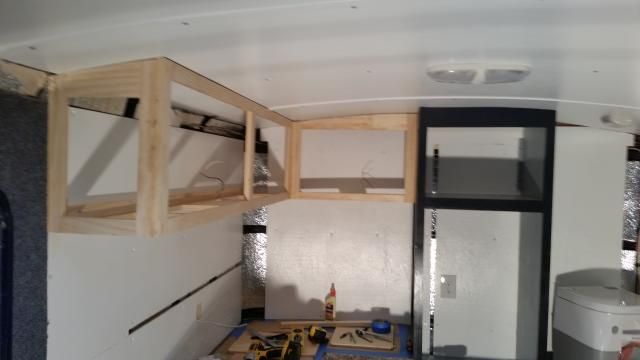
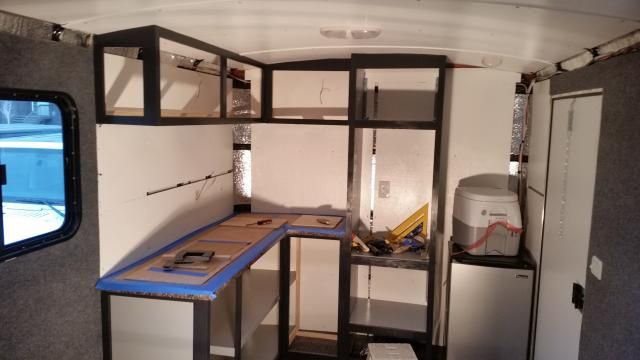
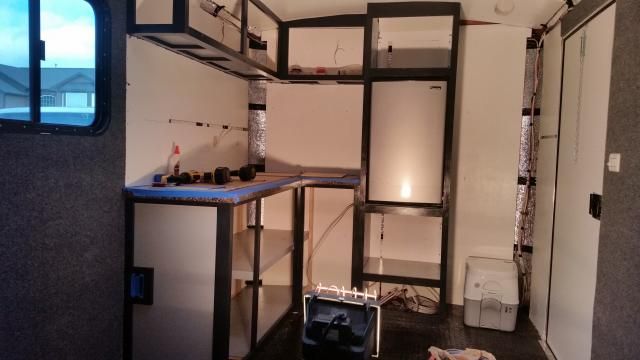
Interesting with the cabinets. Looking at the framework this morning, yes had a
cup of coffee already, I have a question perhaps more than one. I understand
about the extension on the right (front), to reach the forward wall, but, then
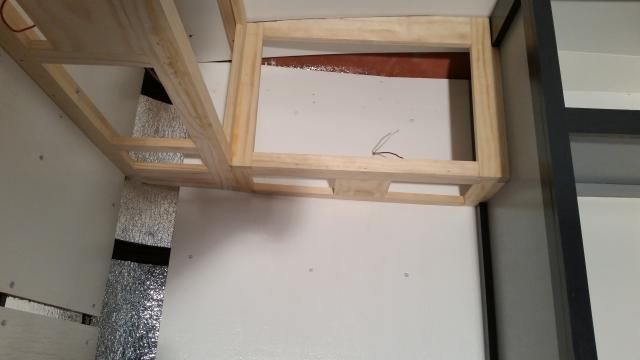
the supports that mount it to the sidewall appear to be on the inside of the face
an again, appear to be at differing widths inside the openings. How is this going to
affect the interior? Also, it appears that you have it designed for 2 doors that raise
up instead of swinging Right and Left???
Am I way off-base or am I close? Thanks for any and all enlightenment.
Constantly curious,
hank
Hank.
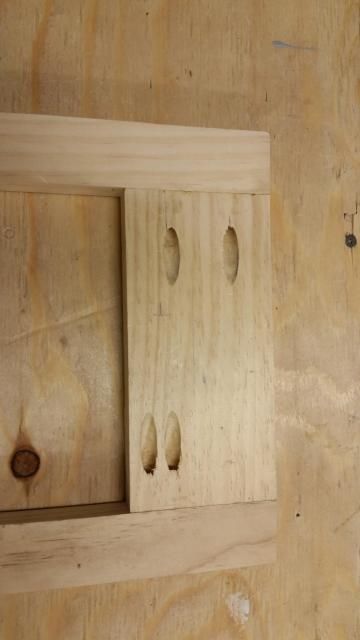
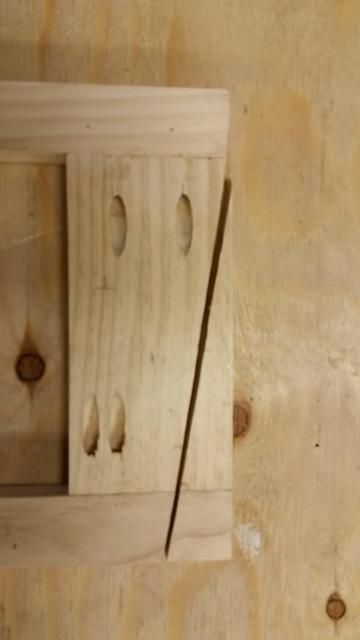
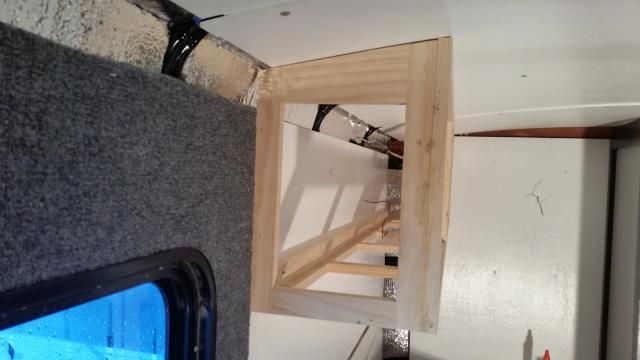
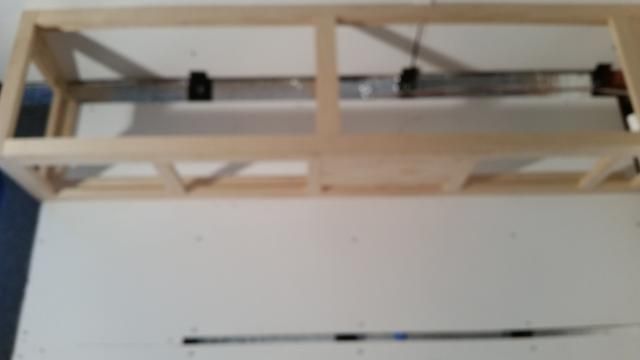
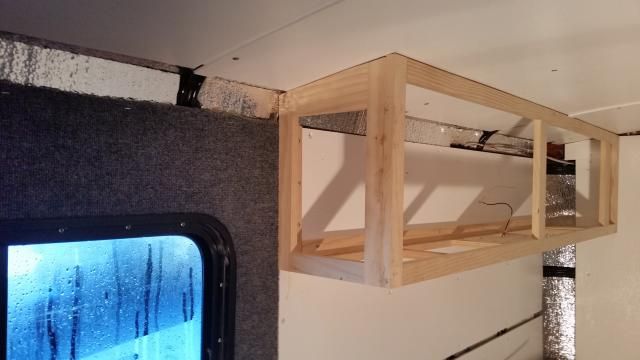
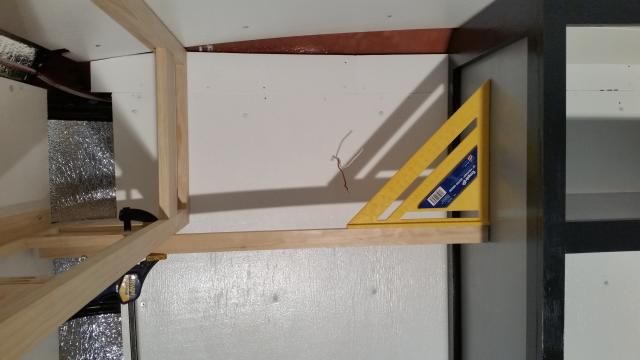
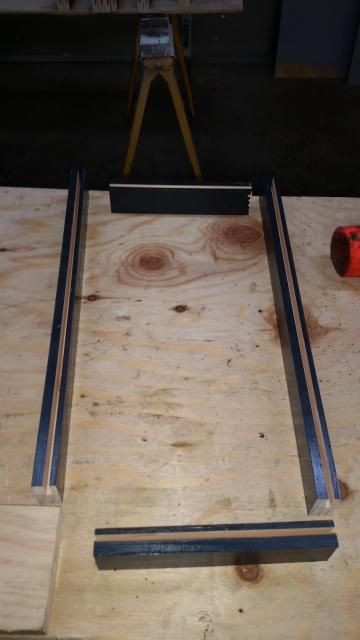
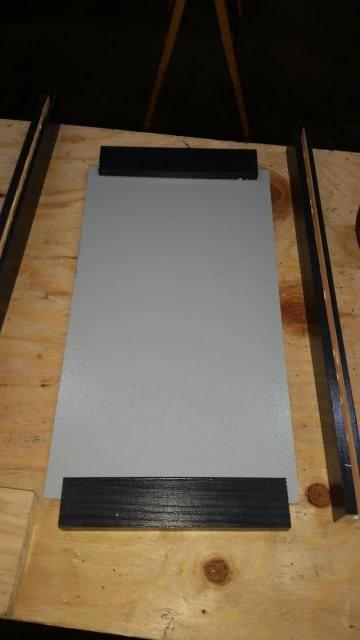
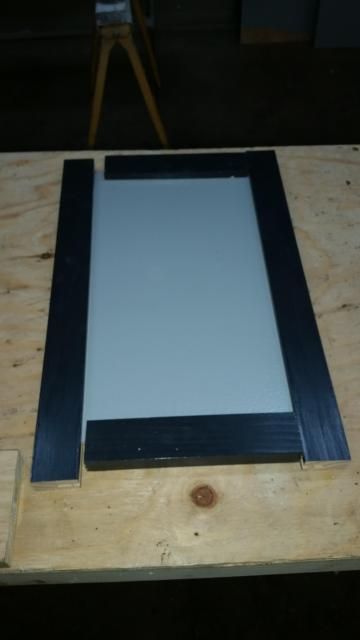
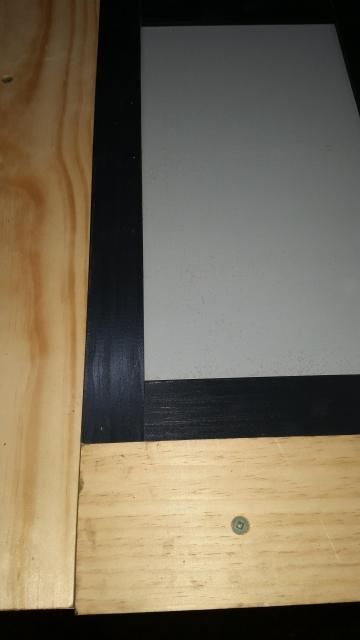
The supports were built to hold the face frame temporarily in place while I build the bottom and end frame in place. You can't see in the photo, but the supports are 3/4 inch above the bottom of the front face frame, which will allow me to complete the bottom frame and glue/staple to the back of the face frame before removing the finished cabinet frame. The top of the face frame will be held in place by a stringer against the ceiling that will attach to the roof supports, and on the bottom with a stringer that will attach to the side wall. The ceiling stringer will have to be beveled so it fits snug against the back of the face frame for good adhesion strength because of the contour of the ceiling, and I will figure out the angle of the bevel before removing the finished frame. Once the bottom and end frames are in place (remember, the end frame has to be cut to the contour of the ceiling, so MUST be built in place), I will remove the entire cabinet frame by removing the four screws holding the supports to the side wall and the four screws holding my new ceiling stringer to the roof supports. With everything back in the shop, I will remove the supports from the cabinet frame and toss them.
I should also note that because of the design of the supports, I can't install the stringer on the side wall until final installation. So, before I remove the finished frame from the wall, I will attach several blocks with screws below the bottom frame against the side wall as a final installation guide. During final installation, the small blocks will hold the cabinet in the right spot on the side wall so I can install the side wall stringer and staple/glue the bottom frame to the side wall stringer.
The supports are also attached to the back of the face frame 7/8 inch below the ceiling. This will allow me to install my ceiling stringer and glue/staple it to the top/back of the face frame before I remove the finished frame from the wall the first time. As you might expect, the supports took some time to design to allow me to build as much as possible on the finished cabinet frame with the temporary supports in place. As I have noted, thinking about the layout on a project like this is an important part of the process or you end up making things a second or third time. I've been a fabricator all my life, so I am used to this kind of thinking. My most difficult projects to date was building these from scratch:
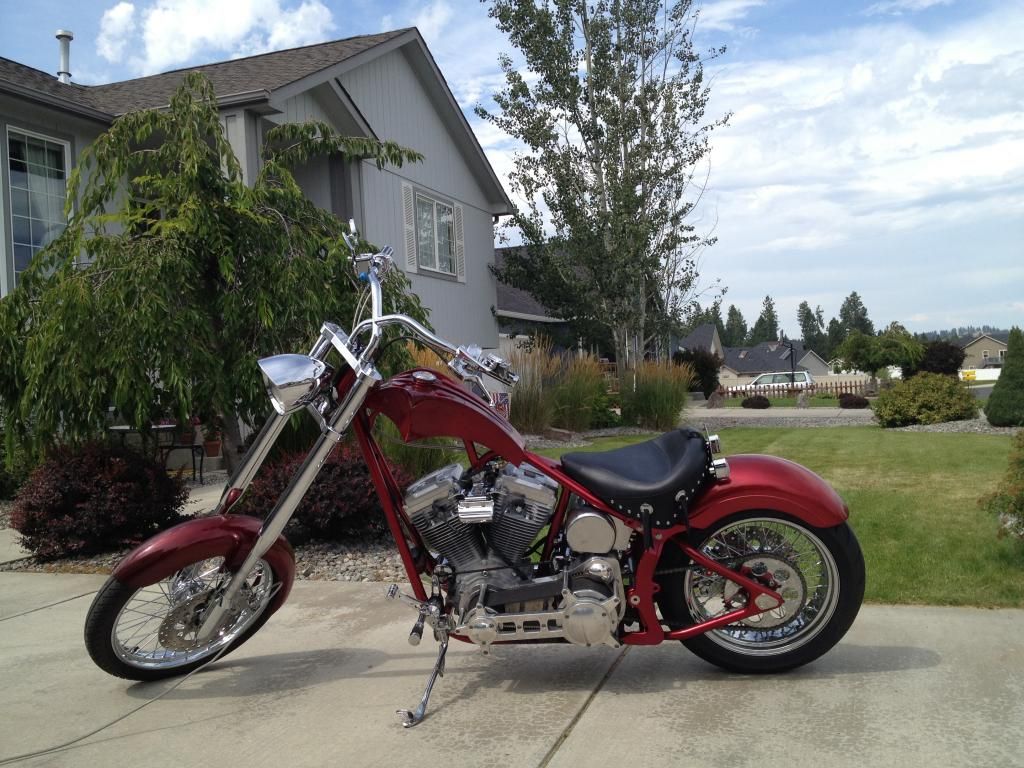
My 8" stretch chopper.
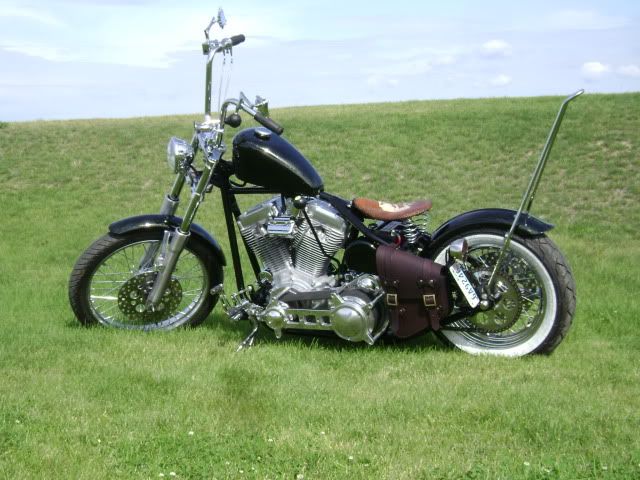
My son's Bobber I built for him for getting home from Iraq alive. He wanted a jockey shifter with a foot clutch, so of course, I fabricated this, and you can see the 8 ball shifter beside the gas tank. The left side foot lever is the clutch peddle, so no clutch lever on the handlebar.
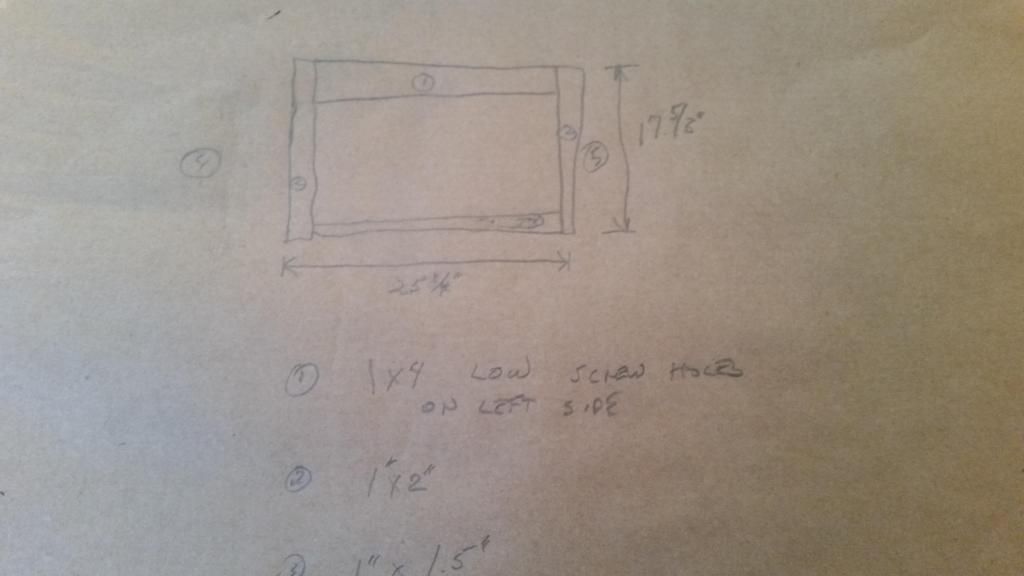
On the doors, I have not decided on flip up or right/left opening, as my wife is very petite at 5' at just over 100 pounds, and fold up doors might not be possible for her to open...even with a stool. So, I will be building a frame to test, but my guts tell me side-by-side doors will be the right ticket.
This top cabinet building plan is somewhat unique, so I will try to remember to take extra pictures. I'm trying to be cautious about posting too many pictures, as I want the pictures that are posted to be helpful, not just take up screen real estate.

