Randy, Lilacs already!?! Sure does seem early for that. The first thing we will see will be crocus, but I'd be surprised to see any poking out thru the snow just yet.
Thanks GPW, despite the snow it is feeling more and more like we are heading for spring.
WW, looks like some high tech stuff.
GPW, looks like a simple low tech solution, and I would like to get some beeswax to try on my CI cookware anyway, so would be good to have on hand.
Any way, let's get caught up.
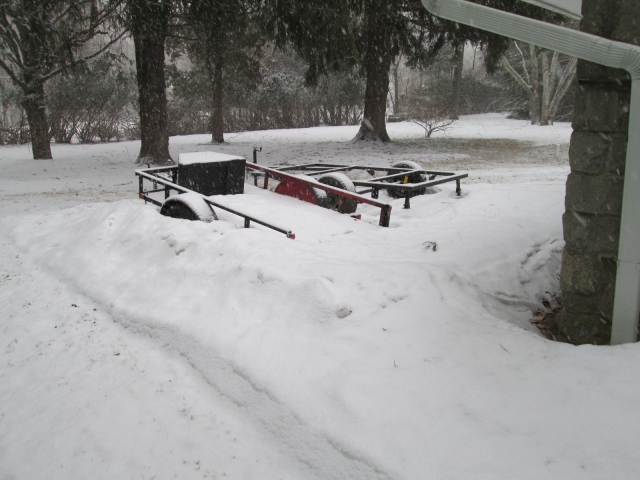
So yesterday afternoon it started snowing, and was snowing this morning, but we only had about 2 inches. By the end of the afternoon today the sun was back out and a lot of it had melted.
The Charcoal Briquette was doing a wheel stand from the way the snow melt changed the balance.
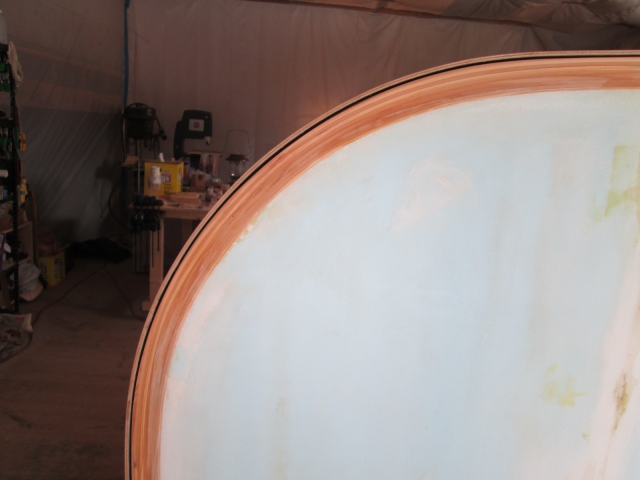
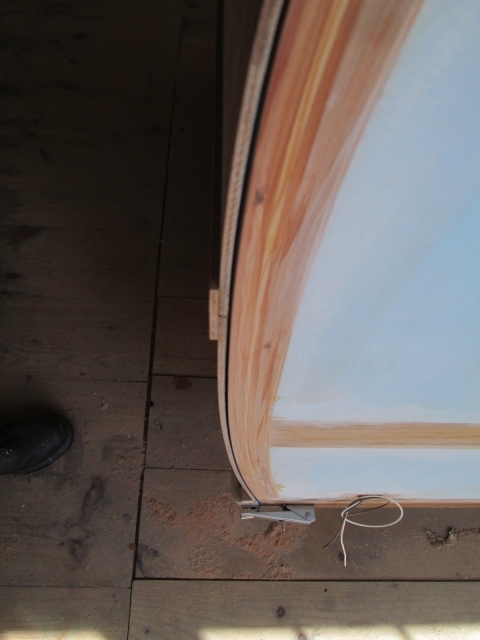
Last night I continued working on the gap between the hatch and the galley wall edges, just sticking to the hand blocks to avoid doing anything stupid too fast.
After today I was able to get my shim to slide thru all around and am happy with where it is at. The plan from here is to get foam and canvas on the hatch, double check the fit, then cut the rabbet for the seal recess once I’m sure that there is enough of a gap. So that’s it for the wall edges for the time being.


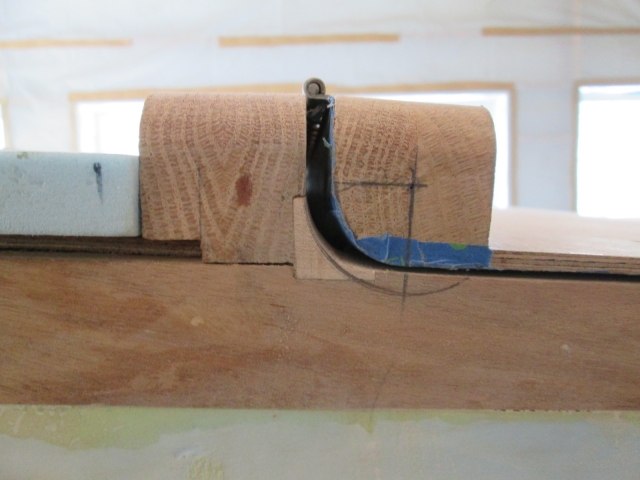
This pencil mark from the compass shows how the rabbet will sweep up to the front of the hatch spar.
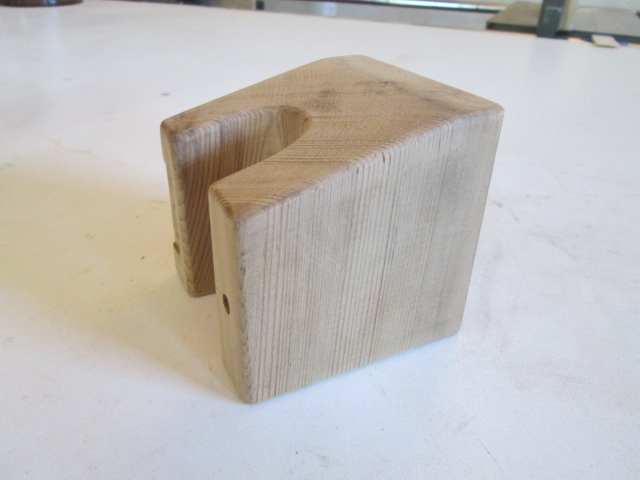
Moving back to the upper shovel mount, I pulled the pin out of the hinge so that I could clamp the lower leaf in the mill to add the countersunk holes for the screws.
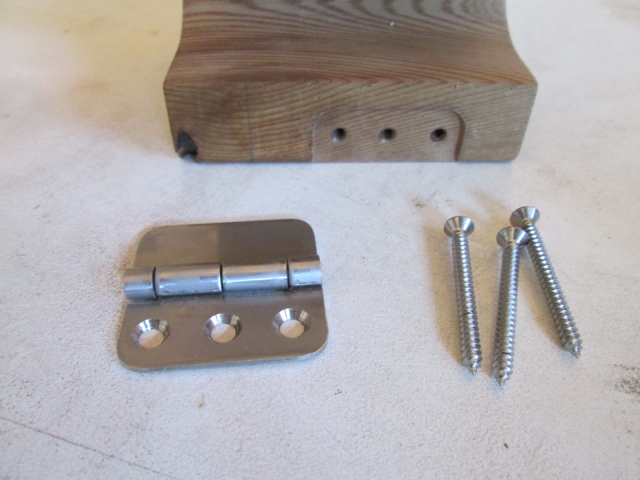

I had to chase the stud hole out with a long bit to get the 1/4 inch round bar for the stud to fit, and did a little cleanup on the slot at the back for the ‘T’ of the stud. Now that I was sure I was done milling, it was safe to cut the bevel in the top surface.

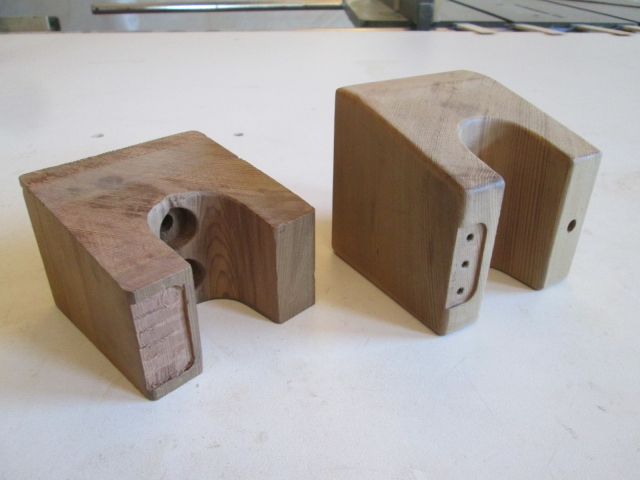
Then it was time to round the corners over.

You can see the bevel profile better here.
Here you can see the differences from the first go around and the redo. The second one has better proportions, edge margins and a nicer bevel.
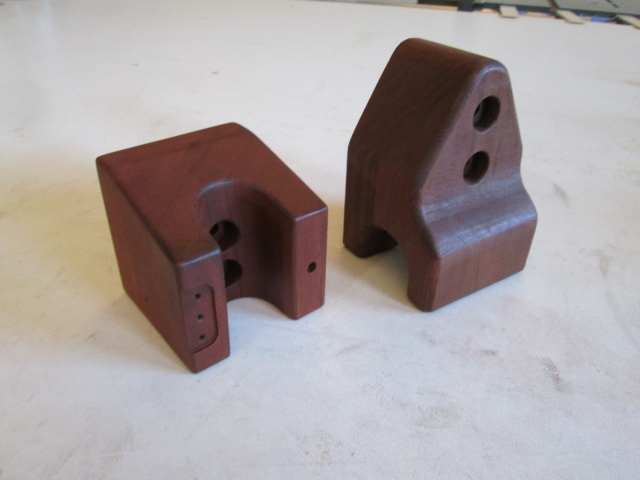
I was almost out of stain, and what I did have left was almost dried up in the can; but I added a little mineral spirits and stirred it up well, and was able to get by. Here is the stained upper shovel mount shown with the lower that I stained previously.
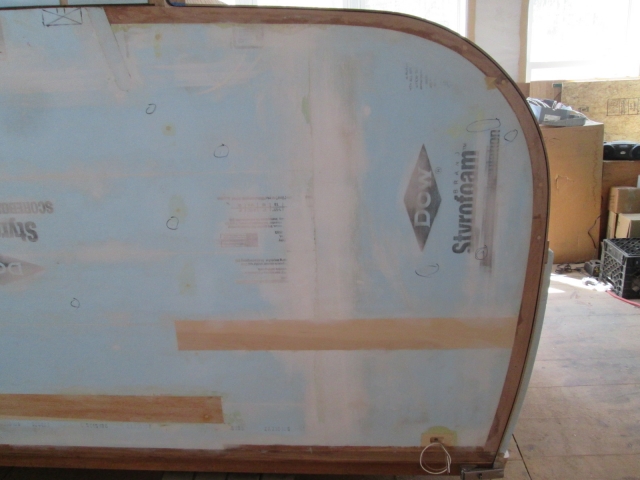
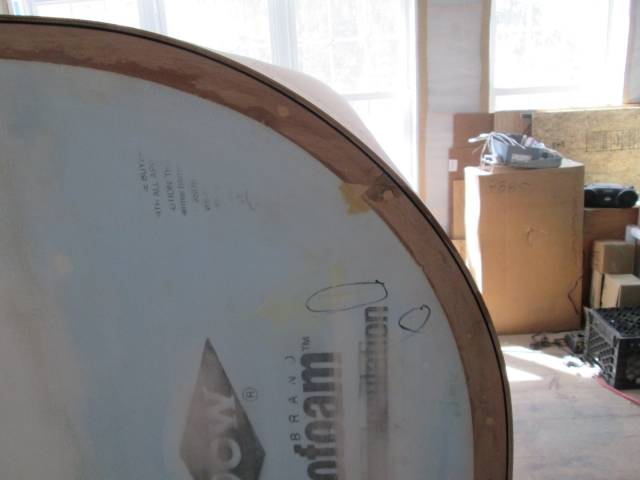
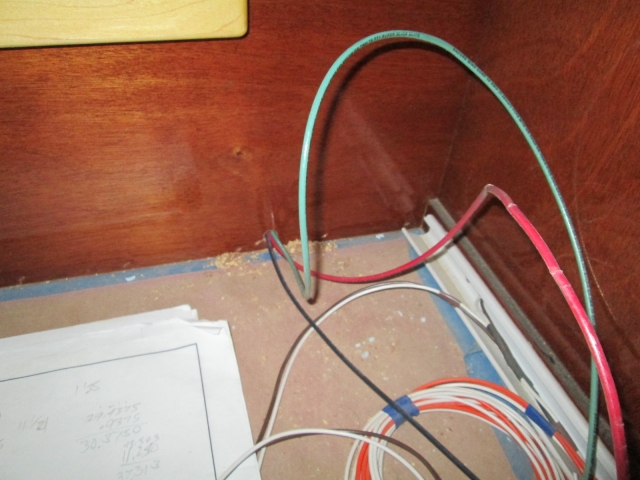
With the sun out I was able to get the loft up to 52 deg F, warm enough to shut down the big heater and give me ideas about getting back to gluing foam to the roof. But first I wanted to open up the wire holes running to the roof outlet. These wires are probably overkill at 10 awg, but if I ever run a stereo amplifier I want to be able to handle the load over the relatively long run; and I wanted to pull a third wire for ground in case I decide to use it for 110VAC, like for a ceramic heater; besides that, it is what I had. Had to pull the dry fit foam up from the curb side first. The bigger drill bit wouldn’t fit in Karl’s angle drive, so for the spars that didn’t have enough room for the drill motor, I just drilled halfway from each direction and the result was fine.
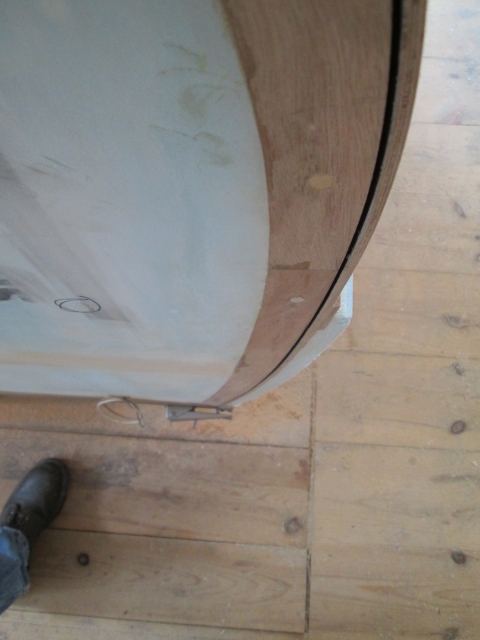
Also drilled out where the wires come thru the toe kick. This is on the curb side front next to the locker bump out.
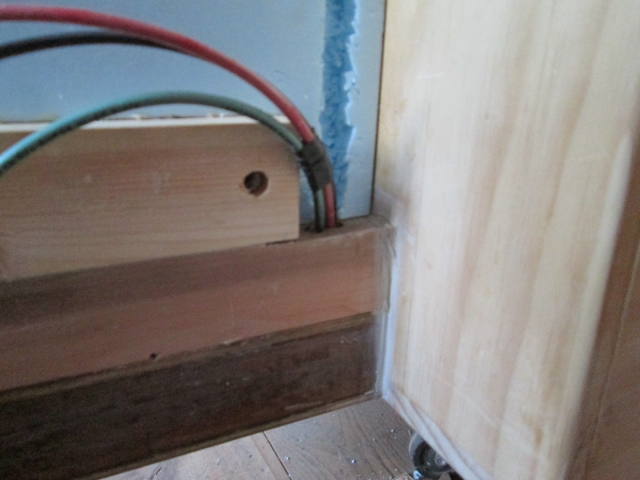
And this is the other side of the front wall where the wire chase trim will go across the base of the wall joining the wires from both walls and the ceiling into the hole that passes thru the locker and on to the tongue box.
And that is where I left off for the day.
The furnace at the house has been acting up so I should probably spend some time tomorrow looking at that, but hope to get back after it if that goes well.