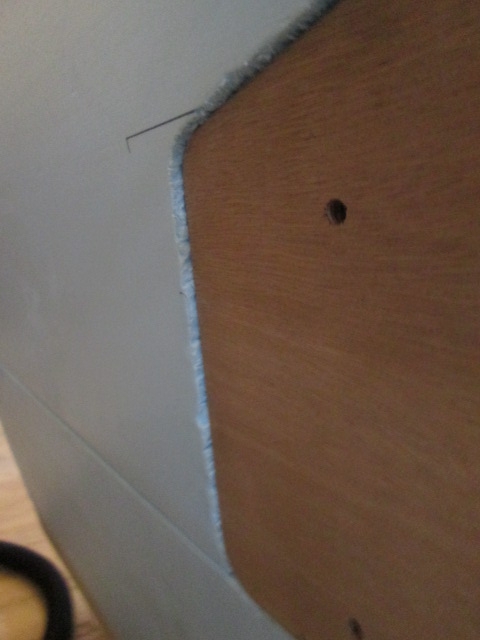
Yeah, it was probably more exciting than damaging, but those torn serrations are like fish scales or shingles. The rips go up inside like layers so I'm not sure if I'm just going to butter it up with some GS and sand it back, or if I'm going to pocket out the damaged area and glue in a foam Dutchman/patch.
Today was a bit overcast and cool, so a great day to be building, despite the rain that came later in the afternoon.
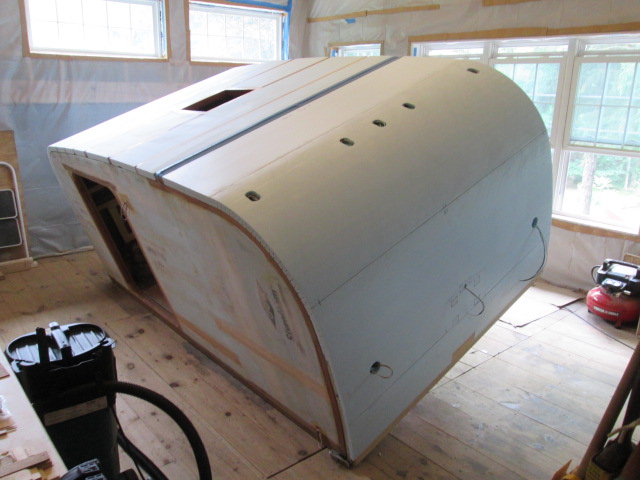
Started by doing a little touchup 100 grit sanding on the side portions of the roof top, then used an improved technique to keel the cabin back over and get the middle part with the same grit. Rather than trying to lift from the edge of the floor the whole way, and have the angle between the floor and jack pad change, I just lifted enough in the first pick to get enough blocking under the rail of the build cradle to where I could reposition the jack pad under the cradle rail. Here you can see the white vinyl piece between the floor and jack pad lifting on the underside of the floor.
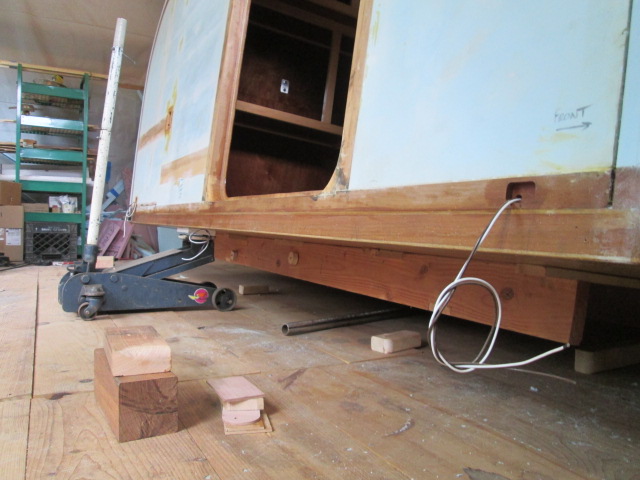
Street side view as she starts to keel.
After stacking the 4x4 Ipe and 2x4 blocks under the rail, lowering, and repositioning the jack pad under the edge of the rail, the vinyl pad was no longer required and the rail nestled down in between the lugs on the jack pad. This made a much better grab for the jack and I could safely lift the rest of the way.
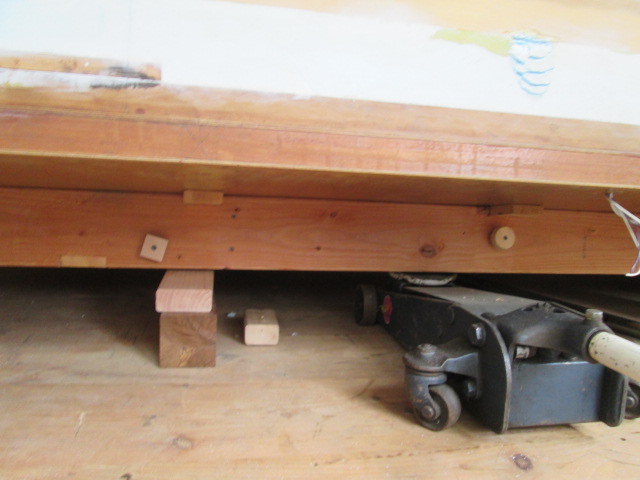
You can just see daylight under the far edge of the floor.
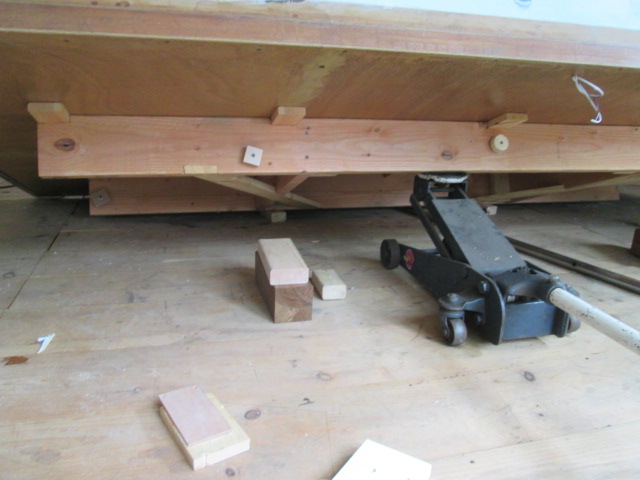
In this position I could just reach what I needed to sand the middle of the roof without totally wrecking my back while standing on the relatively generous top step of my folding step stool.
I could probably figure out the vertical CG of the cabin using this technique and some math. When lowering the jack there was a very distinct point when the weight came back onto the jack and I had to quickly turn the handle back to slow down the rate of drop.
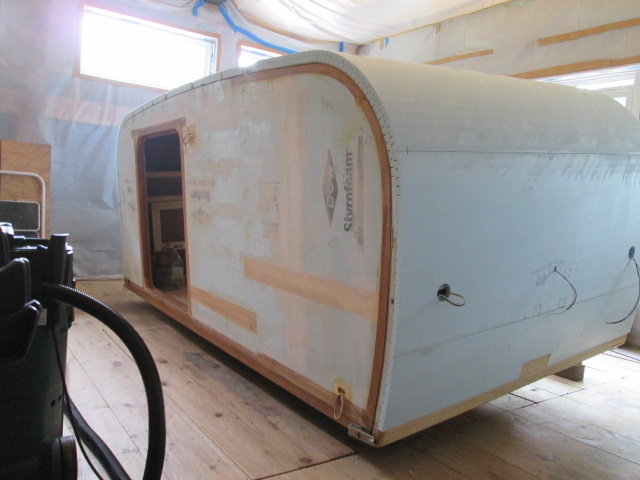
Next I tried to start knocking off other areas of the foam that need to be faired before I start doing some filler work. I faired the foam on the curb side of the front wall flush to the axe mount blocking, rock guard sparette, and front floor edge. Rather than knock the whole panel above the locker down, I just feathered it in above the corner.
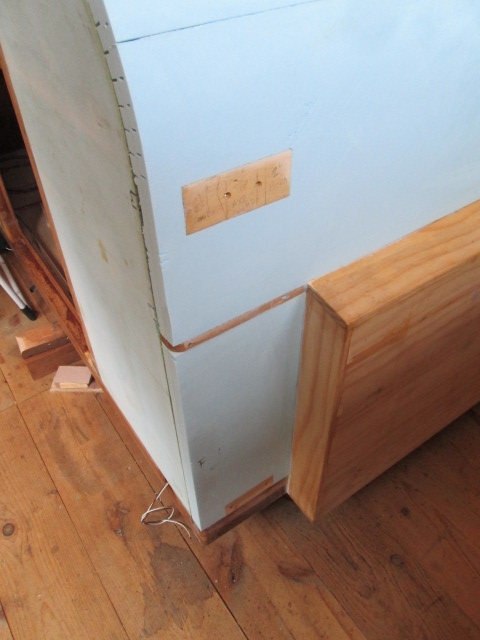
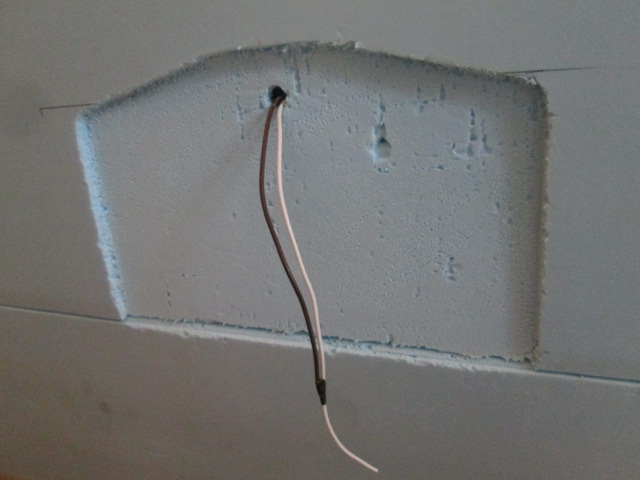
I decided that I was over complicating my approach to recessing the license plate mounting pad. I didn’t like my chances with the router template I had started as I was afraid that I would end up cutting the buried electrical wires. I decided that I could carve this out by hand if I could control the depth of my cuts. My cheap utility knife only has a couple of detents on the blade depth, and none of them hold securely, so I set the depth to match the thick end of a wedge shim plus a piece of the 5mm ply matching the thickness of the plate holder.
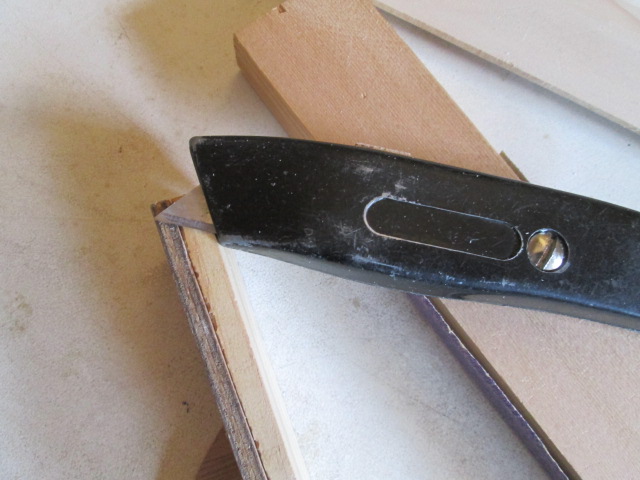
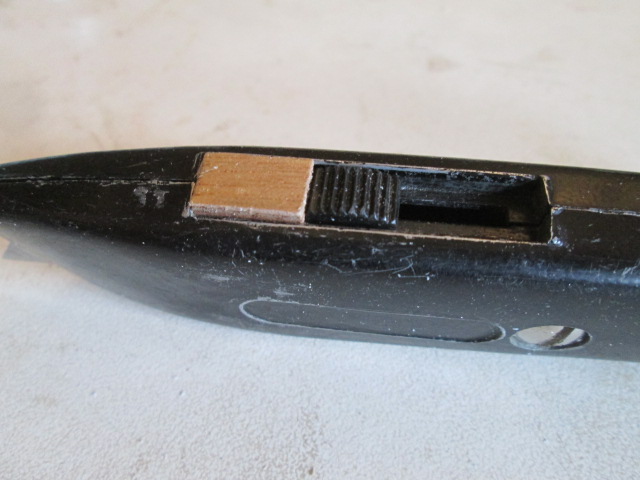
From there I cut a little piece of 5mm scrap that fit snuggly into the recess of the blade adjuster, preventing the blade from extending any further.
Using a wedge shim as a guide for the nose of the knife handle I was able to make scores with reasonably controlled depth starting out deeper at the top and moving out shallower at the bottom. The angle of the blade was kind of steep, so it tended to chunk rather than cut, but by making a few light cuts instead of one big gouge it seemed to go okay… good enough.
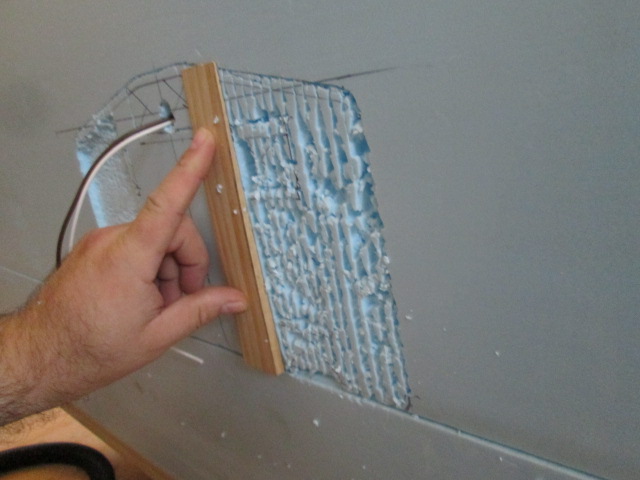
By using the edge of the shim as a scrapper and dragging it over the scores to knock out the crumbled up bits, then sanding a little, I could see that I was headed in the right direction.
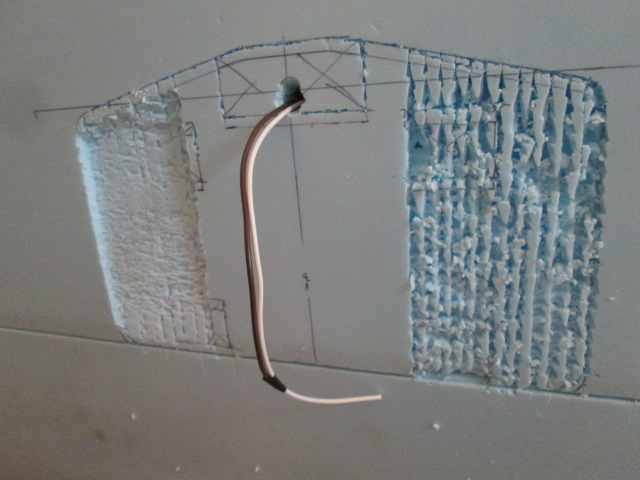
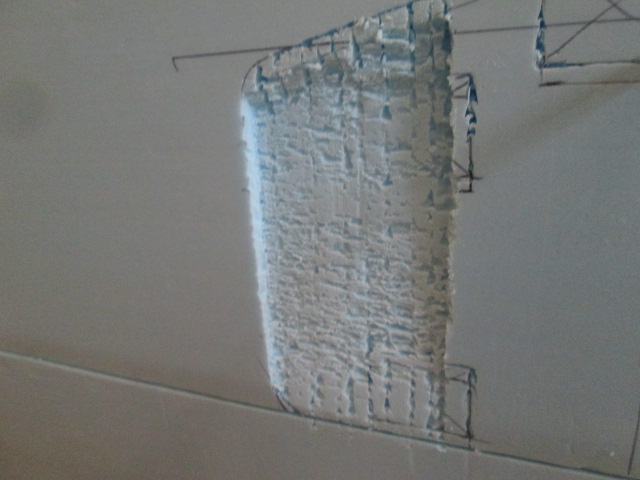
36 grit then 100 grit on small blocks.
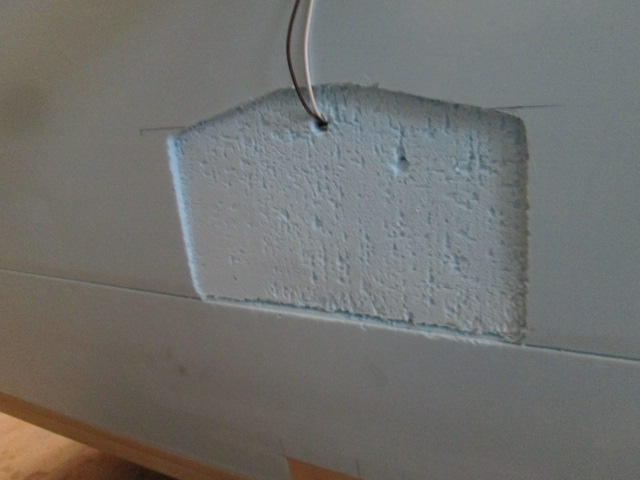
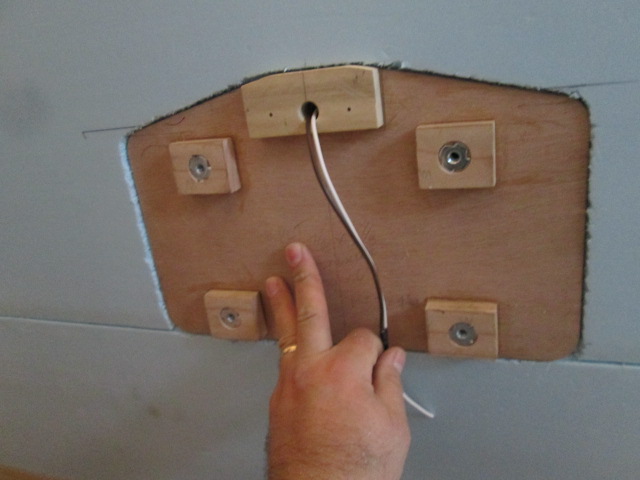
Flipped the plate holder around backwards to test fit.
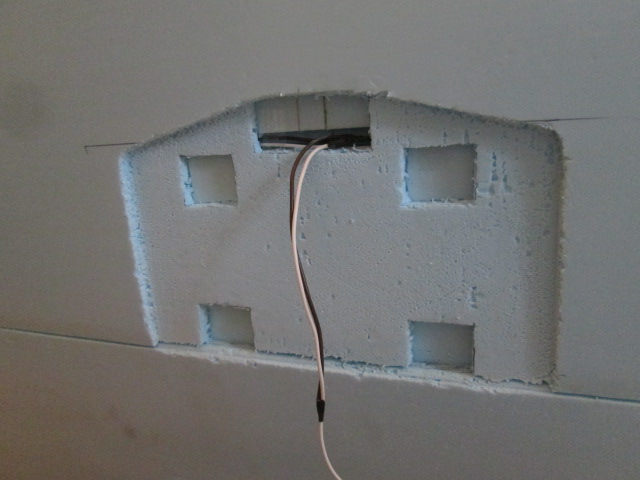
Next I cut down the piece I had intended to be a router template for the blocking on the rear of the mount so that it would fit into the recess, and just used that to trace the location of the blocking. Used the utility knife to cut out the rest of the outer layer of foam. For the top holes I had to go back and score into the inner layer of foam to account for the taper (after this pic was taken).
Test fit.
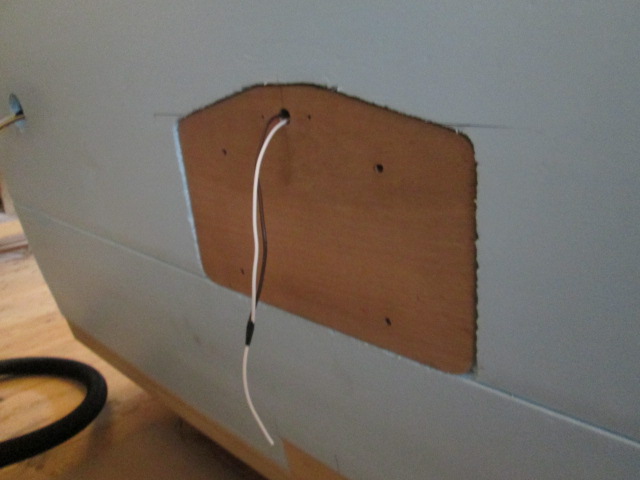
In the close up of the left side you can start to see the taper to the recess. Unfortunately, when I put my little layout square level up on it to check for plumb I could see that I am quite a way off, needing to bury the top of the plate a bunch more. At least the floor of the cabin is sitting flat now so checking for plumb was much easier than before.
 !
! !
! !
!


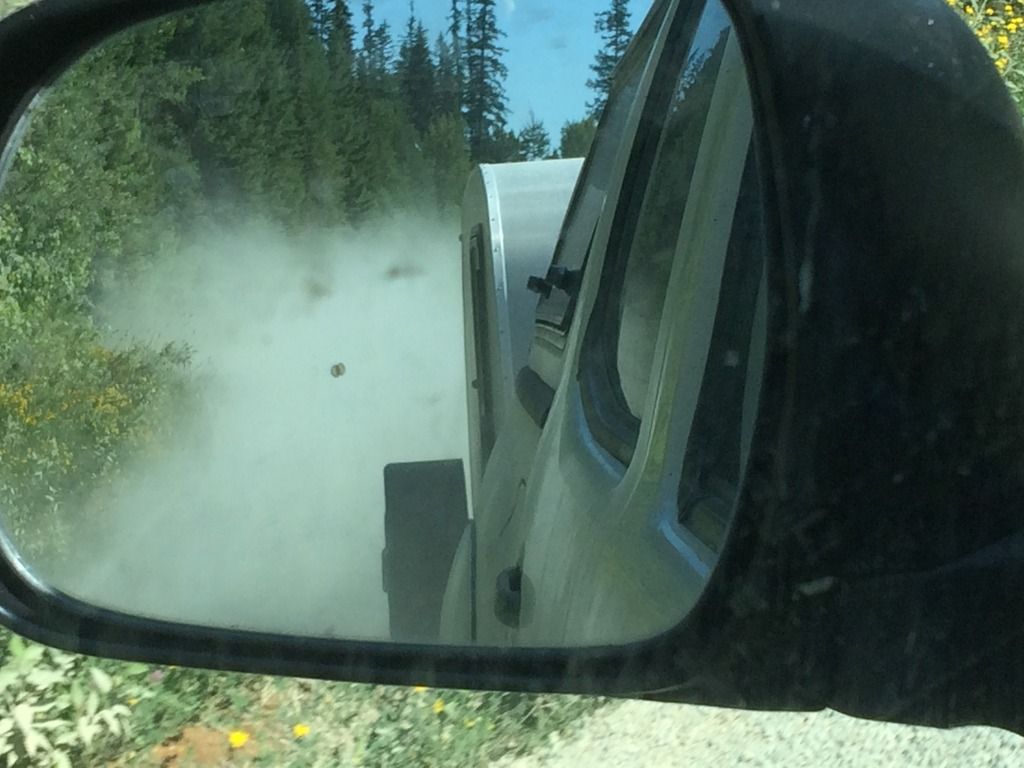
 Surprise !!


 day at work.)
