I want to thank those of you who have been curious and commented on this build. It made me appreciate the camaraderie of TNTTT.COM once again.
The last few weeks have been a whirlwind of activity for me. I had a trip to Illinois that I cancelled on, and missed keeping a tradition of meeting two of my camping buddies each year. Granted we only started at Walk the Winds 2012, but two of the friends I made there have turned into yearly get togethers. Anyway, I injured my back, but fortunately for me, activity was actually good for it so I began the restart of my build with earnest. After repairing a couple minor water damage areas, I sanded, applied polyester resin, sanded, applied polyester.. well you get it. By the end of my vacation, I had sealed the outer shell of the trailer to my satisfaction. I believe it was 5 additional coats of polyester resin. I then installed the windows, and after building the door it was pretty much water tight!

I had felt that I accomplished so much that my ambition continued, and each night when I got home from work I continued to finish off the inside. I built the two benches, one housed the A/C unit, battery and battery charger, and the other has a hinged lid for easy storage. I also built a cabinet alongside the bed where the wheel well was.
My dad passed away on Friday of the week after my vacation.
We all grieve differently, and I make no apologies for my way of dealing with extreme emotion. I found comfort in continuing my work on the trailer. First, my love for camping was from my father, so it was fitting in a way, and the activity allowed me to deal with my emotions on a more mental level.
So here is what I've been doing for the past few weeks.
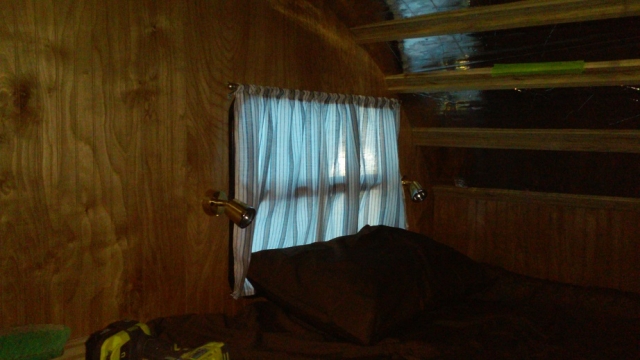
I bought a $4.97 sheet from Wally World and made curtains. (Yes I sew!)
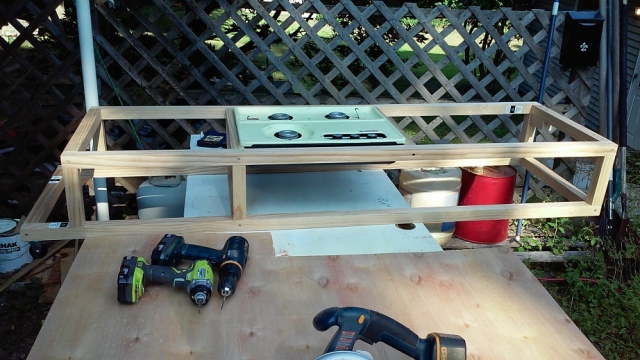
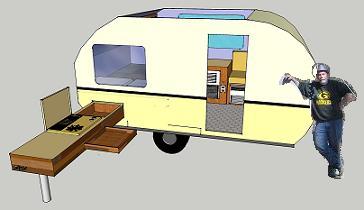
I framed out the slide out. If you look carefully you can see the wheels on the far left side of the frame on the bottom. The design concept was so simple that it eluded me for a long, long time. I simply grab the outer edge (right side of this picture) and pick up on it to put the rest of the weight on the back wheels, then just pull it out the side of the trailer. The wheels keep it from pulling all the way out as they hit the lip of the hatch. I have two pieces of pipe which now have thumbscrews and two pipes to use as outer legs.
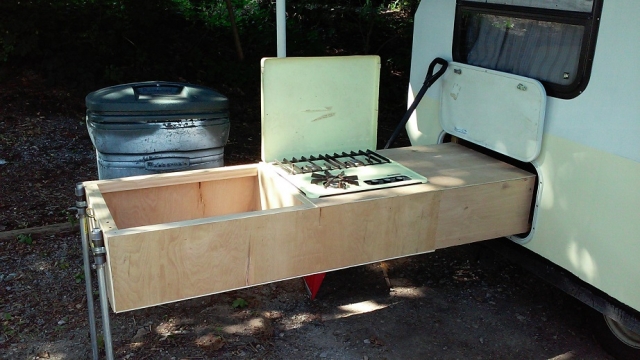
Here it is most of the way done. Counter space to the right of the stove, and storage to the left. I will probably put a cover on the left side, but decided to put that off until I test fly it all. The legs in this pic are held from sliding through the pipe by hose clamps. Way too wobly, which is why I went with the thumb screws.
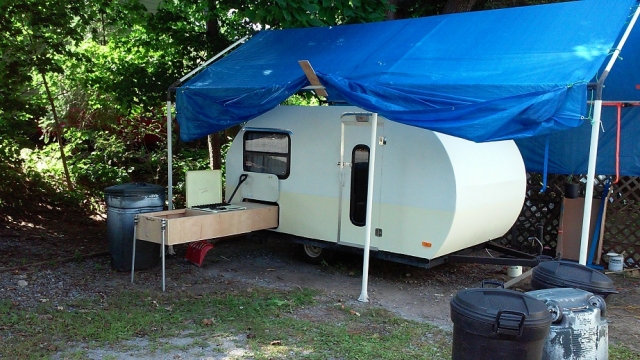
Same shot a little further away, to give a better perspective of size.
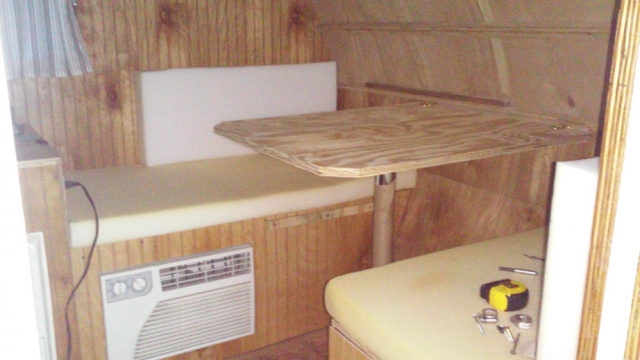
This was today's accomplishment, finishing the table, and getting the wall bracket installed. As you can see, I still need slipcovers.
More pictures tomorrow if the rain lets up.
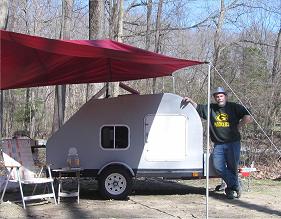
 http://www.teartime.com
 I can hardly wait to see the pictures! It's a good design.
 Git'er done!


