Roof Spar Mounting
17 posts
• Page 1 of 2 • 1, 2
Roof Spar Mounting
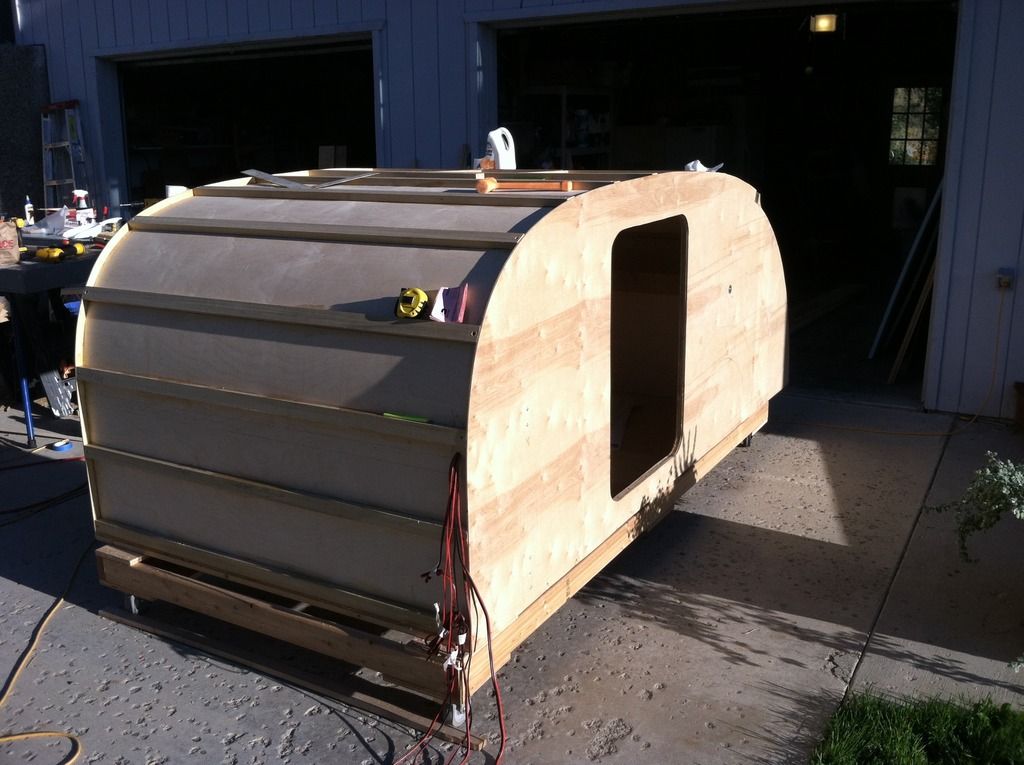
I've been thinking about which method is the best for mounting the roof spars.
I've see at least four different methods:
1. Cut a single dado on the inside walls all the way from the front to the "hatch hing".
2. Cut dado's for each spar into the side walls.
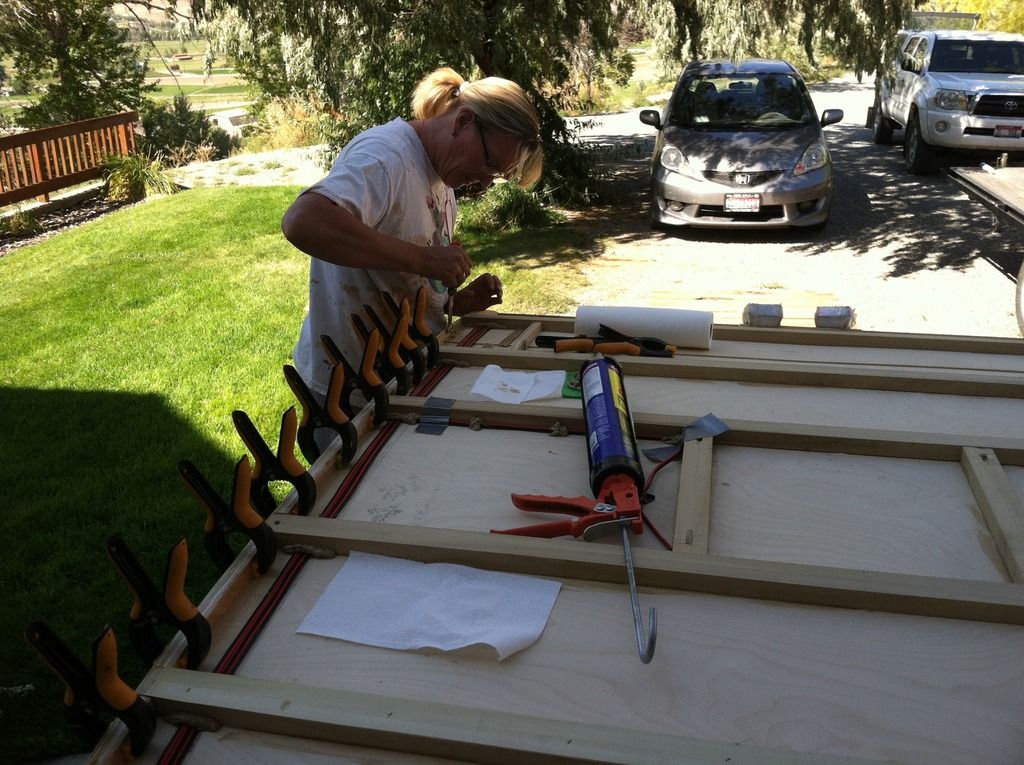
3. Screw and glue the spars to the inside of the walls with "Pocket Screws", no dado.
4. Screw and glue the spars to the inside wall from the outside with flat head screws before the outside skin goes on, no dado.
Any thoughts on which method or methods from the above list is best?
By the way I'm building a Grumman 2 design.
http://www.tnttt.com/viewtopic.php?f=50&t=64385&start=15&hilit=sort+of
Let the fun begin!
KennyB
My Build Journal: http://www.tnttt.com/viewtopic.php?f=50&t=64385&start=15&hilit=sort+of
KennyB
My Build Journal: http://www.tnttt.com/viewtopic.php?f=50&t=64385&start=15&hilit=sort+of
-

RunnerDuck - Teardrop Master
- Posts: 167
- Joined: Sat Aug 22, 2015 4:26 am
- Location: Coupeville, Whidbey Island, Washington
Re: Roof Spar Mounting
I like to build from inside out, so any variation on the Steve Fredricks' method where the ceiling sits on rabbets at the tops of the walls and the spars go on top of that makes the most sense to me.
Then filler blocks are added between spars and you have everything locked in and plenty of meat to fasten the roof skin to, but best of all you don't have to shimmy the ceiling in, prop it up, or scratch the prefinished walls doing so.
Then filler blocks are added between spars and you have everything locked in and plenty of meat to fasten the roof skin to, but best of all you don't have to shimmy the ceiling in, prop it up, or scratch the prefinished walls doing so.
KC
My Build: The Poet Creek Express Hybrid Foamie
Poet Creek Or Bust
Engineering the TLAR way - "That Looks About Right"
TnTTT ORIGINAL 200A LANTERN CLUB = "The 200A Gang"
Green Lantern Corpsmen
My Build: The Poet Creek Express Hybrid Foamie
Poet Creek Or Bust
Engineering the TLAR way - "That Looks About Right"
TnTTT ORIGINAL 200A LANTERN CLUB = "The 200A Gang"
Green Lantern Corpsmen
-

KCStudly - Donating Member
- Posts: 9640
- Images: 8169
- Joined: Mon Feb 06, 2012 10:18 pm
- Location: Southeastern CT, USA
