As you all know, mom is a regular follower of the build and I am sure that she appreciates the kind words.
Moving on with prep for remounting the hatch to the cabin, I managed to turn the hatch around on the bench by lifting it up from the hinge side so that the already glassed (and therefore scratch resistant) bumper could be dragged on the table w/o concern. Then I just walked it around the bench to turn it around.
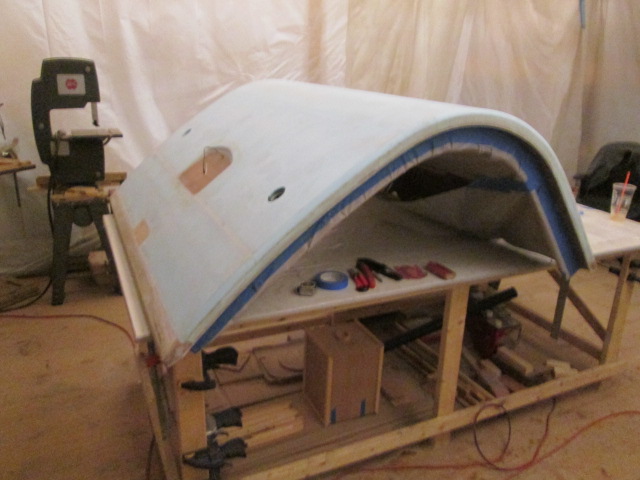
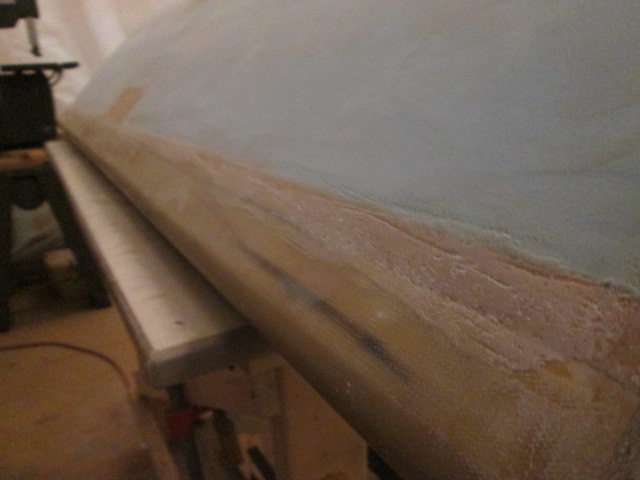
This gave me better access to the license plate recess and to do a better job sanding the fairing at the bumper glass edge.
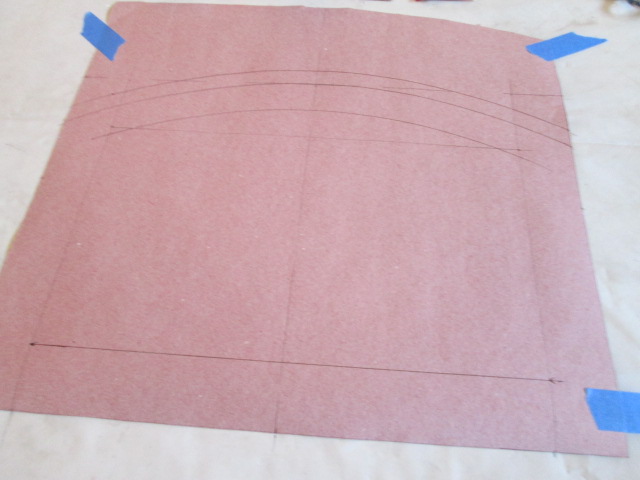
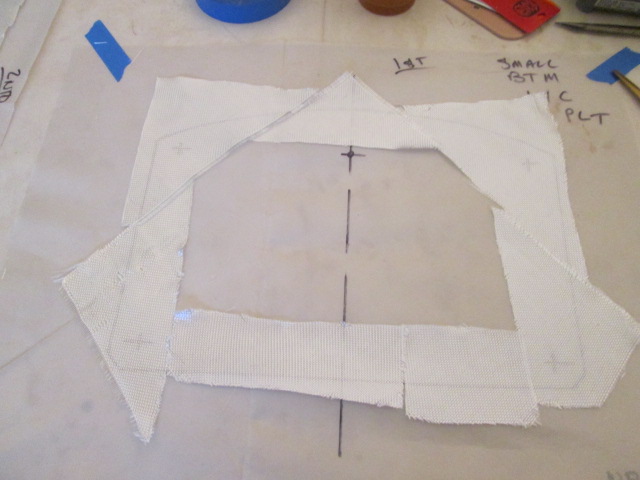
Next I made an oversize template for the license plate recess. The extra piece of blue tape represents the center of the top arc, which I matched to the hatch using the same trammel stick I had used to mark the foam before carving. Then I stepped it off further for the glass to extend out.

I’m going to try and step the two plies of bias cloth out and us the PMPP technique as I hinted at before, using a single ply PMPP to place the smaller ply over the larger, then cutting it all out and laying it down using the larger plastic cut out to help place it all. To that end I traced the template onto the plastic for the wider ply; then cut the template down by about 3/4 inch all the way around and traced it onto the plastic for the smaller step, adding centerlines and a few reference points to both in order to help line them up.
Again, I’m trying to avoid cutting random bits from the big roll of glass so as not to end up short on the big lengths. I did allow extra when purchasing, but until I layout and rough cut the big layups, I’m not comfortable snipping away at the roll for these smaller tasks, especially since bias cuts take up more yardage. This drove me to try and piece out the license plate border from scraps. I didn’t have enough to fill in the whole field, but since the plate is backed by a 5mm ply insert, that is less of a concern; and it might be easier to get the fibers to wrap the contour better as strips, rather than a full panel. At least that was my thinking at the time. Here is the wider ply border pieced together from bias cuts.
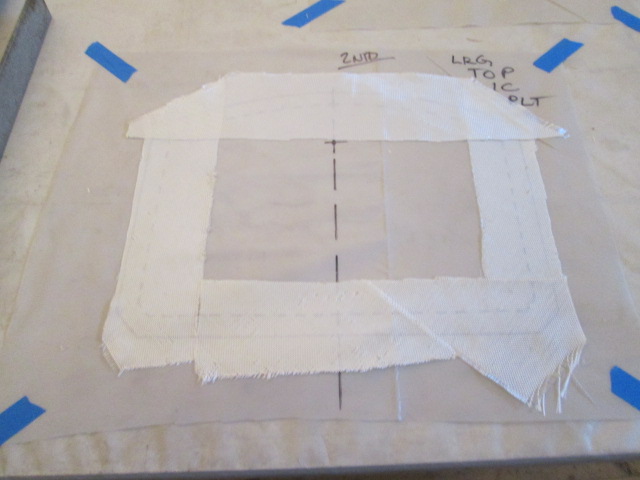
And here is the smaller ply pieced together, again just the border of the plate recess where it transitions from the hatch arch profile to the flat surface of the plate mount.
I’m a little concerned that this pieced together method could all go south and be more trouble than it is worth. Plus I figured this was a small layup and rather than stinking up the joint, I should get the cabin side hinge spar set up before I started mixing epoxy.
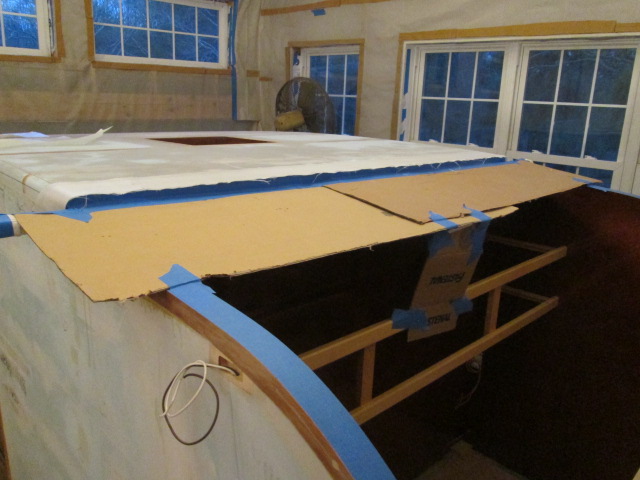
I had already masked the back of the hinge spar with blue tape, but I needed to protect the galley walls and upper shelf face frame; so I laid a stick of the Red Grandis scrap (that I had been using as a temporary hatch prop rod) across the upper end of the galley walls. This helped support some cardboard panels along the leading edge. That I then taped to the back of the spar. Another small scrap of cardboard propped up on the shelf frame supported the back middle of the cardboard splash shelf where the two pieces overlapped. On the side walls under the point where the glass would wrap onto the wall I formed drip edges using 2 inch wide blue tape, and also taped the part of the Red Grandis sticking past the wall to keep it from getting goobered up.
Once that was all set up I found an old block with a nub already screwed on, that I could quickly turn into a scribe; and marked a guideline for the wider of the two glass strips. Then I cut the block back and marked another line for the narrower of the two strips. The nubby block gauged from the back edge of the hinge spar.
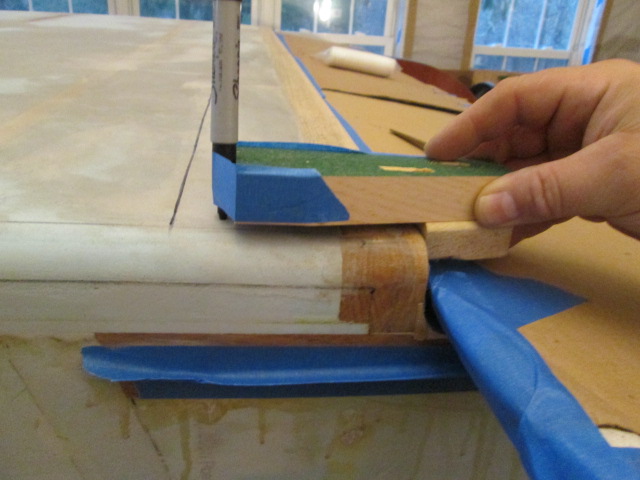
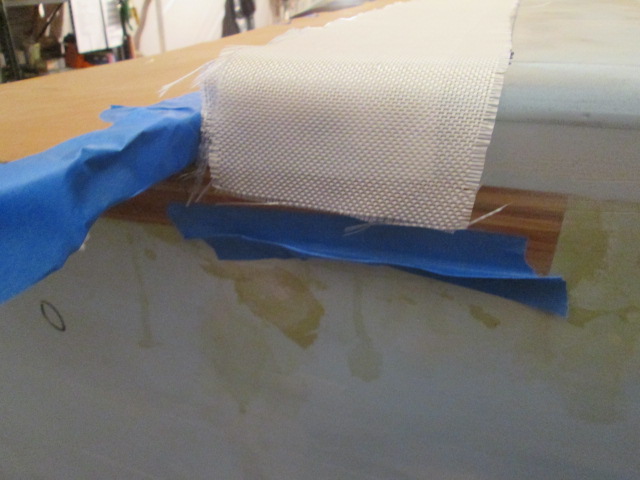
At first I laid the 5 inch wide strip of cloth down first and then the 4 inch wide strip over it, adding in a couple of extension pieces to make up for the 60 inch long strips; but then I remembered a technique that I learned from the Rutan builders that I keep intending to use. By flipping the wider strip on top, the rough edge from the narrower strip will automatically be faired and the rough nubbies along the edge of that strip won’t stick up. Here it is dry on dry before I added some toothpicks to help hold it all in place during the wet out.
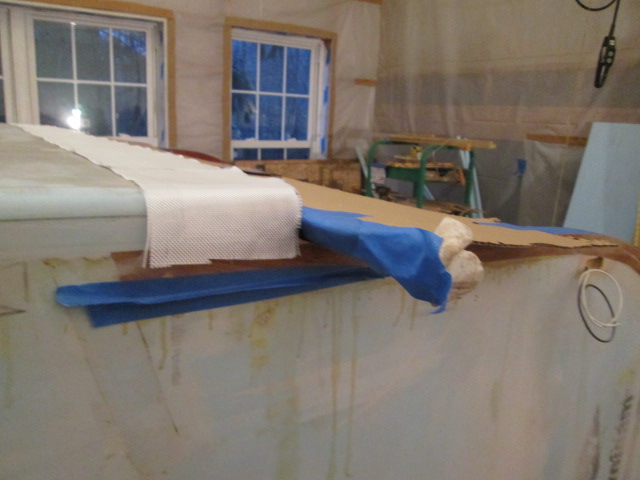
You can see the cardboard drip edge masking shelf better in this shot.
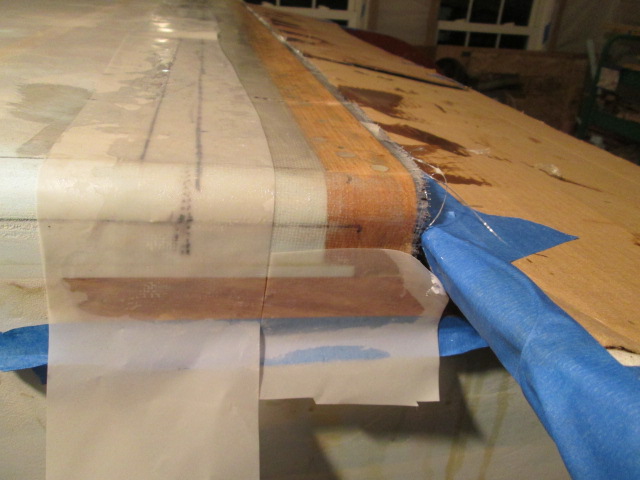
Here you can see the narrower strip under the wider, the butt joint at the extension piece, and a little better look at the tape drip edge on the side wall.

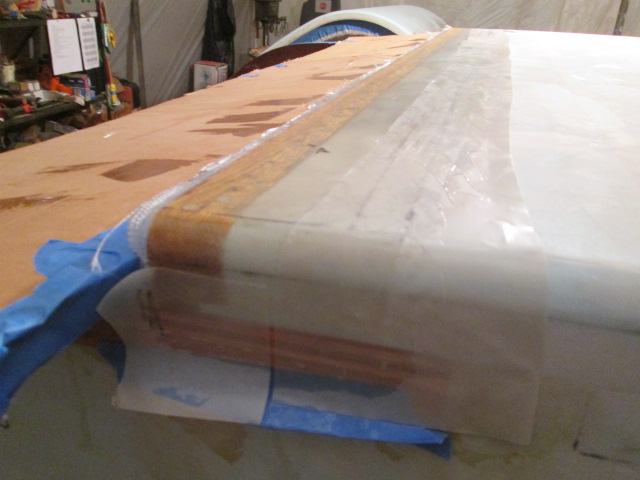
Same thing on the curb side.
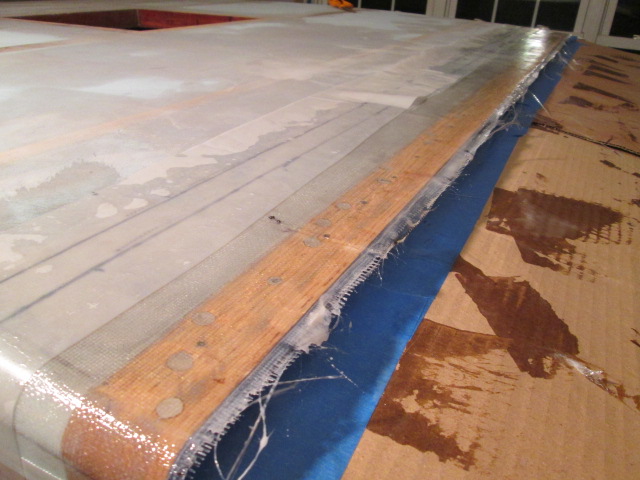
I decided to layup the cabin hinge glass first, since it was a little more straight forward and, by this time, I wasn’t sure how far I was going to get with the license plate. Here I have wet it out, pulled the toothpicks, and laid some strips of the 6mil plastic along the edges of the layup as a poor man’s peel ply. That should reduce the amount of raised nubbies along the cut edge of the glass cloth and reduce the amount of sanding required later to get it faired for the next step.
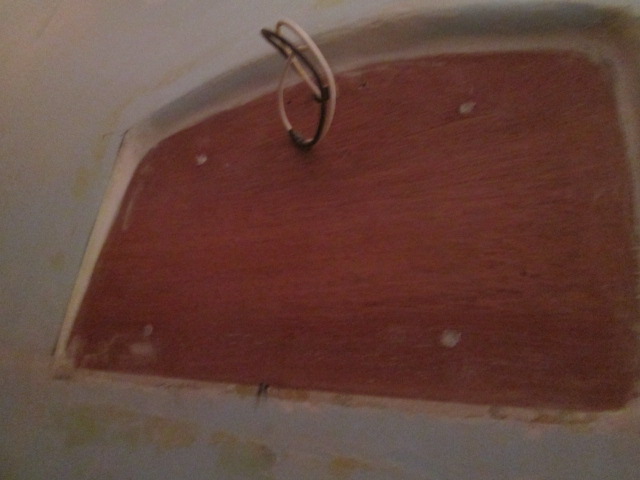
I decided to sleep on the License plate layup. I poked around in my scrap bag and found a bigger rectangular piece that I thought had been unbiased, but found it was actually on the 45, so I may redo that setup, or maybe just fill in the middle of the plate panel to help stabilize the other bits and pieces during the wet out phase. If it all goes south I can just peel it up and keep trying until I figure out what is going to work in that area. Sorry I didn’t take a current pic of the license plate recess. Let me dig one up from the archives… ah, here we go. You can kind of see the shape and contoured border here.
We’ll see if I get out to the build tomorrow. I traditionally make a nice Boxing Day brunch for the wife and me, but she had to work today so that will get pushed off until tomorrow. That and we are going to try and go see the new Star Wars movie, so we’ll see if there is a window in there somewhere for some build time.
One step at a time.


 Frank
Frank


