So a lot of the work I have been doing doesn’t really photograph very well; washing amine, sanding FG patches fair, sanding fairing filler, etc., but I will give it a try.
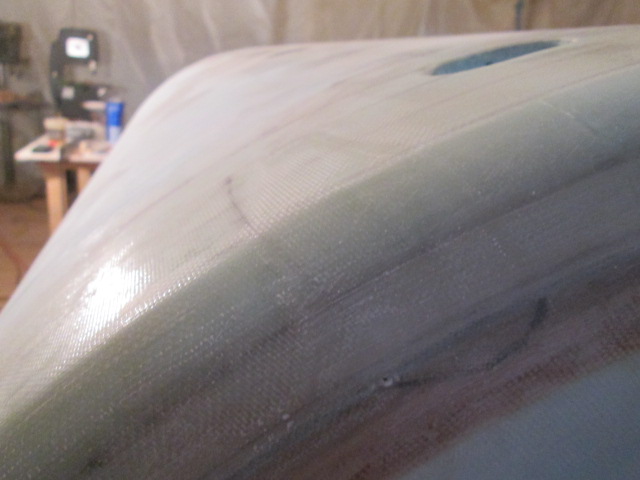
On Monday the patches on the hatch and under the curb side floor worked well and sanded out fine. Here is that section of the curb side hatch edge and side wall overwrap that I patched back in. This is the top seam overlap after sanding fair.
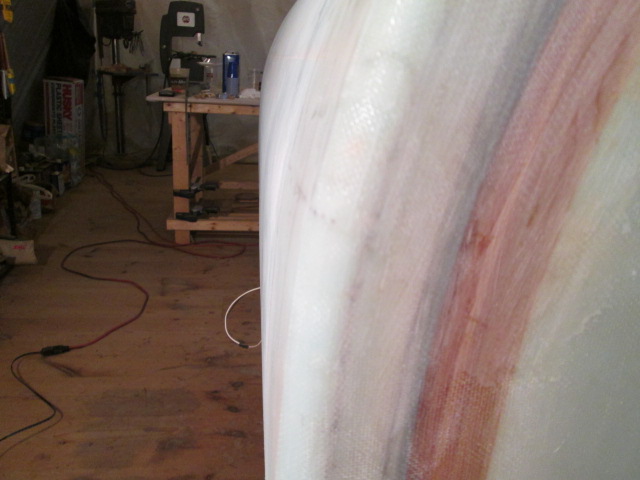
And the lower seam.
The mess I left where the patch overlapped the wall again sanded out fairly easily. When it started to break back thru where I had trimmed the bad stuff away I knew I was back to fair again.

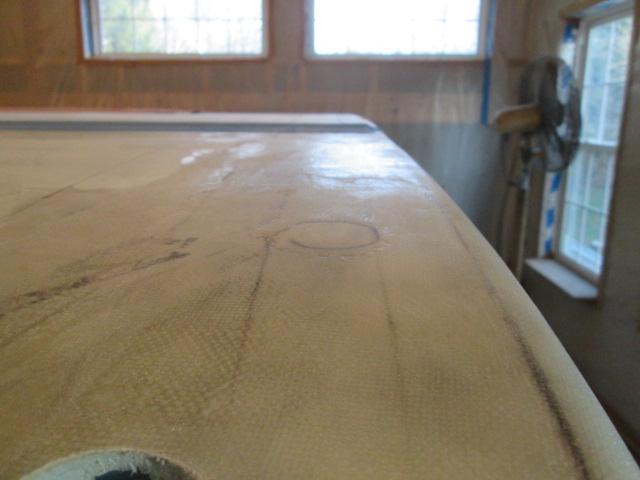
Those little circular filler patches above the outer clearance lights cleaned up well. There are still a few low spots here and there, but the highs are all knocked down. Curb side first looking forward…
… and then the street side looking back.
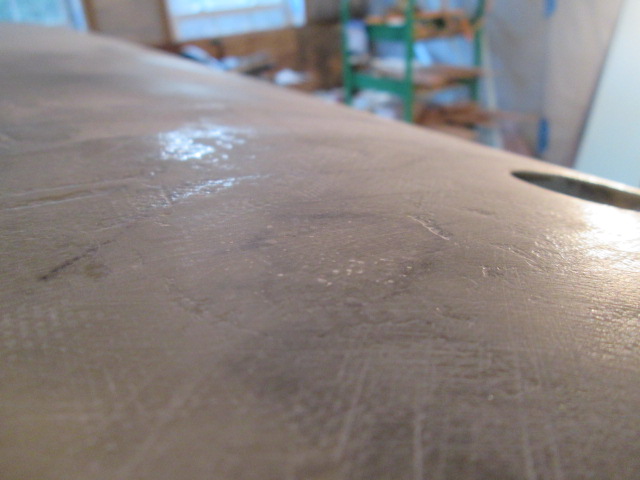
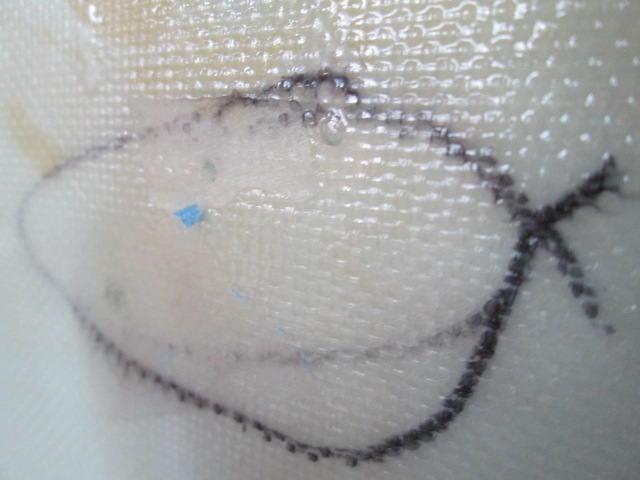
Here’s a close up of that large-ish fish eye on the curb side wall that I drilled and injected. Not fully filled. All I can figure is that I either didn’t get it filled (it is often hard to see these voids unless the lighting is exact and you are at the optimum viewing angle); or the epoxy leaked back out under the tape (you can see some of that here); or perhaps there were two voids, one under both plies and a second between them. Dunno. I’ll come back to this later.
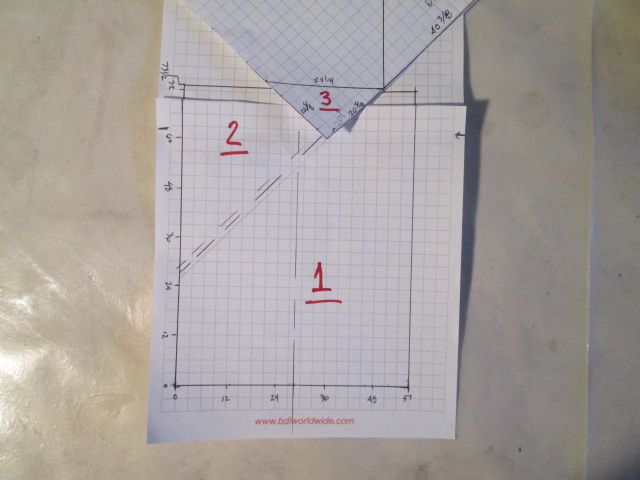
Tonight I had planned to get the cloth cut for the hatch main layup, but it ended up taking a lot longer than I had thought it would to noodle out the bias cuts so as not to waste any more glass than necessary. It took a few sketches, some scale drawings, and a little “paper doll” cut-and-try to optimize.
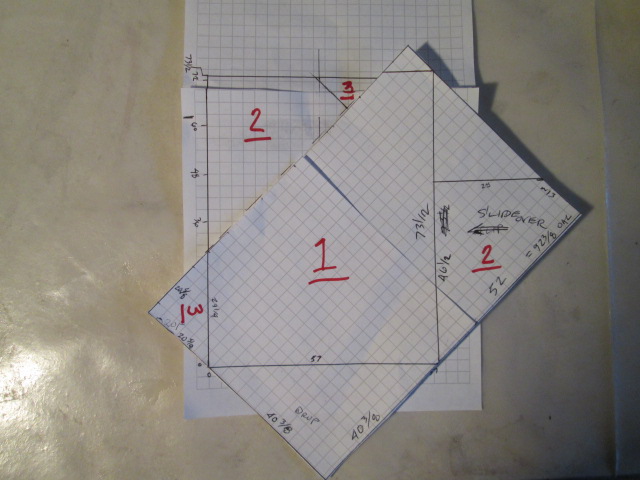
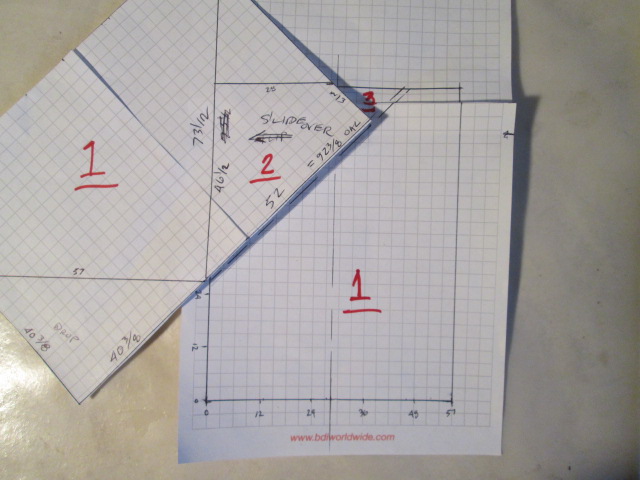
Here’s what I came up with. The paper on the left represents the glass cloth as it comes off the roll with the bias cut layout (graph paper grid lines match weave). The one on the right represents how it will be laid on the hatch with 1-1/2 inch overlaps at the seams.
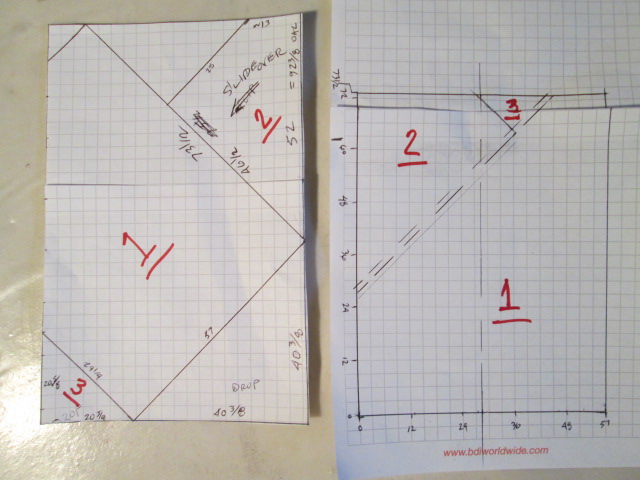
The following sequence should clarify.
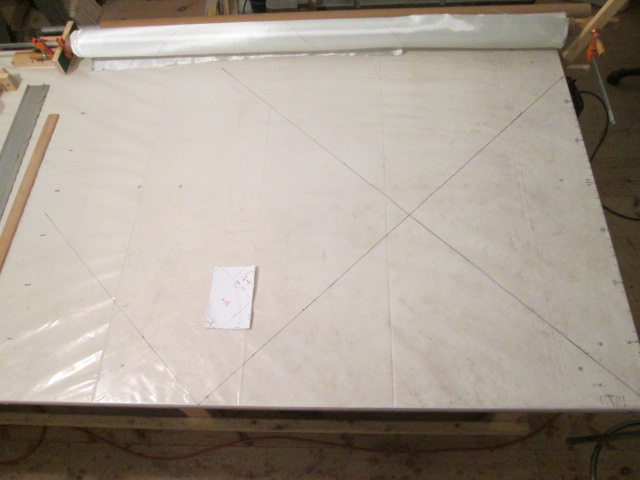
Again, working with cloth that is bigger than the cutting table. I made an adjustment to the cloth roll holder to move it a little further back on the table. This increased the length I could reference from a nominal 36 inches up enough that I could get the first main bias cut mark at 40-3/8 inch.
I marked some of the bias cuts on the plastic…
… rolled some of the cloth out and traced over the layout lines with a straight edge.

These are actually reenactment pics so the cloth wasn’t brushed out as flat and square here as it was when I marked it initially. I used my reference marks on the table to index at 36 inches, then pull those marks to the edge of the table and folded the first section up loosely at the front of the table. That allowed me to increment and make marks at 72 inches.
When the end of the long bias cut line aligned to the front edge of the table I folded it all back to the rear again and made another long reference line on the table running from the corner of the bench back across the cloth; then folded it back open again and made that mark on the glass.
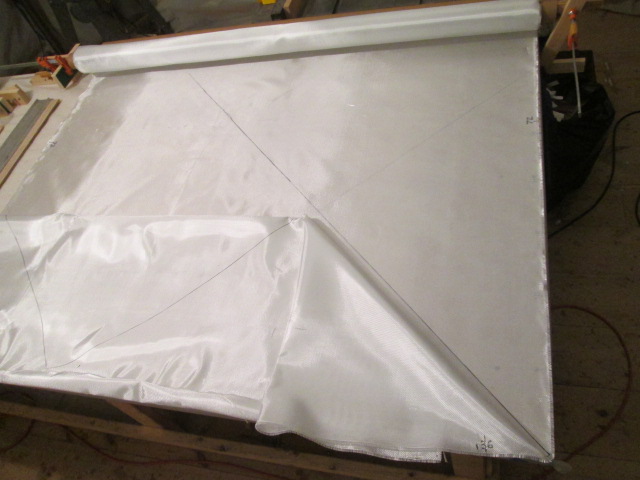
From there I could measure off the last section, mark some of the smaller cuts at the top of the cloth and make the cross cut.
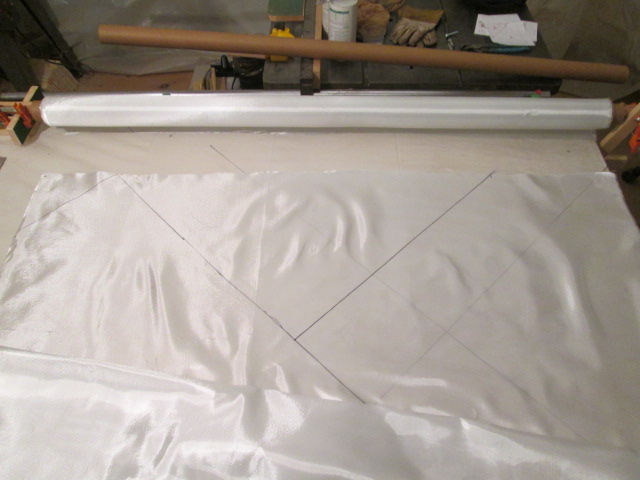
With the bulk of the ply folded up on the front of the bench, rather than trying to jumble it back and get it rolled onto a second cardboard tube, I lapped it on to the stock roll and rolled it back onto the reel for safe keeping, and to make it easier to cover up for the night.
Now that the lines are laid out I can make the cuts w/o having to worry about disturbing the lay of the cloth as I cut it. Accuracy is locked in.
If it seems complex, I guess it is, with plenty of opportunities to mess up! But I think I got it right.
The second ply, by comparison, is about as easy as it can get; just a straight rectangle at full width of the roll… unless I change my mind and decide to do the second ply on the bias, reversing this pattern so that the seams cancel each other out (i.e. having uninterrupted bias strands in both diagonal directions).


 I have to salute you for putting yourself through all this. Just watching makes my brain break into a sweat.


