The planets and stars aligned today! Er, well, at least the weather and weekend did. So I glassed the hatch today.
Seems like a milestone to me.
Starting at the top with the cabin level it was pretty easy to squeegee the epoxy where I wanted it. Once I got "over the hump” I jacked the rear up as high as I could and slobbered the next batch on. It quickly became apparent that the best technique for most of the back part was to pour the individual batches along the crest of the bustle then, stepping up to the Bondo spreader (bigger and more efficient than the credit cards), drag the wet over the hump and onto the lower section to about the height of the top of the license plate.
Then I used the chip brush to dab onto the area under the license plate and each lower corner.
Once the first ply was all wet out and squeegeed, I positioned the roll with the second ply at the top, aligned the leading edge and unrolled it. It didn’t line up on the sides as well as I had hoped and I ended up lifting the back part several times trying to position it. Fortunately the first ply was well stuck down and didn’t lift with it. Some serious tugging, dragging with gloved hands and aggressive squeegeeing got things to where I was happy, but later I had to deal with some ripples as I squeegeed the final wet.
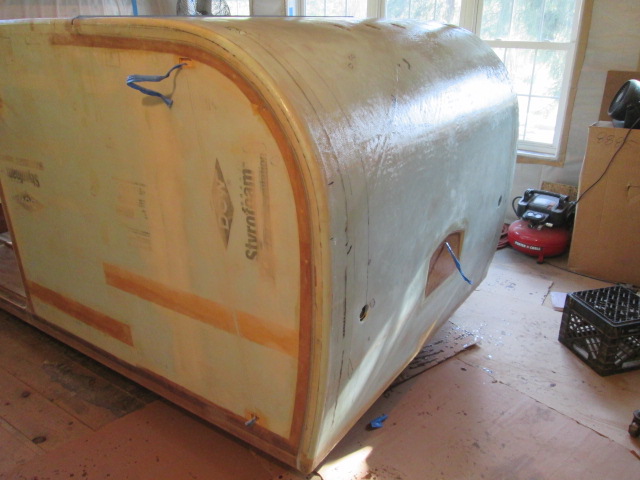
Temps in the loft ranged from about 48 deg F when I started, to about 55 when done, so there were no problems with the “fast” batches kicking off, and the top stayed workable enough by the time I got back up there for the second ply. At the end I spent a good deal of time, well into the leathery stage, going over it all, especially the hump, with the disc roller. That area seemed like it wanted to pucker up into small ripples or waves, perhaps resulting in fisheyes, so I just stayed after it with the roller until it seemed like it was going to stay reasonably flat.
Trimmed the worst of the flyaway strands, and used the utility knife to cut out all of the wire recess openings while they were still leathery.
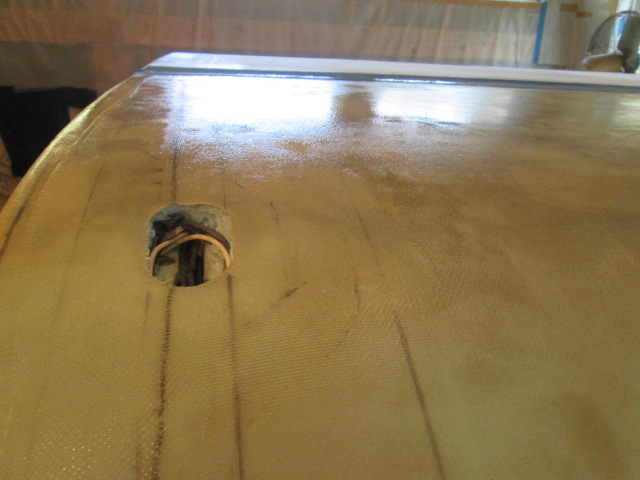
Then some more work with the roller. You can definitely see the diagonal seam where the bias pieces overlap, and the horizontal seam in the foam panels is visible here, too. You may be able to see traces of the ripples just above and below the sunlight glare, here just after rolling them down again.
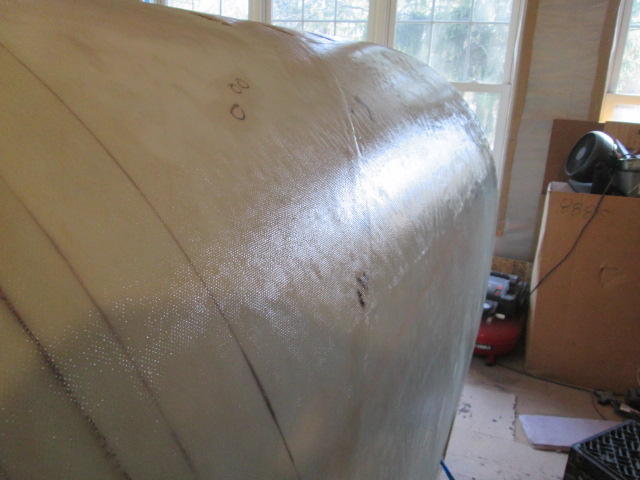
After the troubles I had way back when trying to skin the license plate area with bed sheet material I figured that area would be “back jammed” first, and then the main skin would be applied over and cut away; but when I laid the bias cloth over it seemed like I might be able to just wet it out and triple up on this area. However, when I got to that area while wetting out the first ply it just didn’t want to stay in the inside corner and I felt I was spending too much time fussing with it; so I went back to Plan-A and trimmed each ply out with the utility knife. Having previously skinned this area worked out nicely having a hard cured surface to cut against. You can see the outline of the previous work under lapping the new layup.
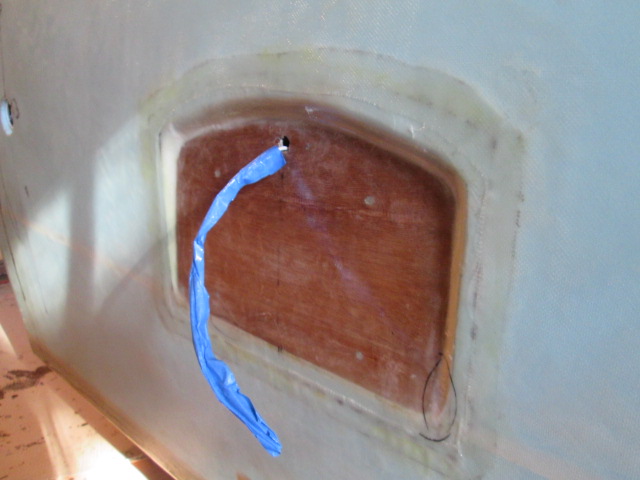
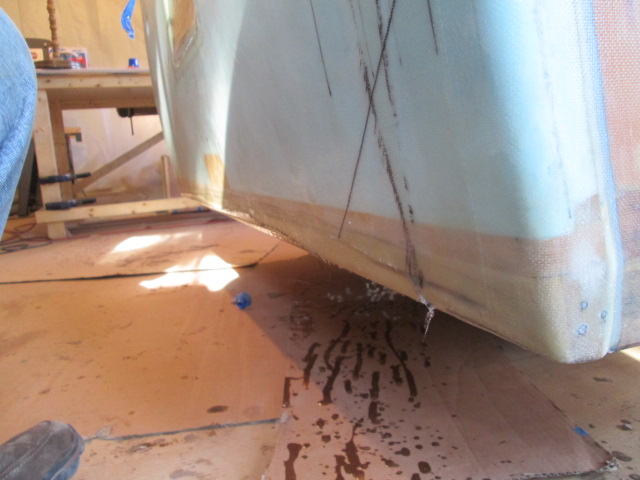
The bias ply ran off the bottom of the bumper a little, so there will be a little cleanup sanding to do to remove the ruffle. Sorry for the odd glare here, the sun was beaming in low thru the windows by now.
Here are a couple of shots looking along the hinge line. Some of the wet got up on the masking tape and may have pooled up a little. In hindsight looking at the photos now, I probably should have peeled the tape up then to make it easier, but will deal with it later.
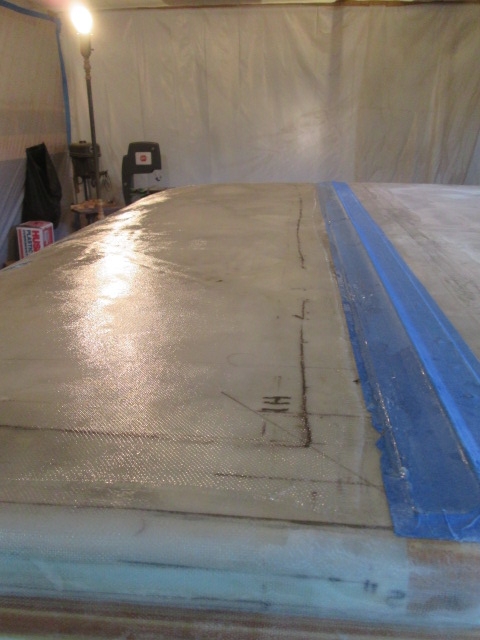
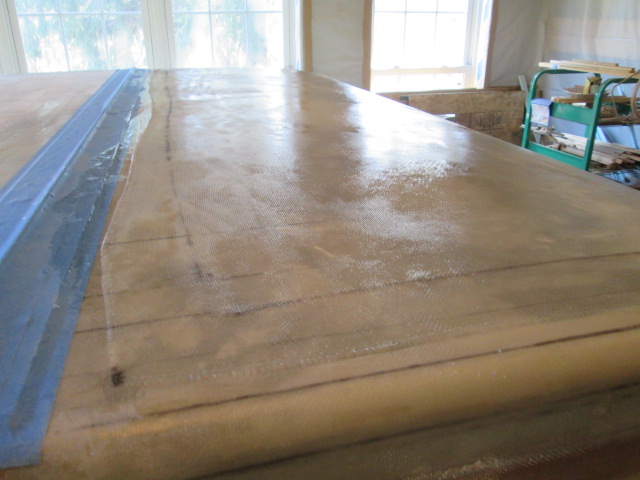
In the end I think I did okay with the ripples. Hopefully sticking it out and doing all the extra roller work will have prevented the fisheye issues I had on the curb side wall.
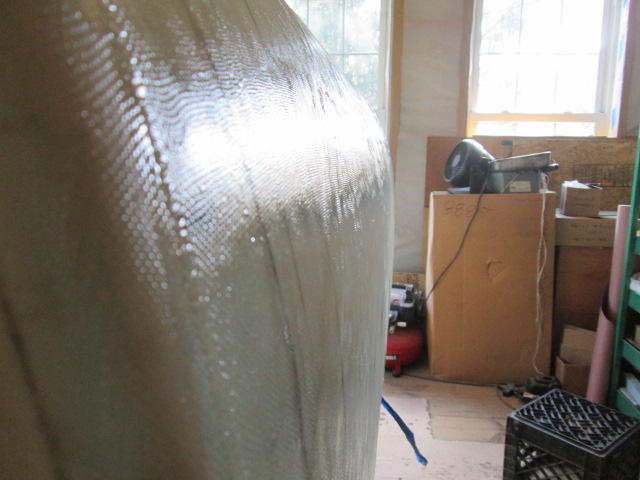
Now I’m feeling really confident about finishing the roof. But first I’m going to flip the hinge and add the second hole pattern for the rubber strip trim. Then I’ll cut the hatch free again so that I can stand in the galley and reach the roof easier.




 ...
...  And what is “pretty” really ??? ...


 Not trying to disparage canvas at all, just noting some of the differences as I learn more about the glass.