Let’s get caught up again. Between yesterday and today I got the hatch hinge modified. To recap, this was a triple win.
First, I had screwed up when I cut the hinge to length. The end goal was to have one set of holes where the hinge screws down hard to the spars and a second set of holes for the aluminum trim strips that will clamp the outer rubber seal strip to the top side of the hinge leaves (rather than just screwing down thru the rubber and having the hinge squirm around under its resiliency). And when I cut the hinge I forgot to offset the OEM countersunk holes so that the trim retaining screws would be symmetrical across the camper. So by drilling and countersinking the second hole pattern I get the symmetry I want.
Second, by flipping the hinge over so that the barrel of the hinge nests down in the gap between the spars, the seal rubber will lay nice and flat for a much sleeker look. I saw this done on another person’s post and I really liked it much better (sorry I don’t remember who to give credit to).
And third, since I would have to countersink the new pattern anyway, I could increase the size of the screws from #6 to #8, hopefully solving my issue with snapping screws.
Now if you consider the diameter of the screw heads and the 82 deg taper, compared to the thickness of the hinge leaf… a mere 1/16 inch SS… the thru hole in the bottom of the countersink is actually larger than the nominal screw diameter. That means that the OEM holes are already big enough to accept the increased size of the #8 screws since the countersinks for their heads will be up in the seal trim pieces. In a way, a fourth win; nothing had to be done to them.
On Saturday Yvette and I ran some household errands, so I got a late start. Then I finished up early since we were going out with Karl and Chris to celebrate Chris’ upcoming B-day, so it was a relatively short session.
I did manage to layout and prick punch the second hole pattern. I used spring clamps to clamp the tape measure and hinge to the edge of the bench; then used a combination square and carbide scribe to pick off the hole spacing; and finally, adjusted the square for the edge distance and went down the line making the cross hatch marks.
If you’ve never done this type of layout there is a technique to placing prick punch marks very accurately. A nice sharp tip on your punch is the first thing. If you can’t “feel” the tip of punch into the cross hairs of your scratch lines, get it as close as you can by eye then just barely tap the punch with a light ball peen hammer. If you’re not happy with the accuracy of your initial mark you can tilt the punch a bit toward the direction you want and move the mark by tapping a few more times a little more firmly and driving the mark to where it needs to be. Once you get the mark well centered, straighten the punch up and give it a good rap or two to really set the mark.
Karl and I made a few fine tuning adjustments to the iron worker, taking the slop out of the spindle guides and lubricating all of the grease points, so that the small punch would center in the die consistently. Then Karl gave me a hand running the hinge thru punching all of the new holes. It was a big help holding the hinge as it can be a bit floppy when laid open flat; and running the iron worker is already a bit like rubbing your tummy, patting your head and dancing on one foot at the same time. You have to unlatch the punch ram with one hand, hold the part into the punch prick, press the foot treadle and lift, all while getting the hand held stripper tool in the right place on the up stroke. Do that 60 times.
I did the layout and prick punch work upstairs while my camera was downstairs, then while punching the holes my hands were oily from the WD40 we used as a tool lube, so I didn’t get any pics of any of it; but here is the hinge flipped over with the second pattern punched.
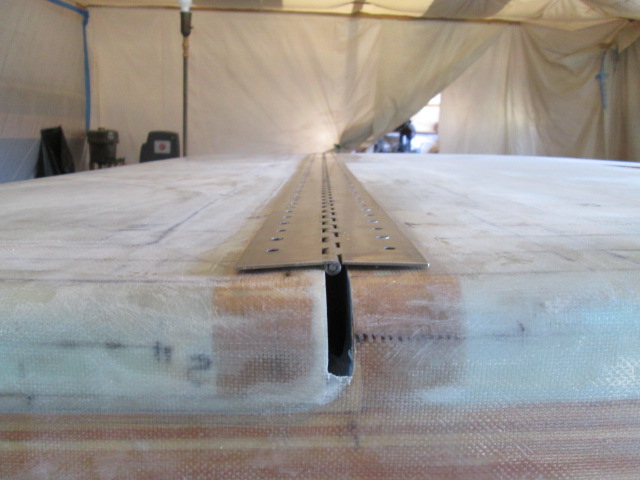
Just eyeballing to make sure that the existing holes in the spars still line up well. I had some concern that I might have to shave some off of the rear face of the cabin side spar, but there ended up being plenty of clearance with a little wiggle room.
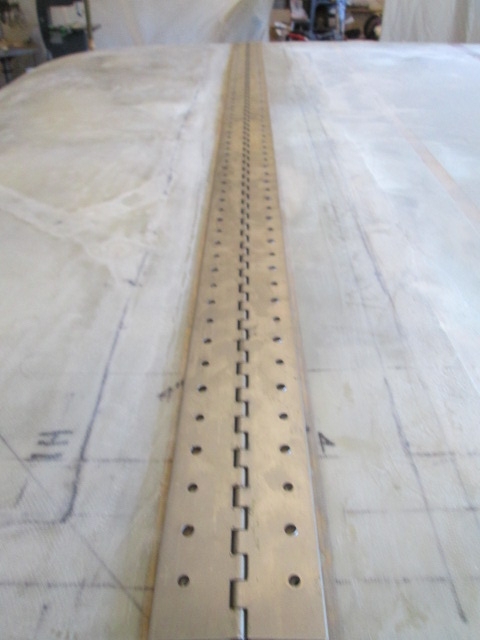
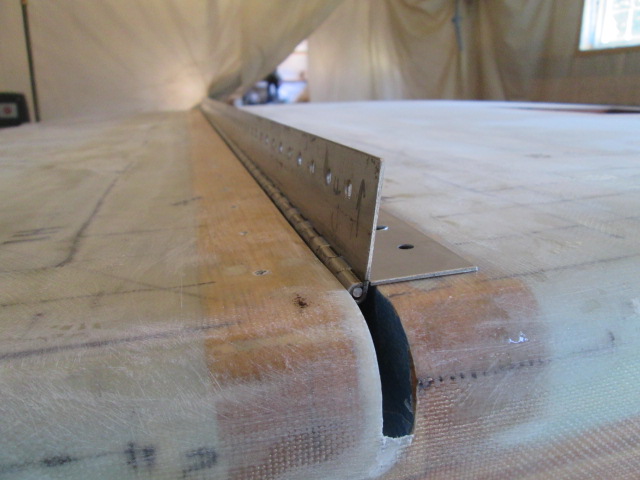
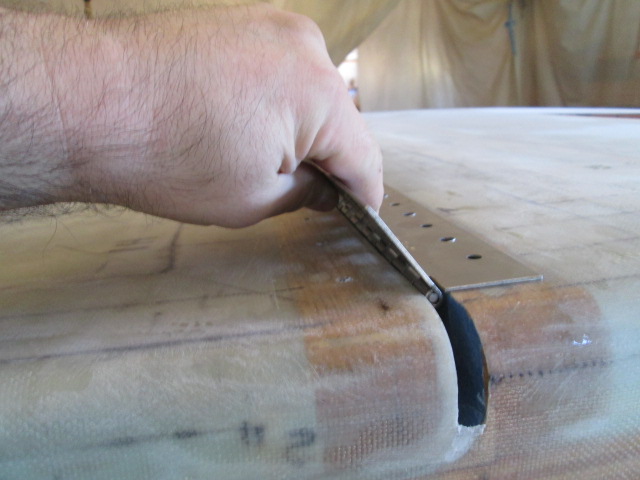
This pic shows the hinge opened all the way back past 90 degs, followed by a pic showing the approximate position the hinge will reach when the hatch actuators are at full stroke, approximately 60 degs, showing that there is plenty of travel with the hinge reversed.
Today I did the countersinks. I used a couple of pieces of waste wood shimmed up in the double vises on the mill, then ran a 1/4 inch cutter down thru the middle to cut a slot for the barrel of the hinge to register into. One of those holes was drilled thru to align with the hole offset in the hinge so that the chips would fall thru and I could drop a screw in to check the depth of the countersinks as I went.
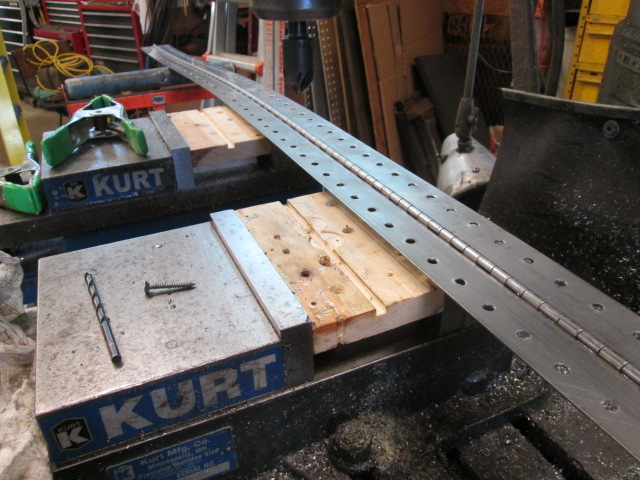
With the hinge flipped over and the barrel just snug in the slot I used spring clamps to hold the hinge down pat. Even still, the leaf had a little flex and the wood isn’t as stiff as a chunk of aluminum would have been, so it worked best to eyeball the depth of each countersink and check frequently with the screw. The size of the punched hole worked out great so that when the depth of the countersink was about perfect there was just a hair thickness of cylindrical hole left at the bottom, so I quickly got the hang of finding the right depth fairly accurately. I moved the hinge for each hole; the spring clamps with rubber pads had just the right amount of give to where if I gave the initial feed a little jab like poke it would center up the hole, rather than starting and staying lopsided.
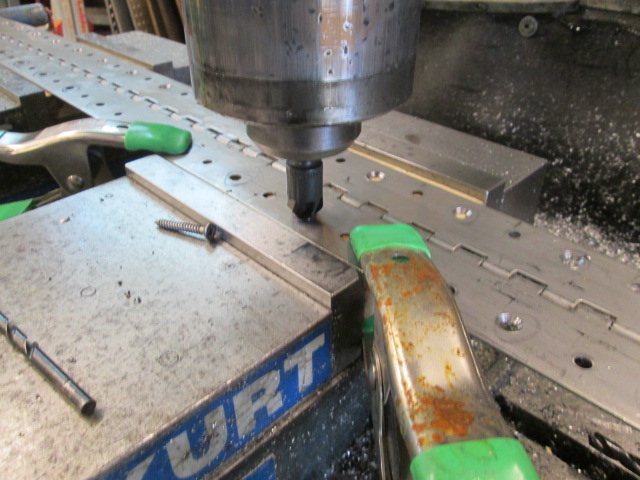
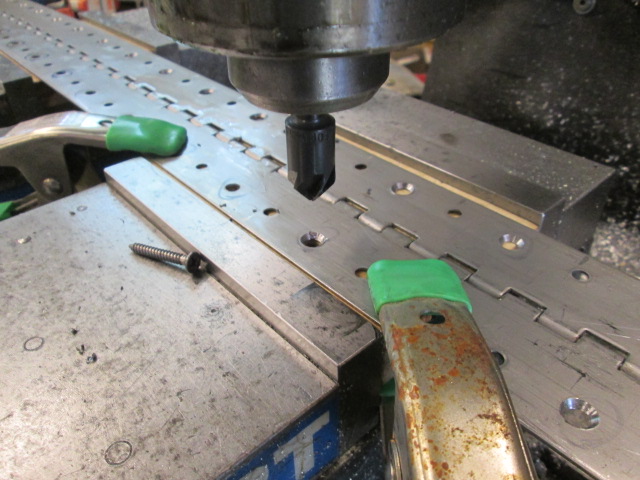
Not bad. You’ll note that I circled every other hole with a sharpie just to make sure I didn’t mess up the pattern, and although the lube acted as a solvent dissolving the ink, I could still differentiate the marked holes. Also, you can see how the countersinking bit made just the slightest raised burr around the edges of the holes.
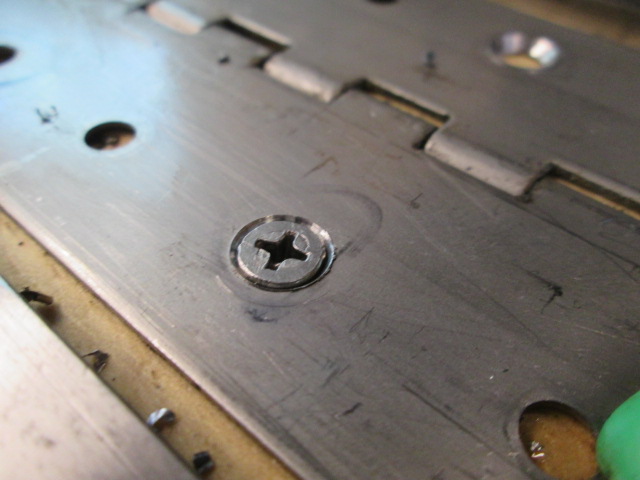
Back upstairs in the loft I used the small very fine file and small sanding block to scuff off the burrs on both sides of both leaves, cleaned the hinge well and did another test fit.
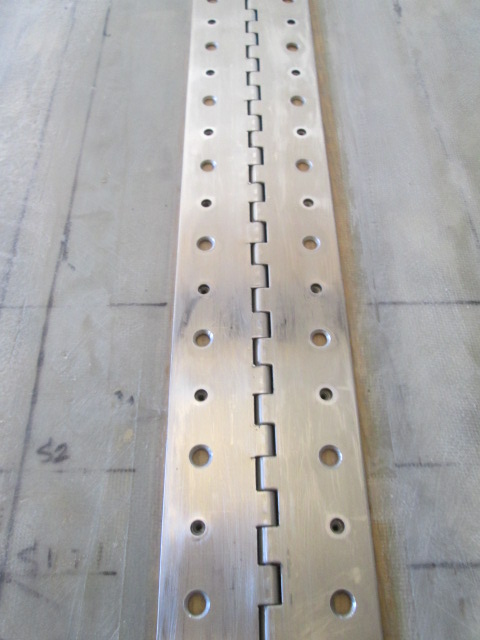
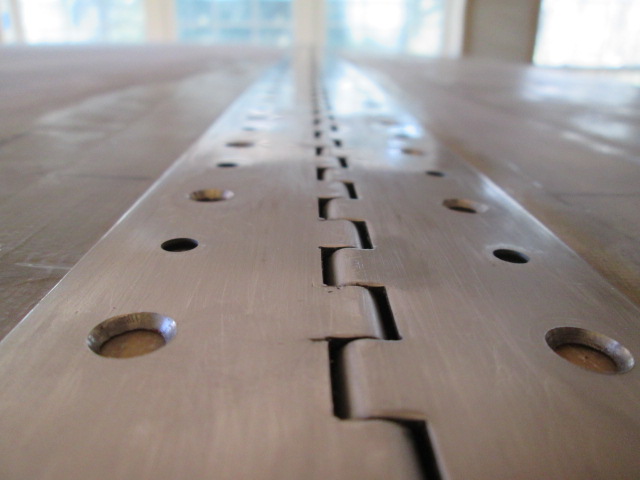
I’m pretty happy with that! Unfortunately the local orange box didn’t have enough of the #8 screws in SS, so I will have to order them.
I want to get the hinge screwed down again to lock in this hatch alignment before I cut the hatch free again, but there are plenty of other things to do while I wait for the brown truck.


 Great way to keep the hatch aligned , pre-hinging ...


 I'm curious to know how you arrived at the decision to drill the second set of holes in your spring leaves. I did my hinge (
