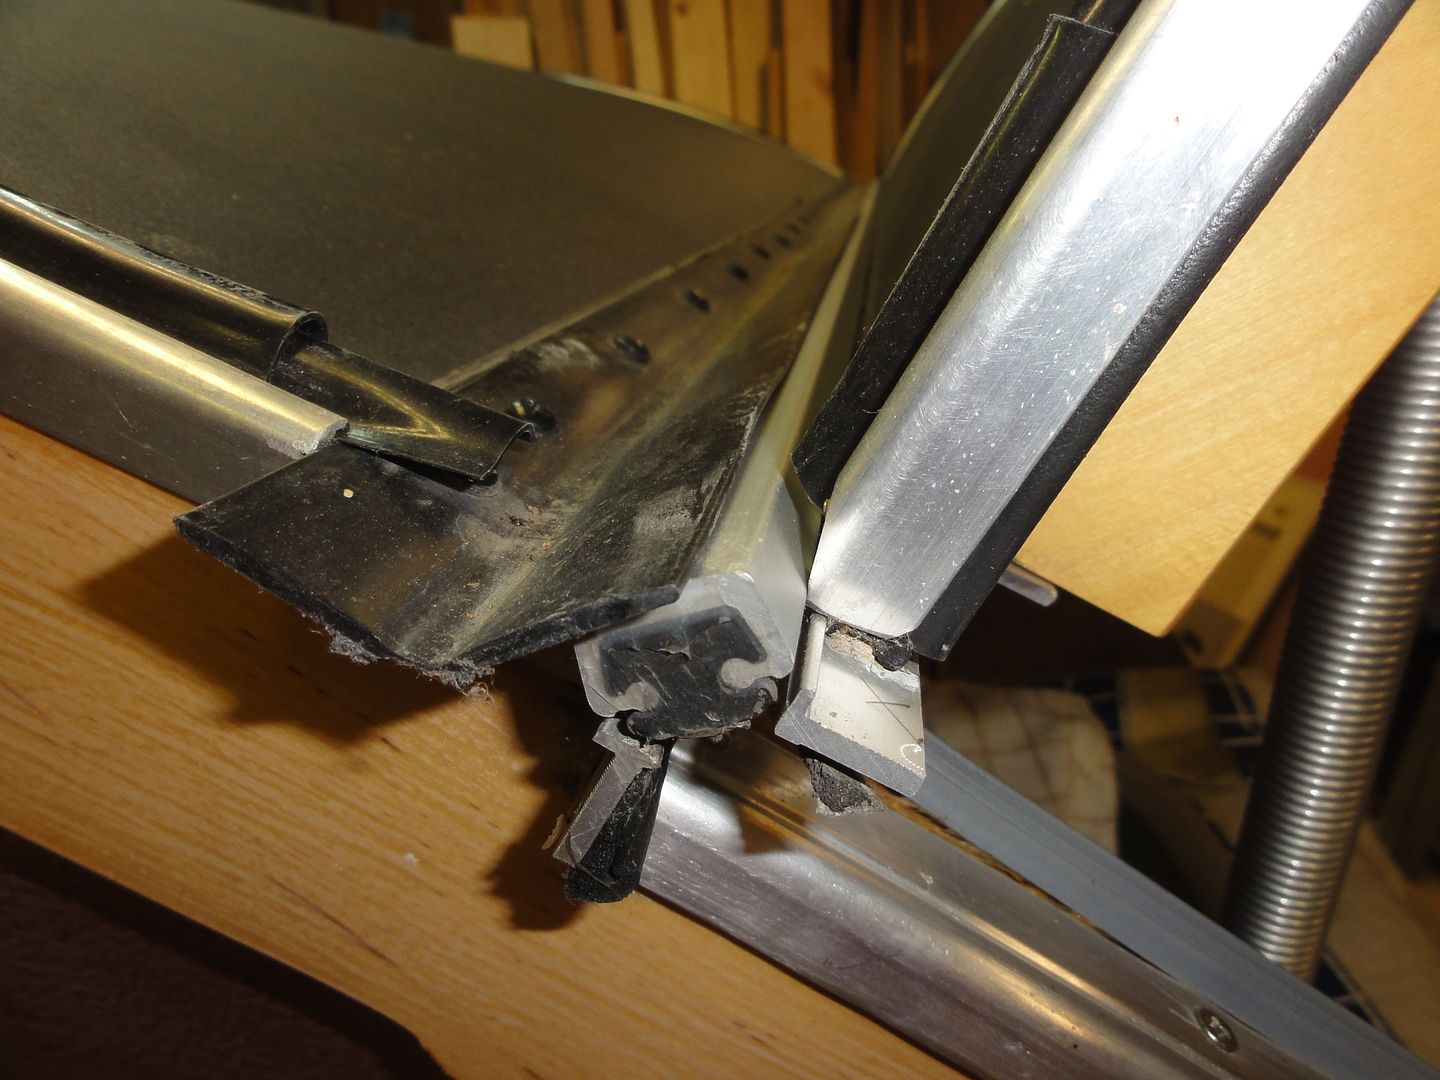
Hatch seal with no notch walls
17 posts
• Page 1 of 2 • 1, 2
Hatch seal with no notch walls
I know i have seen a post on here about how to do this. I am ready to start my hatch construction and can not get how this will work. I understand the hinge side. Just cant find the pics showing the seals. Build thread.....viewtopic.php?f=50&t=70427
-

Carl01234 - Teardrop Master
- Posts: 100
- Images: 116
- Joined: Mon Jun 21, 2010 12:36 pm
- Location: Chattanooga, TN
Re: Hatch seal with no notch walls
I'm not sure exactly what you are looking for. What style of hinge are you using. If it's a hurricane hinge, is it flush or offset. There needs to be space for the gasket to fit under the galley lid. Most people run the galley skin over the sidewalls of the trailer and the gasket goes on the trailer wall. Some detailed pics of what you have might help.
-

Woodbutcher - Platinum Donating Member
- Posts: 4191
- Images: 45
- Joined: Fri Mar 10, 2006 10:01 pm
- Location: Chicago Suburbs


 This image is from Frank Bears website. If I do it like this the roof would stop at the inside of the t moulding and not go a the way to the outer edger of the the wall?