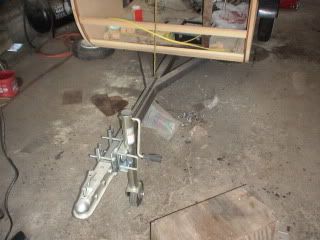
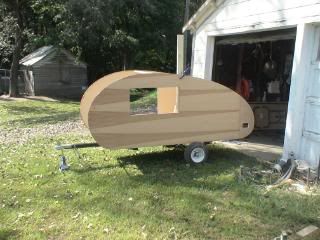
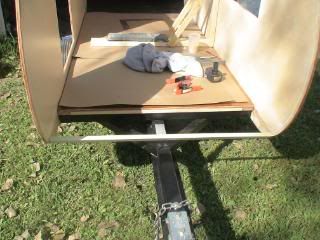
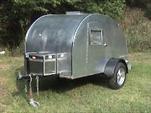
Yep, trailer has set since 2004, thanks for the reminder. Looks like I will need a new tongue as this one only extends about 18 inchs past the most forward part of the body.
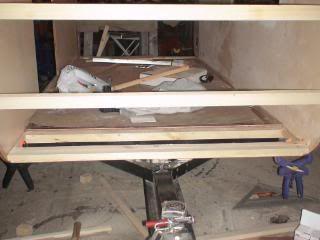
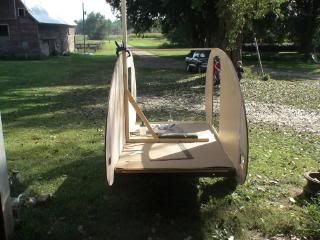
Got the floor extension supports done. Just need to cut plywood yet and pull it apart and epoxy the new peices.
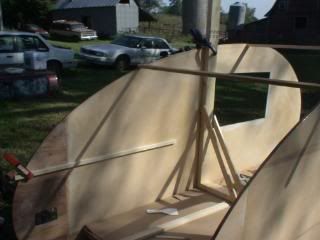
Here is the rear both of these where cut from 2x4 and will also act as spars.

Here is the front, the crossmember with the red X will also act as the first spar where the aluminum will start. I goofed when putting the walls up I put them level with the frame rails and forgot that the tongue is actually 1/8 higher than the side rails and wouldn't have been able to get the first spar in at the start of the current floor, and wouldn't have had room to get any screws in.
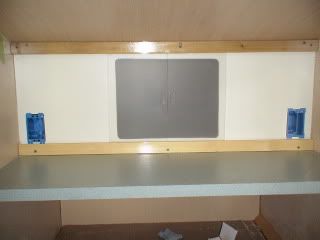
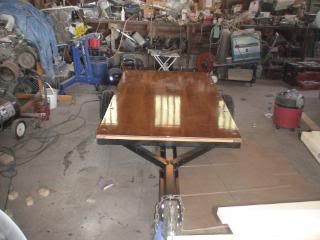
everything underneath will get three coats of epoxy.
If I could shut my brain off, I could save myself alot of time, money and effort.
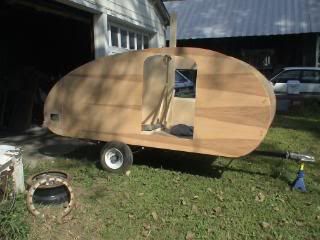

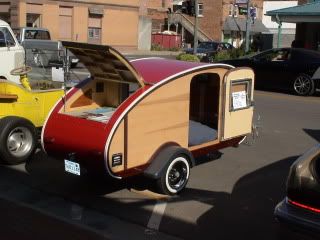
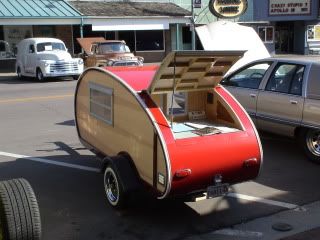
 Very nice
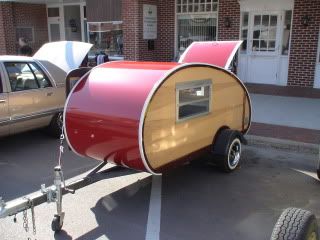