Hello Peeps: I am going to tell you how I built my floor in this segment, with pics.
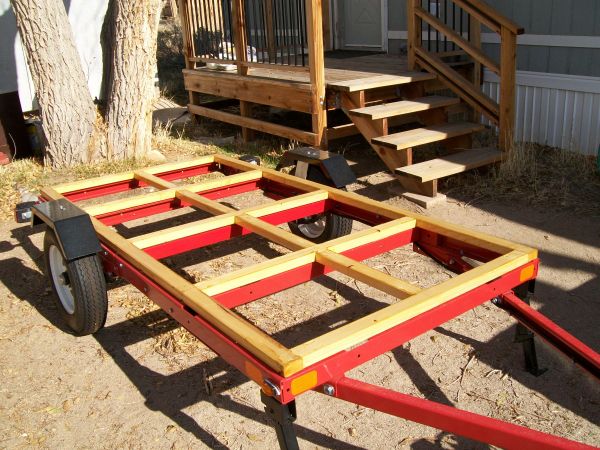
When I started I did not have any saw horses, so I used the HF frame to lay a sheet of old plywood to work on. I measured and cut all of the wooden 2x3s using my 12" chop saw. I used Gorilla glue and my Kreg Jig pocket hole tool to attach it all together. I placed two holes on the bottom of boards. When it was dry, I flipped it over and placed one more screw in each joint going the opposite direction on the top. Everyone needs to remember, this is my first TD build so overbuilding is inevitable. I placed waxed paper below the frame so it would not stick to the plywood. The Kuffel Creek plans did not call for the braces going down the center of the frame but overbuild struck me again.
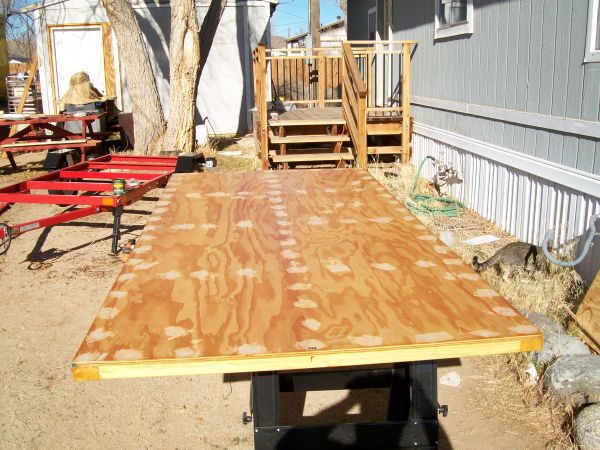
Here it is after three coats of Cabot marine spar varnish. Or has it been dipped in honey?
I used a sheet of 1/2" marine grade plywood for the floor. I secured it to the wooden frame with PL premium construction adhesive and countersunk 1" long screws every six inches around the perimeter and where the cross members are located. I then covered the screws with Bondo wood filler and sanded it all with 80 then 120 grit sand paper. Here it is with three coats of spar varnish on it.
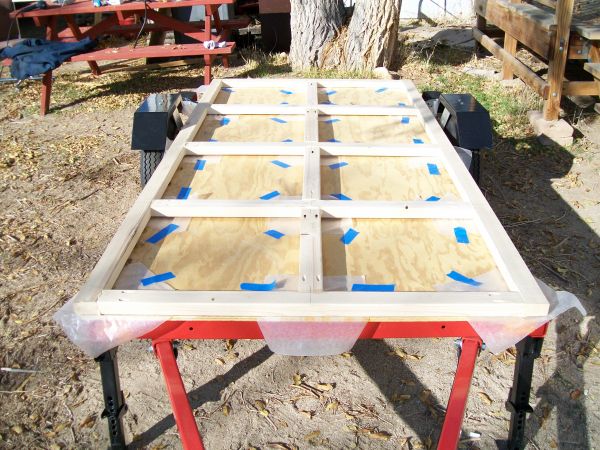
I insulated the bottom of the floor with 1 1/2" R Max foil lined foam panel insulation. You can see the sizes of the openings written on the blue tape. This made it faster to cut the pieces because I had the dimensions for all openings. I used a hacksaw blade to cut the pieces 1/8" over sized. PL adhesive them in and interference press fit them in.
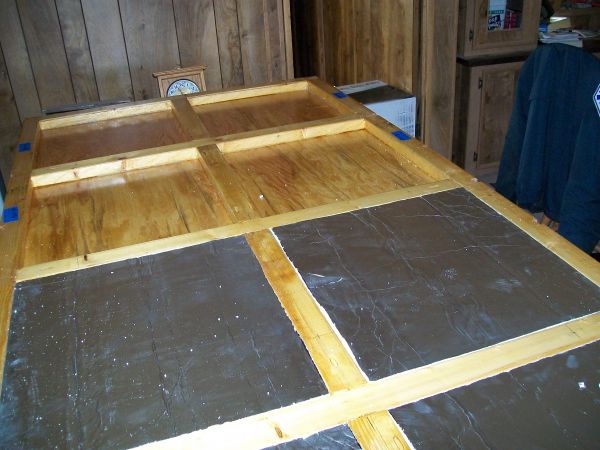
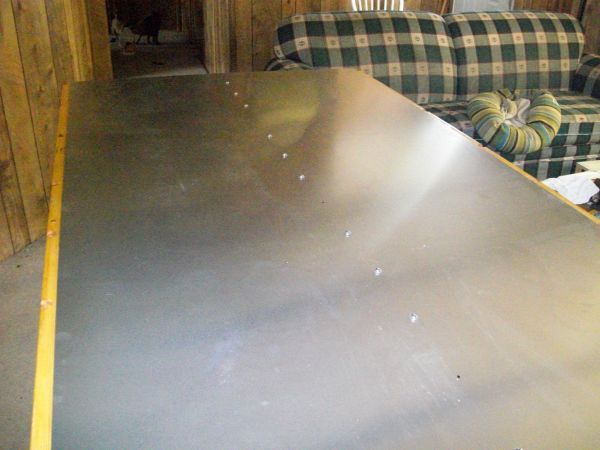
After all of that I placed a sheet of .050" aluminum on the bottom of the floor as a road debris deflector and to keep the insulation from getting ripped out. I secured it with SS screws down the center and along the sides to hold it up. I didn't have the screws attached along the sides yet in this pic. There is a space between each group of three screws. The cross members will hold those areas up.
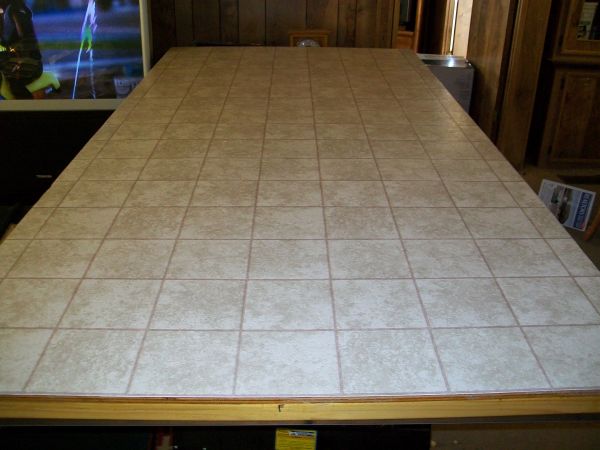
I got a 5x9 sheet of vinyl flooring from Lowes and glued it to the floor. It has a 6" by 6" pattern in it. I liked the look of this better than a 12" by 12" pattern. It looks more in scale to the small interior dimensions of the TD. I probably should have waited to install the flooring, but I thought it would be easier to do now. I didn't think of possible damage to it as the build continues. I will just protect it with something as I progress.
Here we go now, it is getting some where.
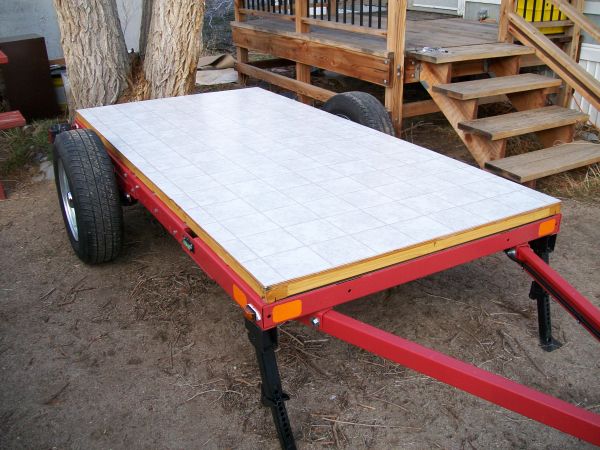
This week-end I want to paint the frame silver and attach the floor to it. I have all the holes drilled and I will use galvanized carriage bolts & lock-tite to secure it to the HF frame.
I hope to make an update tomorrow, with more pics of the painted frame and floor installed.
Thanks for watching "Silver Nugget" Television !


 Thanks for the pics!