While awaiting the purchase of a replacement router, I busied myself with some various odds and ends.
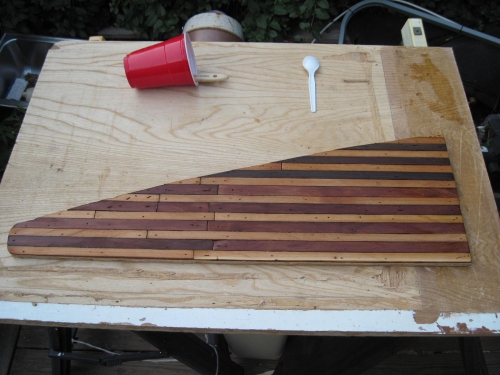
I wasn't happy with the appearance of the laminate covering on my bathroom upper cabinet door. So, it got my now standard... cedar strip
covering.

I made a matching cedar strip panel that I attached to the divider wall, near the ceiling. No pic now, sorry.
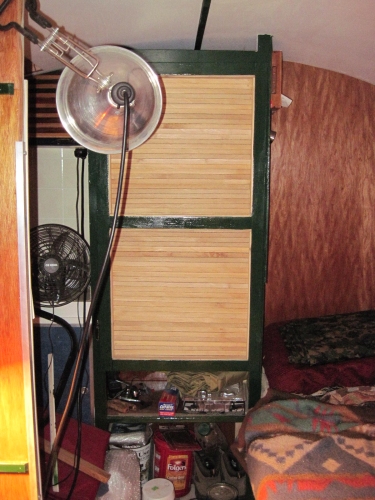
I also made a door for the upper "hanging clothes" area of the closet. Not sure if I'll make this permanent or not. Might be a case of cedar strip overkill. A curtain might replace it, so I'm putting off finishing the cedar. A portion of the bathroom cabinet door can be seen above the fan.
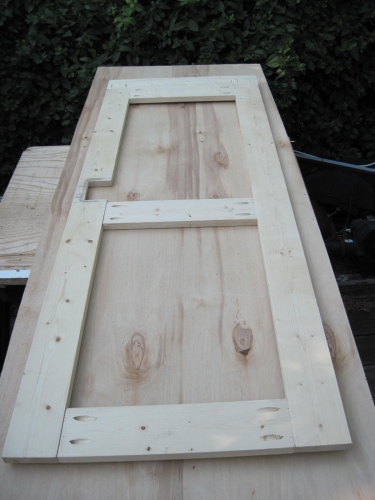
I also began work on the door.
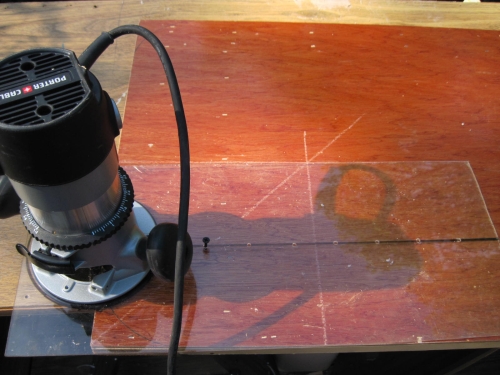
With the arrival of my new Porter Cable router (man, is it sweet!) I made a circle cutting jig from plexi and radiused the top corners using the same radius of my windows.
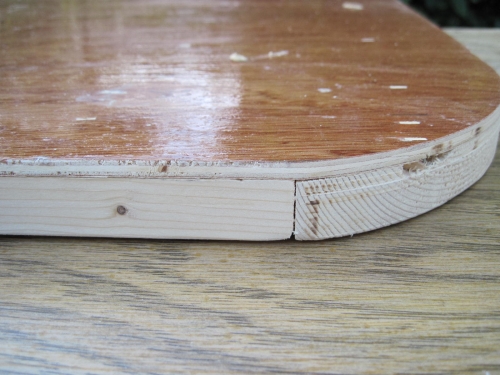
A roundover was done on the roof/wall joint. I'm awaiting a roll of fiberglass tape.
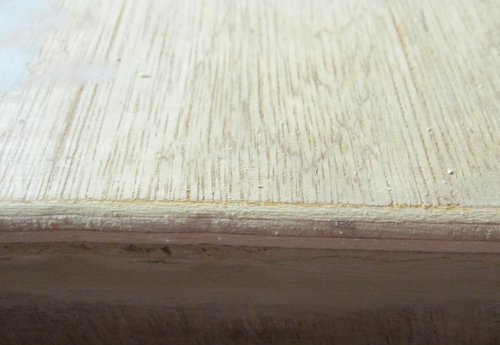
Sighting along the top of the hatch, I noticed a bow. 1/8" deflection on each end. This is somewhat worrisome but I was unable to think of a suitable remedy without disassembling the entire hatch. When it was first built, it was fine. I believe it developed a slight warp as it sat in place loosely secured.
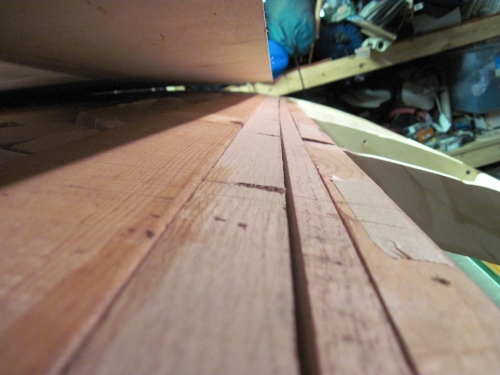
I decided to reinforce the last roof spar (doubled 1 x 2 oak) with a 2 x 4 joined with Titebond and pocket screws. Hopefully this will provide a solid area for attachment of the "living hinge". If the warp doesn't straighten, hopefully the 1/8" deflection on each end won't be a problem. With that in place, the last section of roof skin was screwed down.
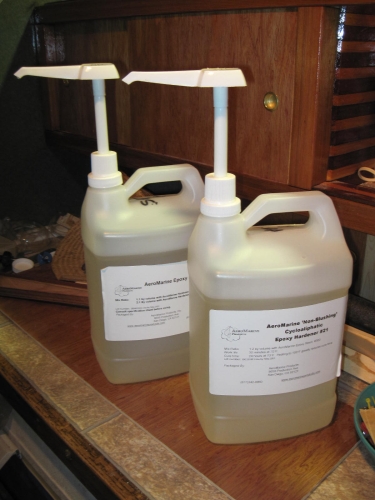
I plan to use digital camouflage print fabric for the sidewall treatment, epoxy laminate method. My 3 gallon order arrived from Aeromarine.
I began applying a base sealing coat to the luan. Loosely brushed on with a chip brush and then spread with a Bondo spreader. I have to pick out an occasional chip brush hair, no problem. When I apply the cloth, I will use foam rollers.
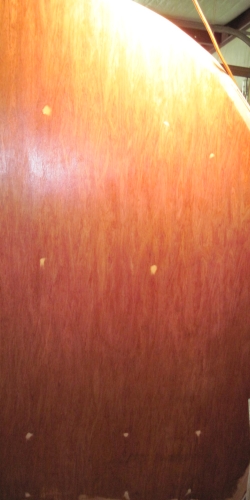
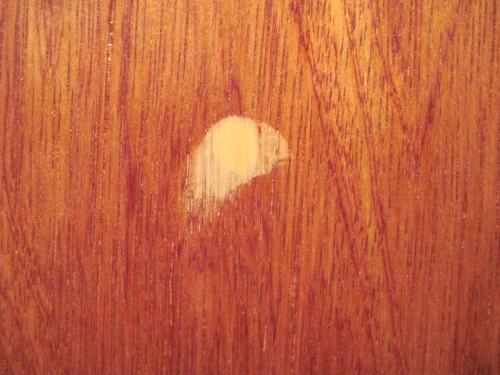
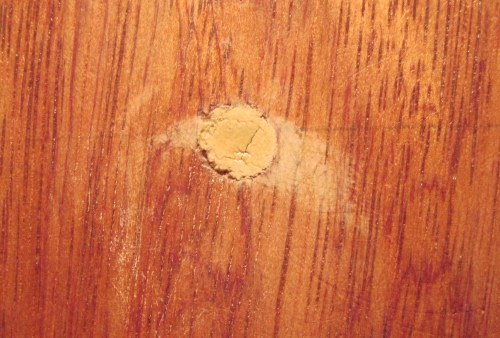
Elmer's wood filler is far superior to PL brand, IMO. Elmer's doesn't have a tendency to crack, PL does. Elmer's pic first, followed by PL.
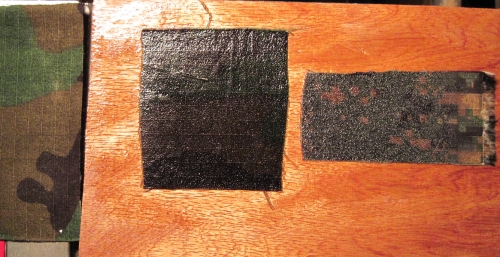
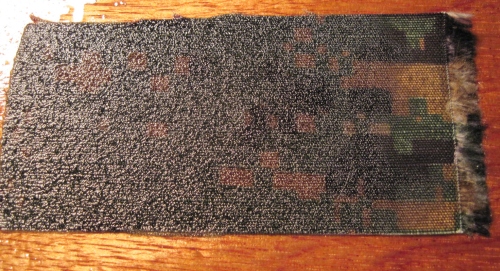
I decided to perform an experiment before applying the cloth to DD. I first coated some luan with epoxy and let dry 24 hrs. Then, I covered a small area with epoxy and placed the cloth sample on it and brushed a coat on top. The initial appearance was unnerving. The design on the cloth was gone, it appeared to be solid black.
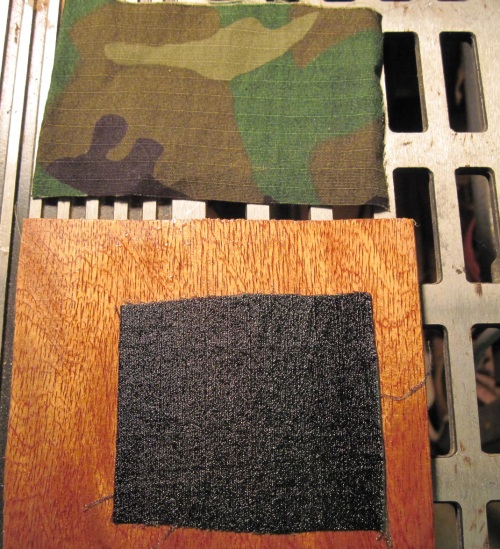
After another 24 hr. dry time, still dark. The surface was rough and I lightly sanded it with 150 and applied a second top coat. 24 hrs dry time later, the design of the cloth can be seen again. All better now! (I also tested a swatch of the cloth I intend to use.) No difference between the two. Here's the progression.

On this swatch, epoxy covers the left two thirds. The remainder is dry.
My fiberglass tape is due to arrive on Tuesday. In the meantime I've been busy filling screw holes, sanding and applying the first layer of "sealing epoxy" to the luan. The first coat soaks in quickly, subsequent coats result in a nice, mirror finish.
For the roof, I'm leaning toward using Valspar Tractor and Implement enamel in a color that will compliment the digital camo fabric. Looking at IH white now, which is a light tan or cream color. I have a terrible eye for coordinating colors! Any and all suggestions always welcomed.


 Oh, Nice!


