Picked through the old magic milk crate of scrap for another chunk of steel for tonight's after work project; The tongue jack mounting plate.
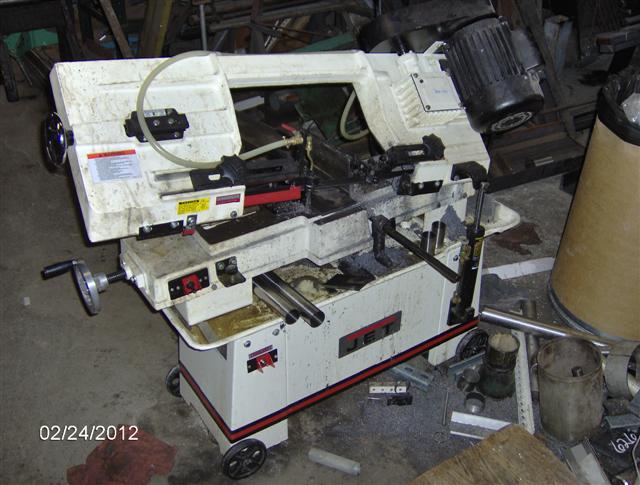
Used the Jet cut off saw (located in the basement fab shop at work) to cut the blank to length.
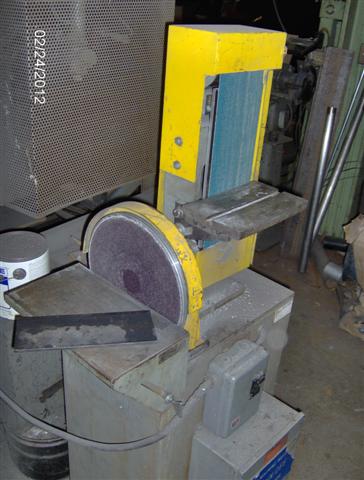
Cleaned off the burr from the saw cut using the sanding wheel.
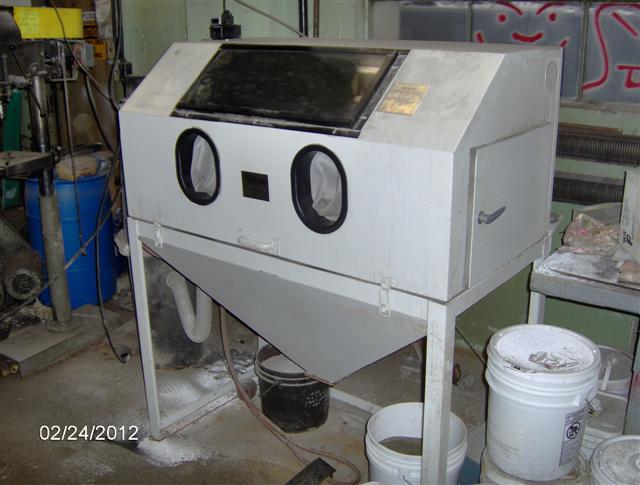
Removed the little bit of rust and mill scale in the grit blast cabinet.
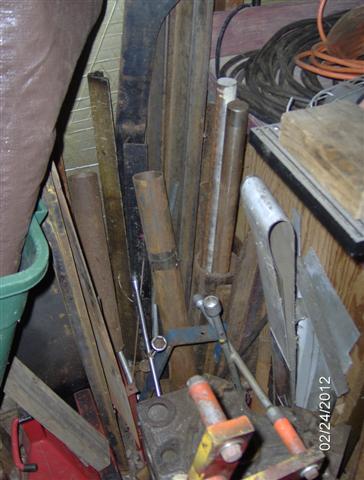
A little layout and prick punch work.
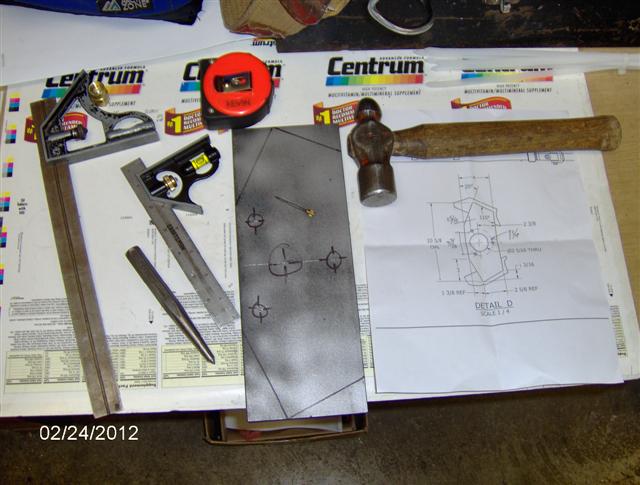
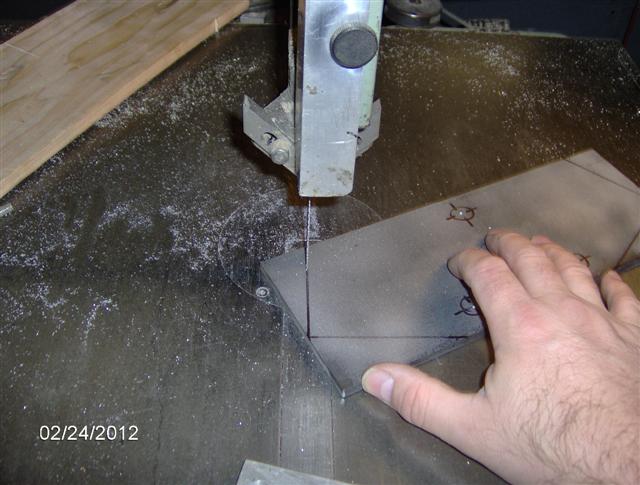
See the little brass crowned scribe in the previous pic? It stores in the back of the combination square. I think most people don't even know those are there, or don't know what it's for. I didn't bother with any layout dye (Dykem), but was still able to get a very accurate layout with just a rule, this square and the scribe. Hit it with a few sharpie marks to make the punch marks stand out and it's off to the DoAll vertical bandsaw again.
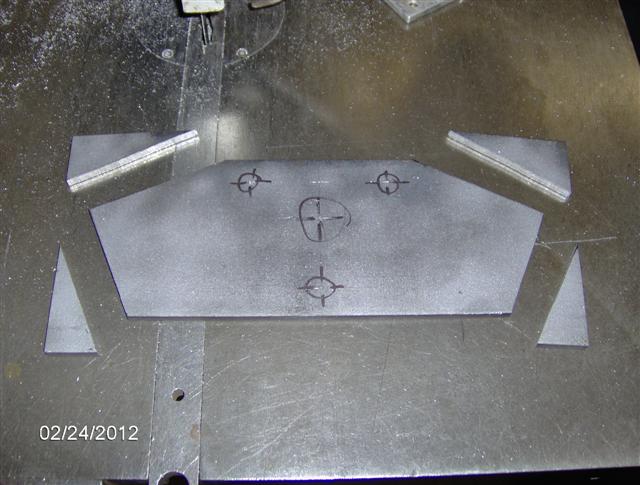
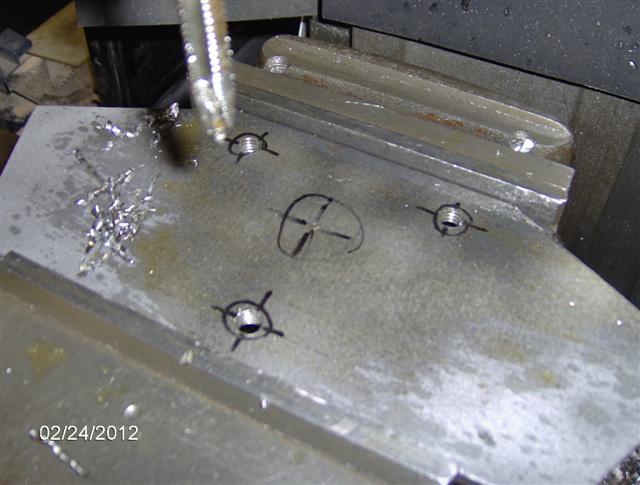
Of the three bolt pattern, the centrally located hole goes to the front of the trailer (bottom of pic) and the triangular cuts at the outside front (bottom) run parallel to the tongue frame rails, with a little set back margin so that the welds will land inside of the radius on the edge of the square tube. The rear (upper) triangular cuts are just there to trim a small amount of extra weight (very small) and to make the part “appeal to the eye”.
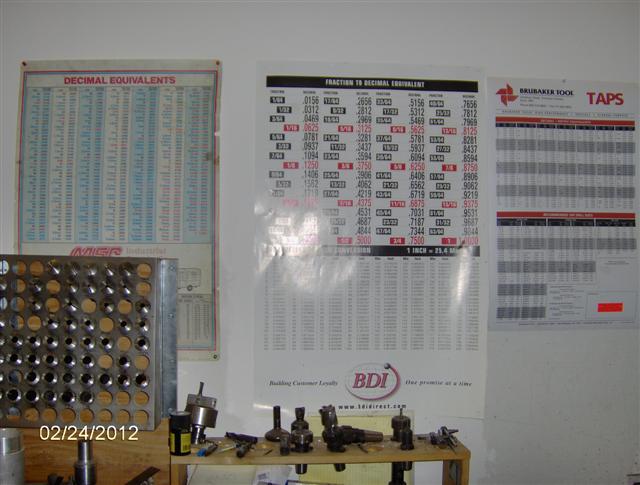
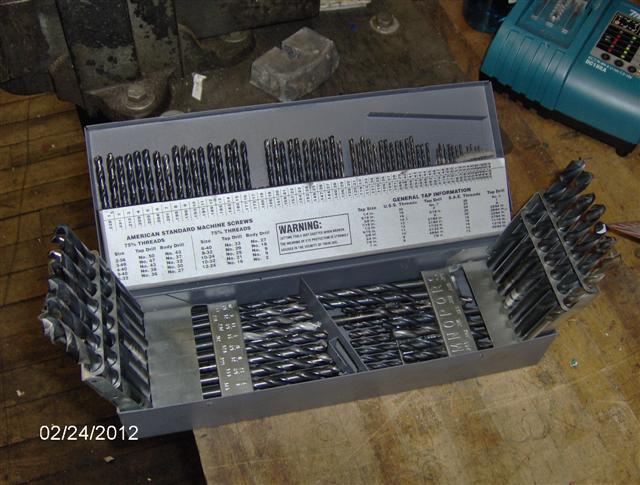
I already know off the top of my head that a 3/8-16UNC tap requires a 5/16 pilot hole, but because you folks (me, too) are all so hungry for pics, here’s a shot of the tap chart hanging on the wall in the machine shop.
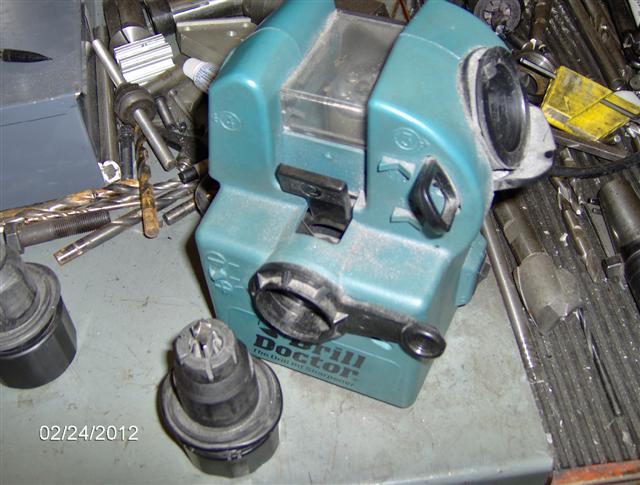
A nice sharp drill bit…
If not, Drill Doctor to the rescue.
Over to the Bridgeport J-head milling machine…(In my best Tim "The Tool Man" Tayler voice, thumping chest) Urgh, Urgh, Urgh!!!

I work with a real talented group of nice down to earth blue collar guys (no offense intended, hell, I’m blue collar myself!!!), but their mothers and wives don’t work here. Left the vise and bed ways all full of an accumulation of chips from numerous jobs. (In my best Romper Room teacher’s voice – “I see stainless, and mild, and Teflon, there’s brass, and drill bits and pipe hangers…). Anyway, clean out the vise and add a make shift set of parallels to hold the piece up and avoid drilling into the vise.
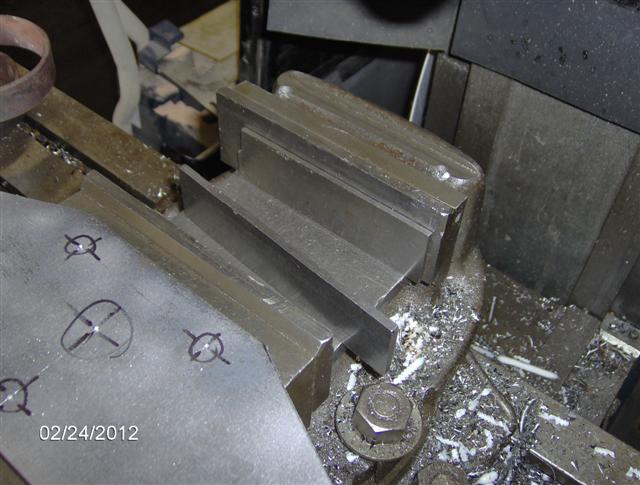
Clamp the work piece.
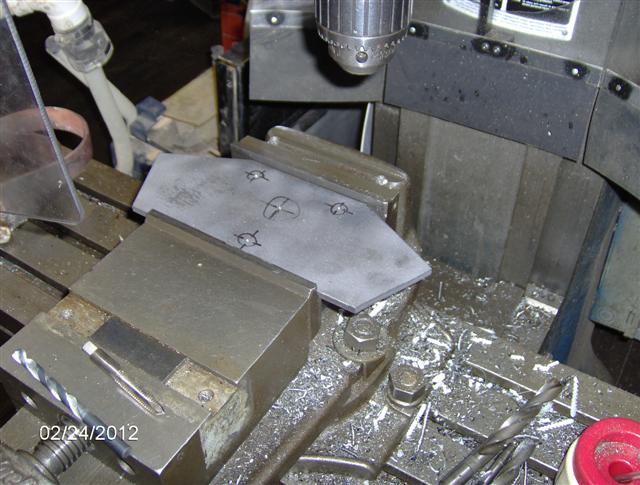
Chuck a pilot drill and align the bed with work piece under the bit.
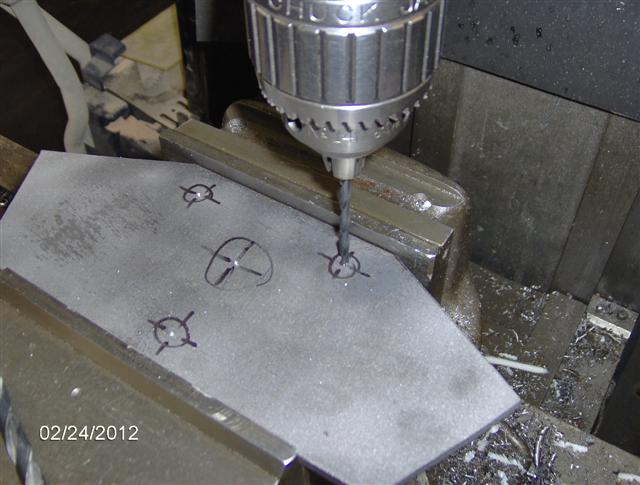
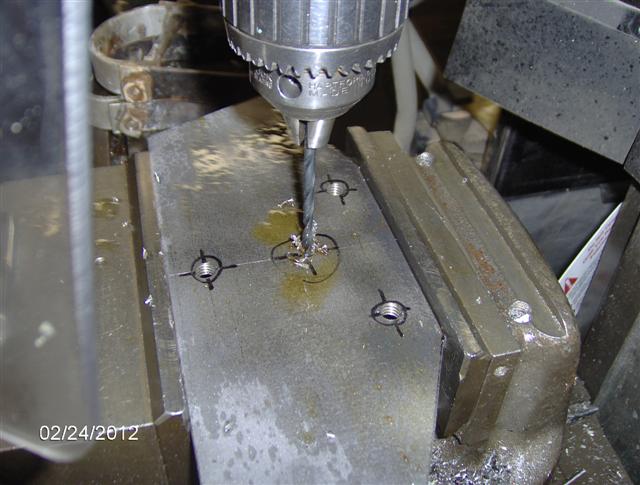
Add a bit of cutting oil and its time to make some chips!!! Nice double fluted spiral chip…I love a sharp drill bit and slow cutting speed!
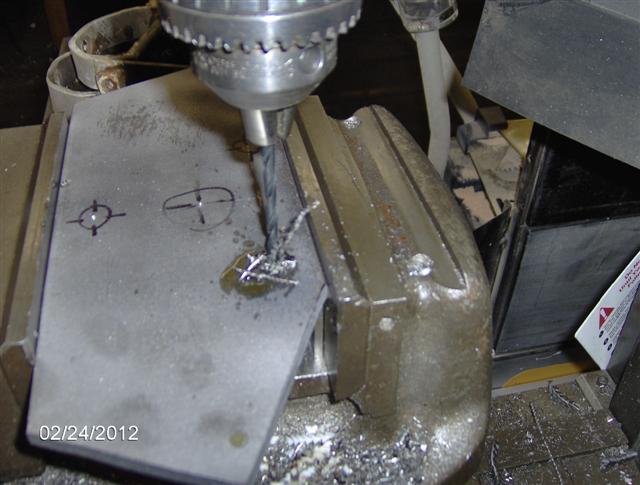
Change to 5/16 drill bit and poke it again.
Power tapping. Slowest speed, plenty of cutting oil, start with a little pressure then let the tap feed itself, bury it, shut the motor off, reverse, Bob’s you’re uncle no fuss no muss.
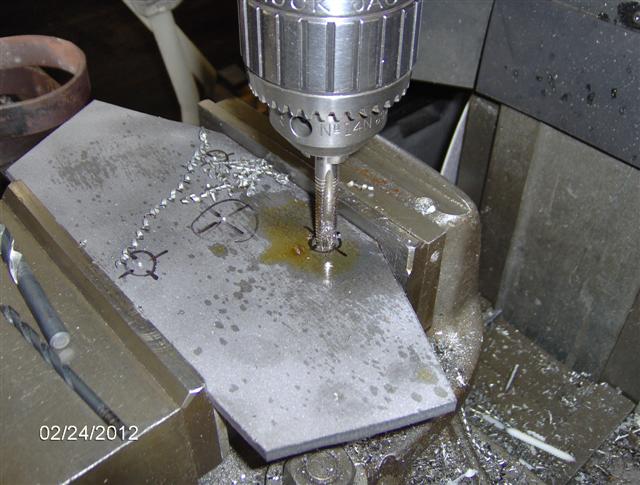
Wash, rinse, repeat, and we have three perfectly tapped threaded holes.
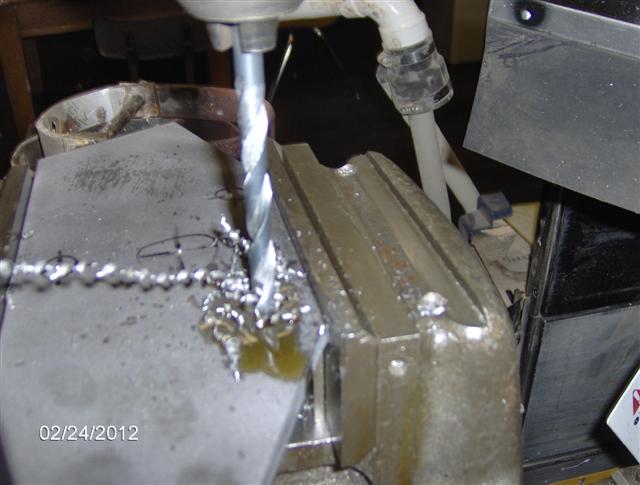
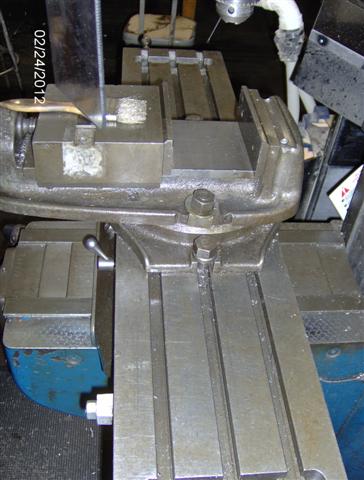
Center and pilot drill the jack cylinder thru hole.
Lots of lube, lowest speed, 2-1/4 inch hole saw.
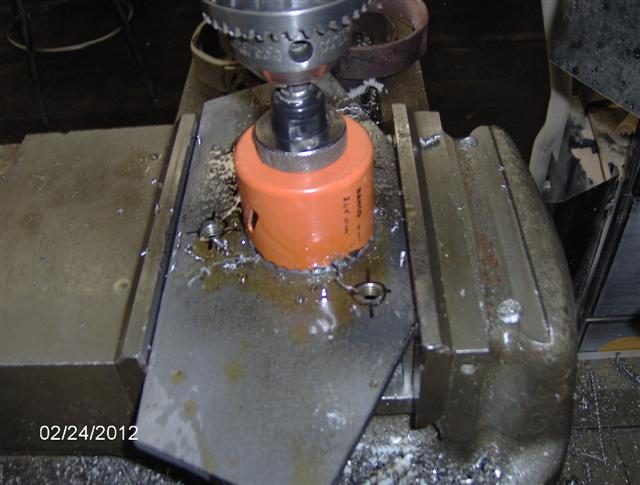
Making chips!!!
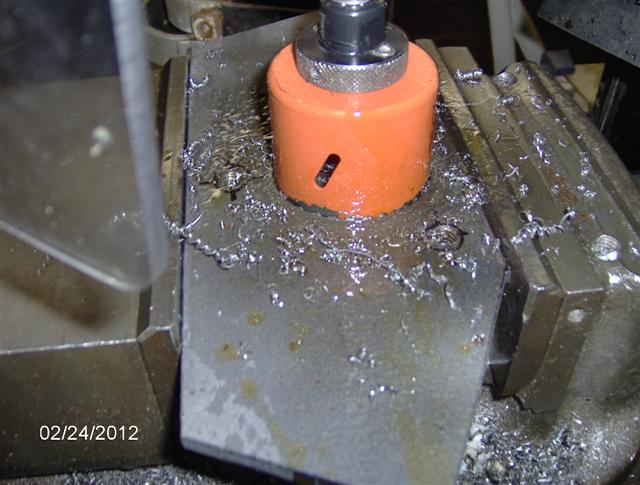
Clean the chips out and lube frequently, especially once the relief in the saw tooth gets buried below the surface of the work.
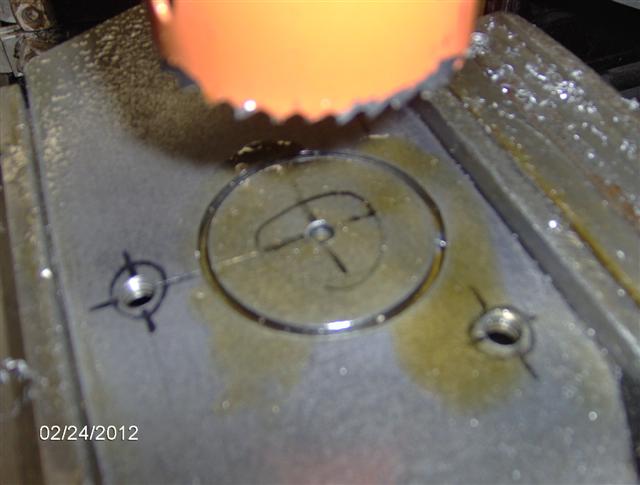
Now the hole saw is 2-1/4 dia and it cuts a little bigger swath due to wobble, kerf, runout, etc., but the jack cylinder is also 2-1/4 plus paint. Don't have a 2-5/16 hole saw? Set up an adjustable boring bar.
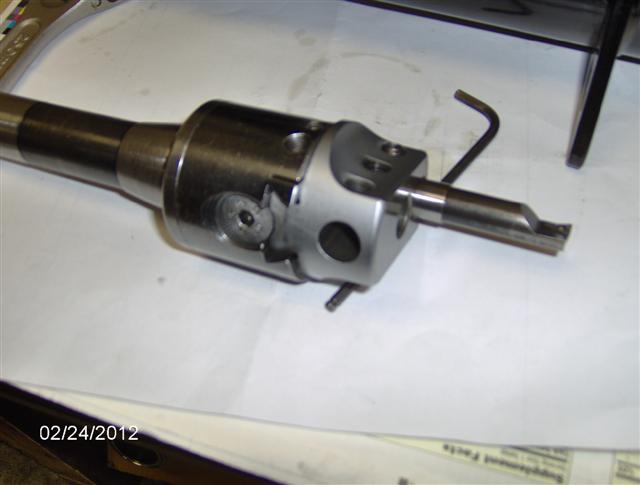
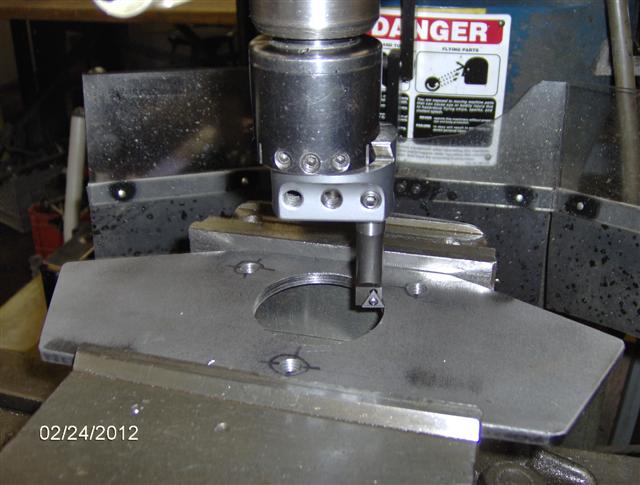
Mount boring bore in mill (it only looks misaligned in the photo due to the angle of the camera).
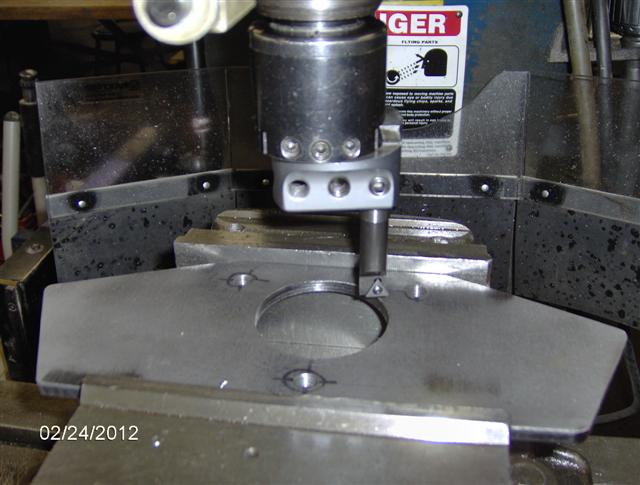
Slow feed and speed, light cuts to get out to 2-5/16 plus a scoatch (2.340 to be exact).
Clean up after yourself!!!
Back to the basement to sand all the sawn edges smooth, radius the corners a bit, and knock off any small burrs.

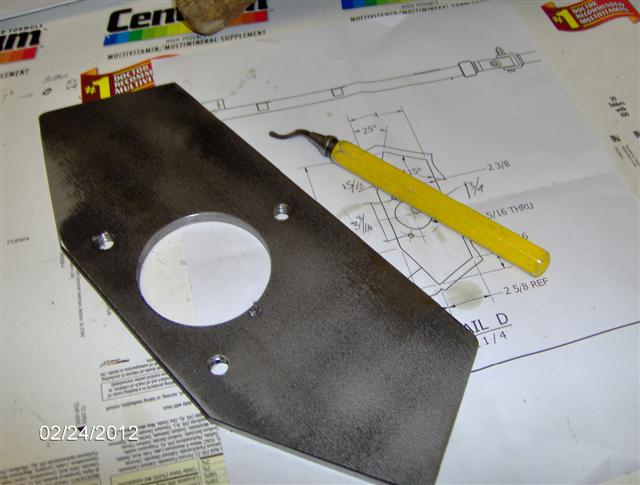
Final deburring with… wait for it… a deburring tool! The little hooked knife blade swivels in the end of the yellow holder so that when you drag the knife across edges it always presents the correct cutting profile, usually.
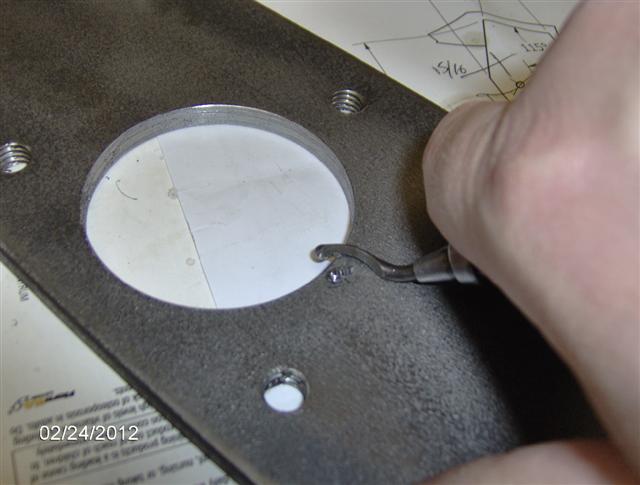
Another shot of the part and deburring tool.
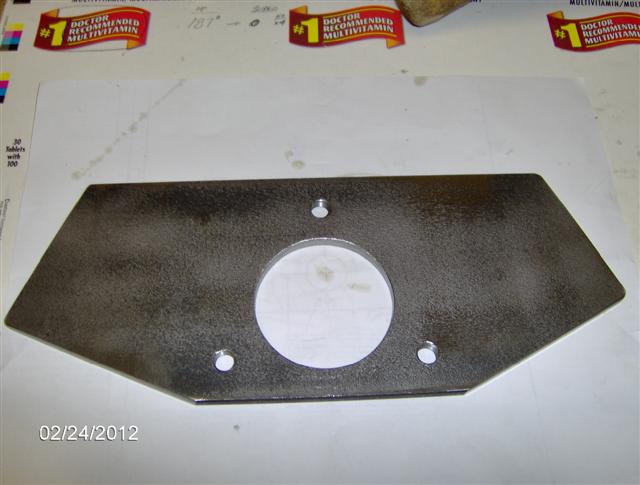
Finished part.
Worked on the drawings some more and called it a night.
Tomorrow, Saturday, I will take the std coupler back for a refund and hope to return to Fab Mecca to get something more done, need to scrounge up some proper mild steel round bar for the swivel coupler and still need to cut the rear trailer frame xmbr. Maybe get the main frame section welded up.
When I arrived home there was a package stuck in the storm door; the bronze bushings, slotted 1 inch nut and SS fixturing washer that I ordered for the swivel coupler, and a bag of the pronged thread inserts that will be used to bolt the floor to the trailer. Pulled everything out of the box and the individual plastic bags, laid them all out and took a photo, but the photo did not come out of the camera for some reason. Will try again next time.
All for now, nighty, night.


 ). (Both images are from this guy again
  ). The std coupler is actually stamped with the brand name "Shelby" 5101, not Carry-On, but the spec.'s are the same as mentioned before.
 ...and besides, if they were to fail me, I could always just pull the swivel spud out of the front of the frame and weld on the std coupler temporarily to get thru inspection, kind of a pain and another day off work to get reinspected
  ), and 2) the extra complication and machine work of fabricating the assembly. Karl asked if there were any commercial off road couplers available and I explained that they were not inexpensive and most of the ones I have seen, tho functional, are not very streamlined or particulary attractive to my eye. Can you see where this is heading?
 ) I can get started on that. Will save main frame assembly and welding for next weekend when there is enough time to get it together enough to be able to move it out of Karl's way again during the week.


 Got my attention. Busted several teeth off of low gear. The guys in the machine shop both felt really bad for me, they had been in similar situations before themselves. In fact they were greatful and had been abusing the poor thing pretty hard in the hopes that it would die soon and they could then justify upgrading to a more modern CNC. The boss took it well; I stood up and told him that I had screwed up, took all the blame. That's all they want. Nothing pisses them off more than people hiding their mistakes and leaving some not so little surprises lurking in the shadows. We pulled the top off of the gear box and took a look...not good. Fished out the bits that we could with a magnet, changed the oil, put a strap on the gear change lever screwed right into the side of the case so that no one would try to switch to low range, and ran it in high gear only until the end. The repair parts would cost more than the lathe was worth, not including our time to rebuild it. Enter the Fryer...Kev doesn't get to use the Fryer. The day that the guys threw the Mori Sieki into the dumpster, the logo plate broke off and the guys thoughtfully gave it to me as a momento. I wear it proudly as a lesson learned. Don't be distracted when operating machinery, complacency brings mistakes and possible injury.

