
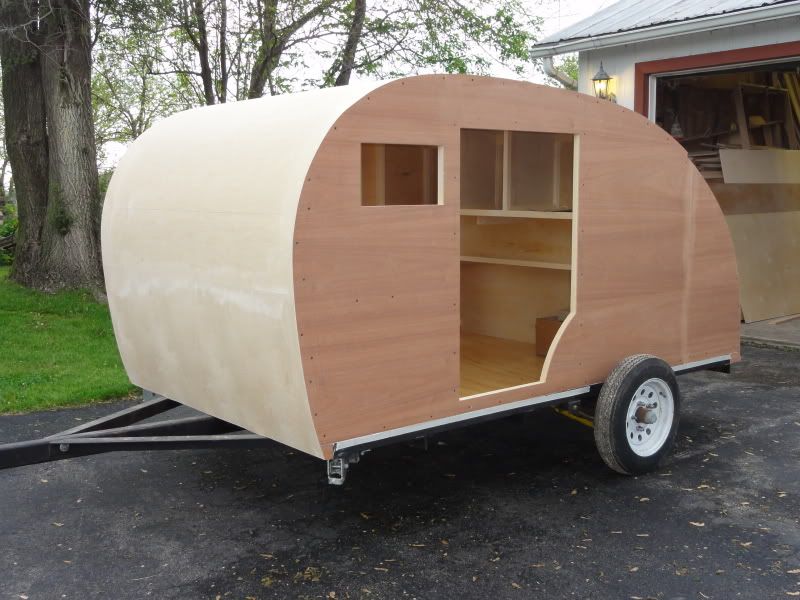
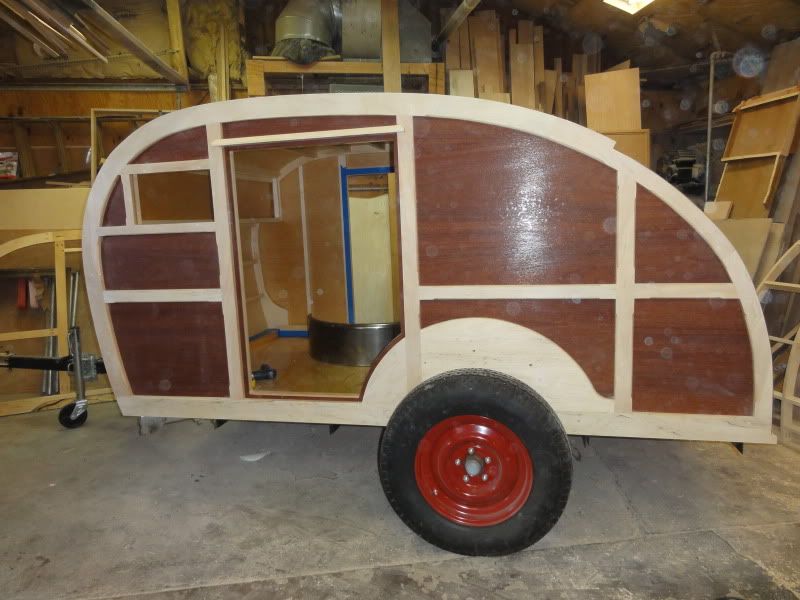
PS sweet profile too!
Teardrops n Tiny Travel Trailersor t n ttt for short (tnttt.com) |
![]() by mallymal » Mon Apr 23, 2012 3:50 pm
by mallymal » Mon Apr 23, 2012 3:50 pm

![]() by S. Heisley » Mon Apr 23, 2012 7:32 pm
by S. Heisley » Mon Apr 23, 2012 7:32 pm
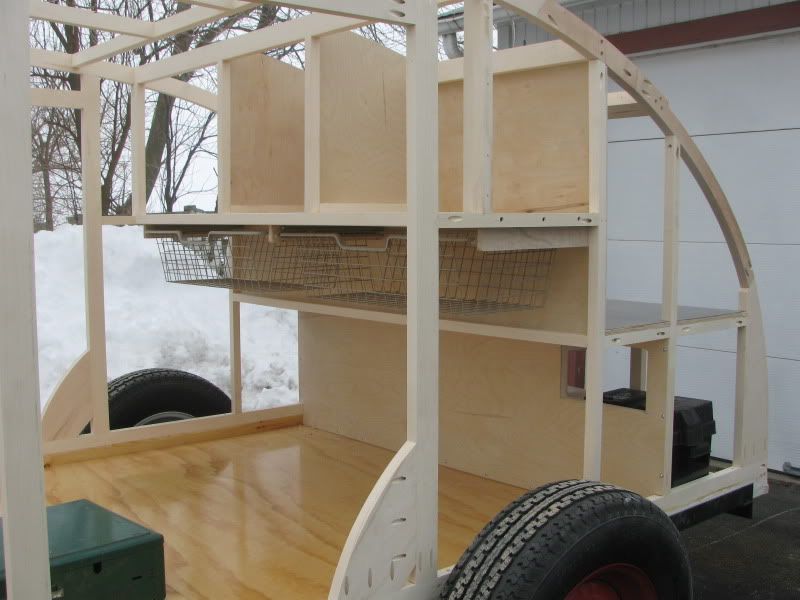
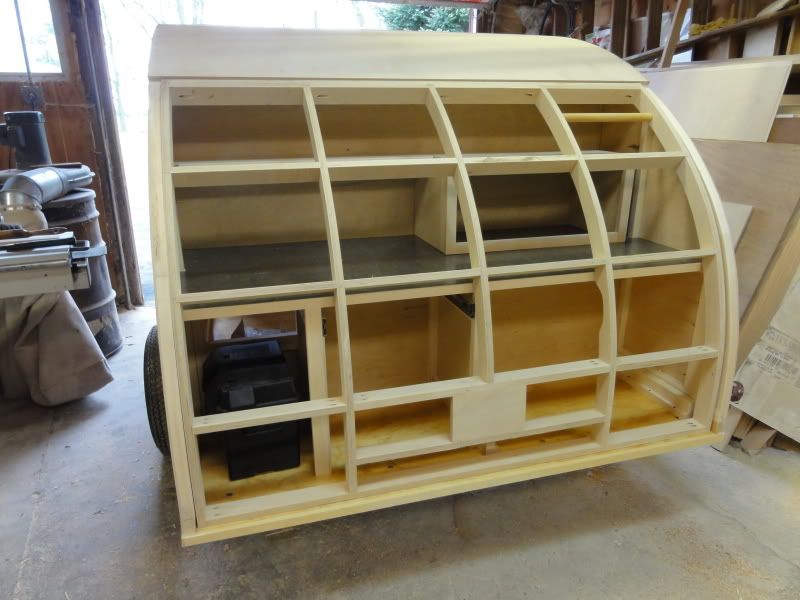
mallymal wrote:Hey WOODBUTCHER.... your forum name is SO innappropriate, because that is some stunning quality work you've got going on. You should rename yourself WOODSURGEON. Every joint looks tight and precise - a joy to behold.....

![]() by Woodbutcher » Tue Apr 24, 2012 8:18 pm
by Woodbutcher » Tue Apr 24, 2012 8:18 pm


![]() by wingnut » Tue Apr 24, 2012 8:50 pm
by wingnut » Tue Apr 24, 2012 8:50 pm

![]() by wingnut » Tue Apr 24, 2012 8:54 pm
by wingnut » Tue Apr 24, 2012 8:54 pm
![]() by Woodbutcher » Tue Apr 24, 2012 9:55 pm
by Woodbutcher » Tue Apr 24, 2012 9:55 pm
![]() by wingnut » Wed Apr 25, 2012 6:48 pm
by wingnut » Wed Apr 25, 2012 6:48 pm
![]() by Woodbutcher » Wed Apr 25, 2012 8:14 pm
by Woodbutcher » Wed Apr 25, 2012 8:14 pm
![]() by KCStudly » Wed Apr 25, 2012 9:50 pm
by KCStudly » Wed Apr 25, 2012 9:50 pm

![]() by Evan Gaffney » Thu Apr 26, 2012 10:36 am
by Evan Gaffney » Thu Apr 26, 2012 10:36 am

![]() by Woodbutcher » Thu Apr 26, 2012 12:20 pm
by Woodbutcher » Thu Apr 26, 2012 12:20 pm
![]() by campmaster-k » Sun Apr 29, 2012 7:35 pm
by campmaster-k » Sun Apr 29, 2012 7:35 pm

![]() by Evan Gaffney » Mon Apr 30, 2012 7:55 am
by Evan Gaffney » Mon Apr 30, 2012 7:55 am
![]() by Woodbutcher » Tue May 22, 2012 9:46 pm
by Woodbutcher » Tue May 22, 2012 9:46 pm


![]() by KCStudly » Tue May 22, 2012 10:28 pm
by KCStudly » Tue May 22, 2012 10:28 pm

Users browsing this forum: No registered users and 13 guests