Hatch rib mitered blanks take 2.
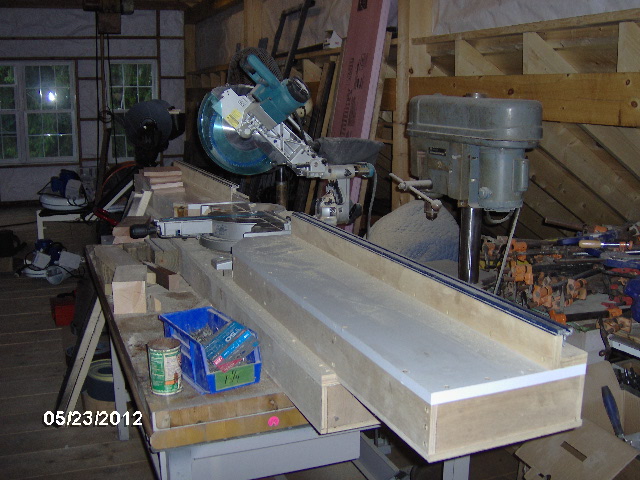
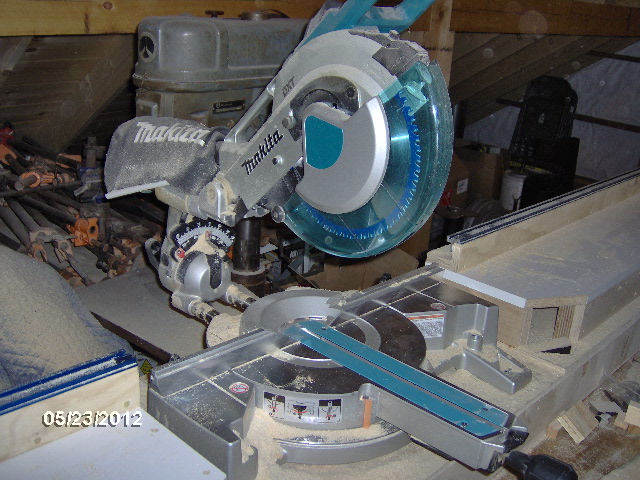
Here's Ben's miter saw.
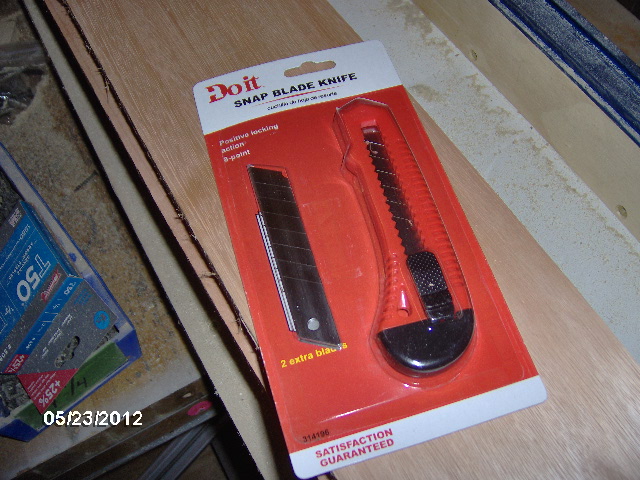
Thanks to GPW for reminding me of the technique of scoring your cut lines to prevent tear out (or fraying). I forgot to take my utility knife from my tool bag at work, which ended up working out for the better. On my way to Fab Mecca there's a small mom & pop Tru-Value in good olde Bozrah, CT that unlocked the door for me when I showed up at closing time. Picked the heavier snap off type cheap ($3) utility knife thinking that it would be good to be able to extend the blade out so that I could transfer from my master (first cut piece).
It took a little fiddling to figure out how to adjust the miter setting on the saw (not intuitive) and it turned out that it was not screwed down to the fence table, so every time I adjusted the angle the saw would move relative to the in/out table. Figured that out early and screwed the saw down to the table mostly square. The rubber feet on the saw made it so that I couldn't really sock it down, cuz the saw bed would then sink below the in/out table, but I found a happy medium that would let me adjust the miter w/o moving the fence too much. Enough to get acceptable accuracy. Have no idea how Ben did it, and Karl was in transit to Maryland to get the Zamboni heat exchanger galvanized, so no input there.
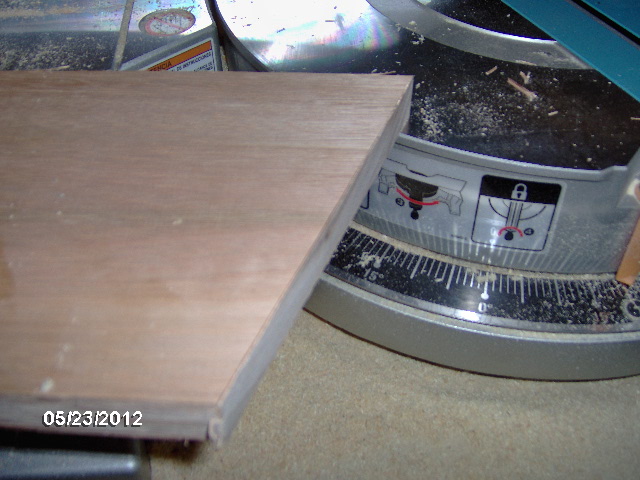
Anyway, with my best attention to detail, the bottom line is that the miters came out as good as I could hope with nice crisp lines. The utility knife worked as good as the operator (with a few errant scratches) and the extra extension of the snap off style blade made it possible to transfer from my original blank cuts with minimal measuring and maximum accuracy. Once I was paying attention, all of the errant utility blade wanderings were within the width of the saw blade and got removed in the cut. As silly as it sounds, it almost made sense to scribe both sides of the saw kerf, because I would be using the complement of each cut. Didn't resort to that, but the thought did seriously cross my mind. Even though the inside edge and outside corner of the miter joints would be waste, I found that if I also scored the edge of the board the tear out was less.
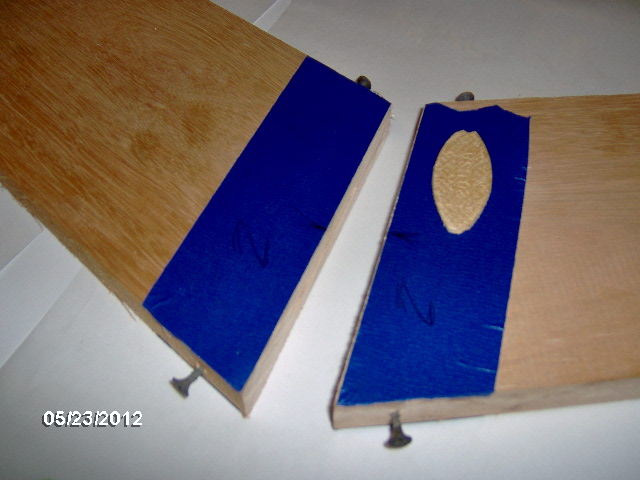
Here's the result, a much cleaner miter cut.
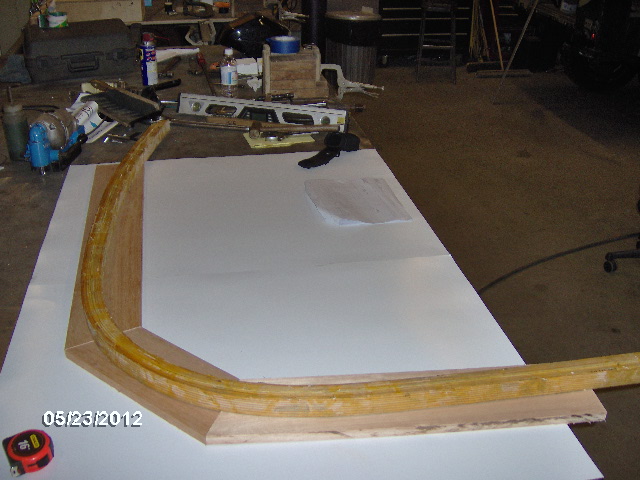
I laid out the miter pieces to do a "dumb idiot check" against the laminated wall edging, and it looked like a go.
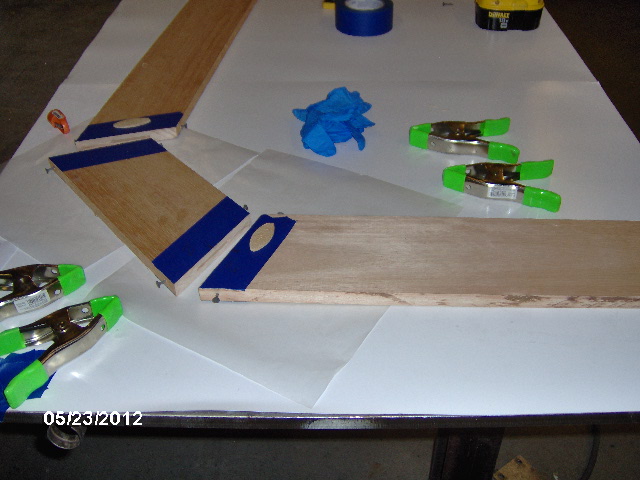
Here's the dry fit up. It is important to get the biscuit centered and seated correctly, otherwise it can cock and hold the joint open. I put the painters tape along the joint on both sides to help prevent excess glue from spoiling the finish. It "seamed" to work...(pun). Also I pre-drilled and screwed drywall screws into the edges proud in order to give the spring clamps something to grab in order to clamp the joint together. Worked good w/o pulling the blank out of flat.
Note that I have lined the steel table with poster board (to prevent marring or discoloring the wood) and have placed waxed paper under the joints as a slip to the poster board.
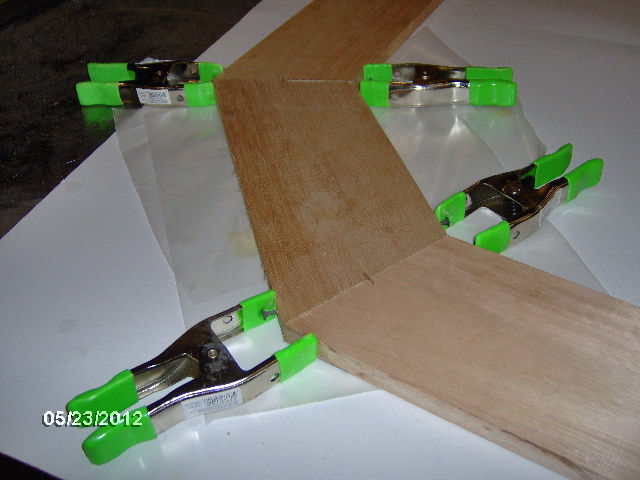
Here it is after glue up, clamping, and clean up of excess glue with a damp rage.
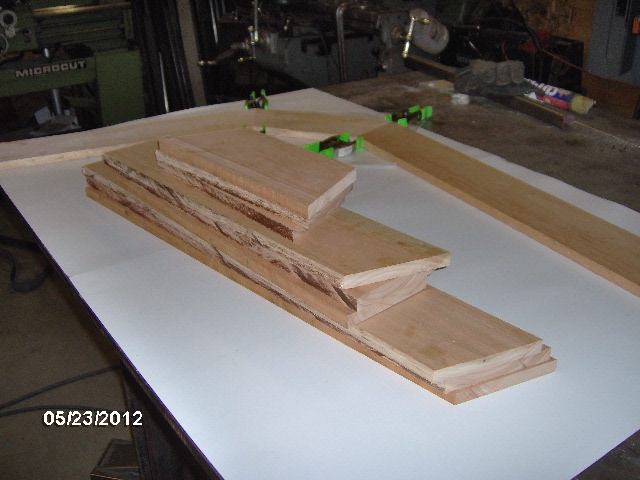
Here are the remaining blanks that need to be glued up.
I will likely make a template from the poster board to layout the rough cut on my small Shop Smith vertical band saw. Use that to mark the saw cut, cut outside the line, then belt sand to the line (not sure if this is less work than the laminate technique, after all).
I briefly thought about offsetting the mitered biscuit joints between ribs so as not to have all of the glued joints in the same "hinge" line. It would really suck to have the biscuit joints all fail right around the same line. Offsettting the biscuit joints from rib to rib would add inherent strength, but at this point I was really starting to feel the pressure to make progress and not insist on perfection.
It's all relative!
Nodding off now so forgive any missed editing.


 sure am glad that I'm not in a hurry. Lesson learned, sourcing material is job #1.


 .)
.)
 ), but it is probably a bit small for the task (although the step is very slight). My concern with the plane is that it could chip out some if it catches the opposite edge at all.