Okay, where was I?
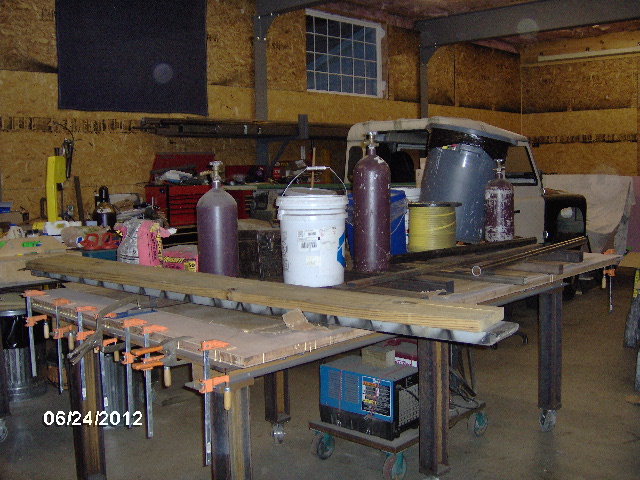
On Friday night when I arrived at Mecca Karl and his helper Kris (not to be confused with his wife Chris) had unloaded the weights and stood the floor assembly up out of their way.
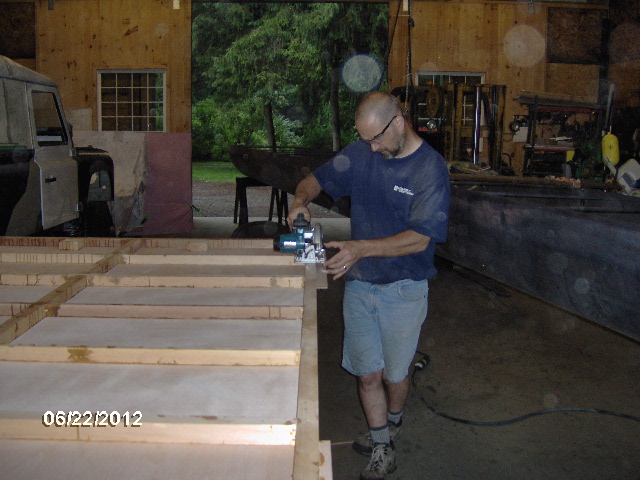
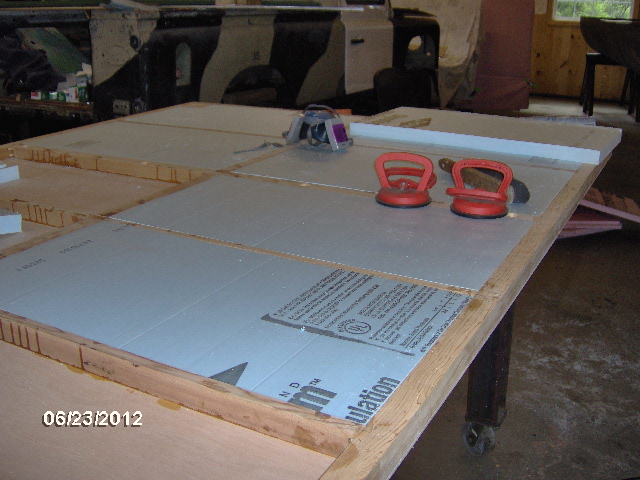
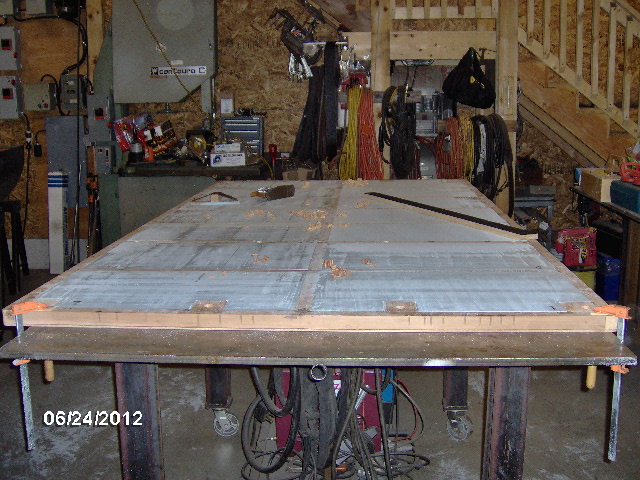
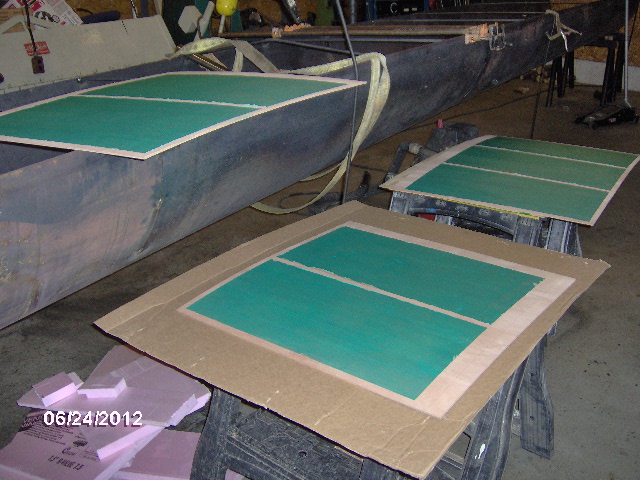
After clearing the bench and getting the floor down onto it, Karl and I were discussing the best tool to use for rough trimming the excess skin so that the router could make a clean pass.

Karl jumped right in with his cordless panel saw and zipped them right off. Notice that it was easier to work from the top with the saw blade extended down. That way it was easy to see where and where not to cut, and the saw blade was pulling into the outer surface of the skin resulting in less fraying.
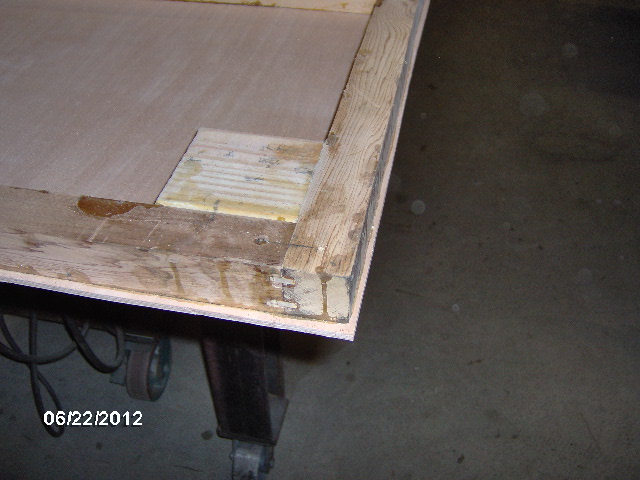
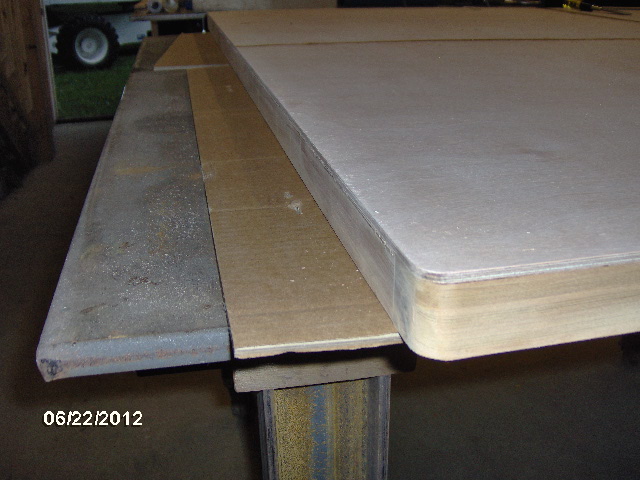
Here is how it looked after rough trimming.
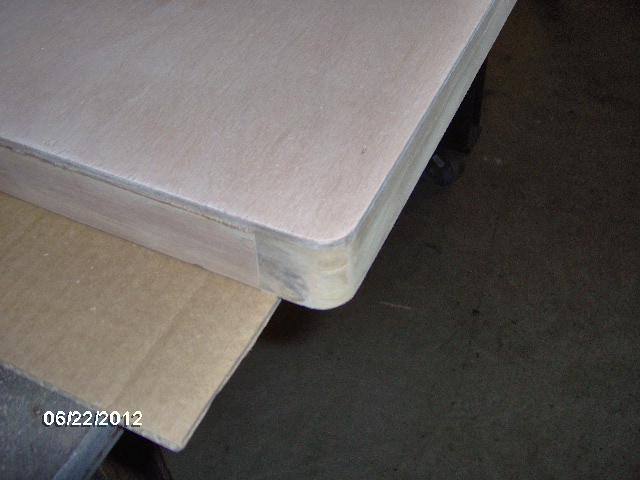
And here is how it looks after trimming with the router and a flush bearing bit.
Karl's wife Chris came home with three rescue kittens. Very comical and entertaining to watch.


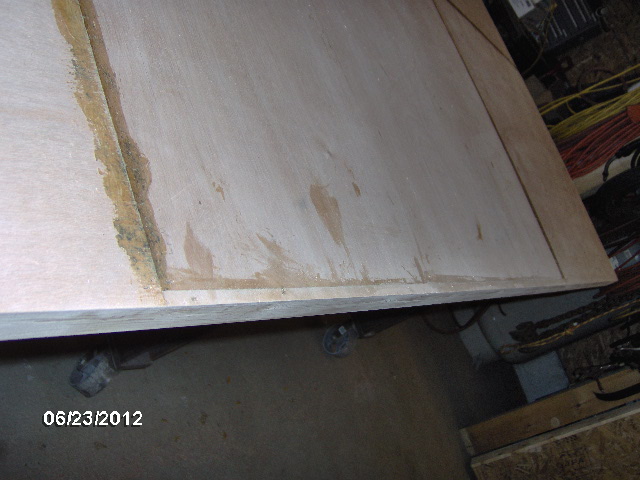
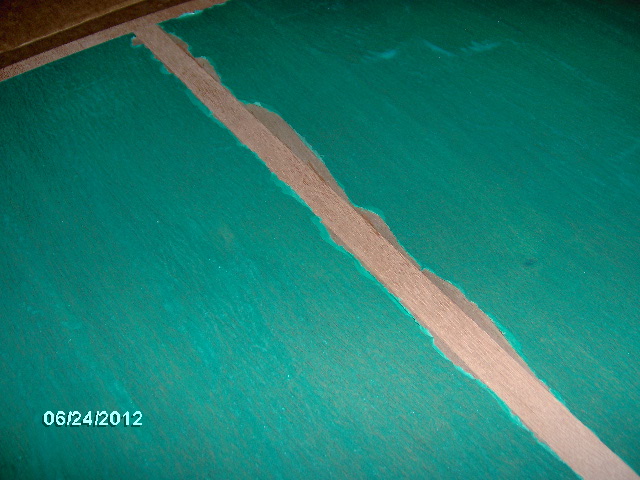
Here I have fit a couple of small off cuts to fill my little scarfing detour oops.

And the other side.

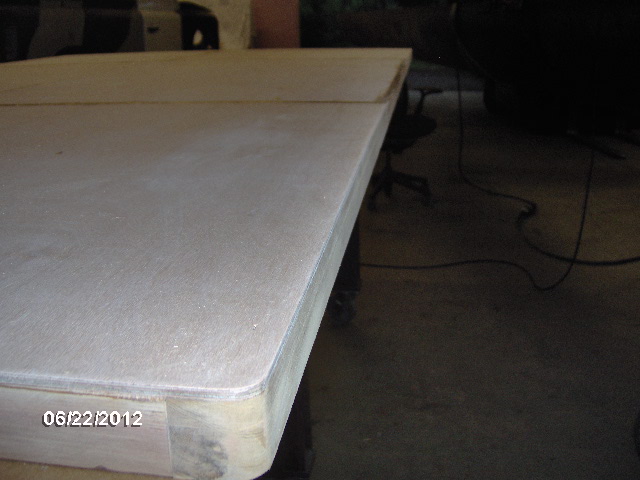
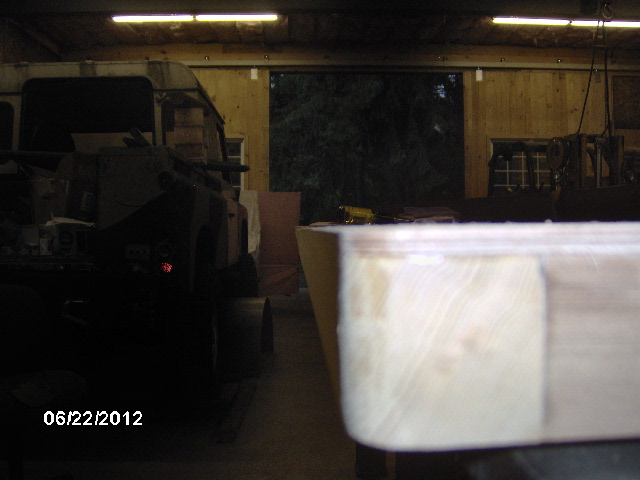
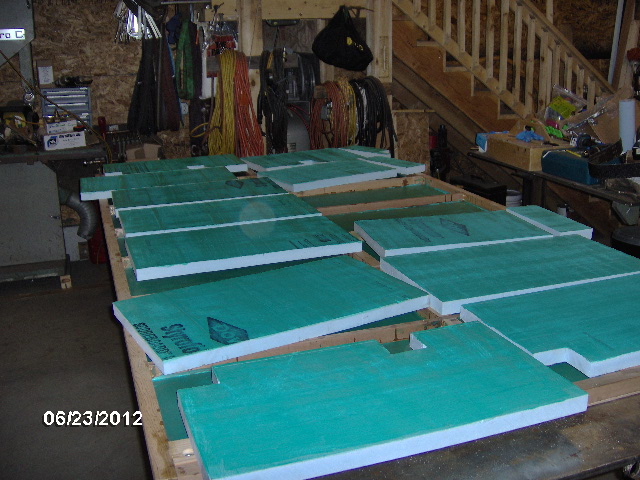
And here they are Saturday morning after trimming flush.

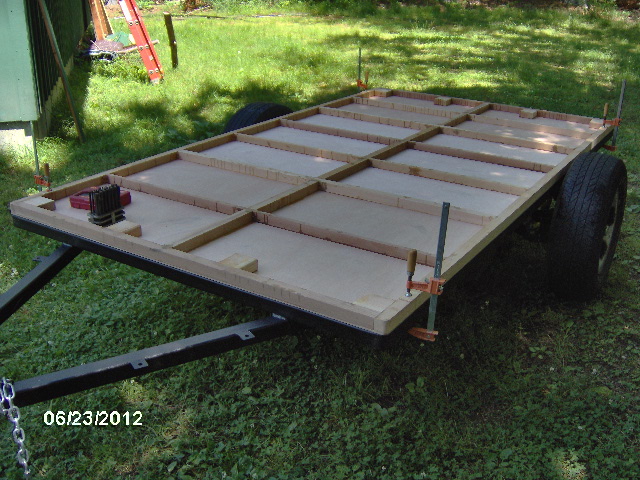
We carried the floor out to the trailer and aligned it flush to the front and sides. The grass was still wet from an evening shower, so while I was off looking for a piece of plastic to lay on, Karl reached under with a transfer punch and marked all of the mounting hole locations (doh, didn’t think we would be able to reach them all without crawling under).
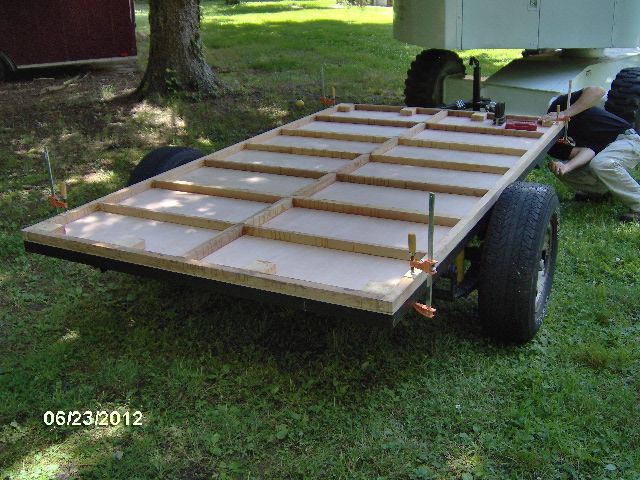
Looking like the plan.
We couldn’t resist this photo op with the man lift posing as the tow vehicle.
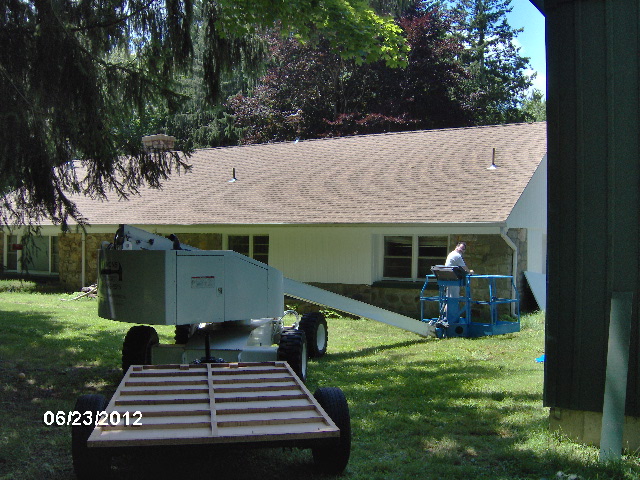
(Karl bartered the use of Rover Mike’s man lift so that he could repair some storm damage on the barn and install gutters, in trade for his time on the Rover project. It just coincidently happened to be outside of the back door where we had wheeled the trailer for easy access.)
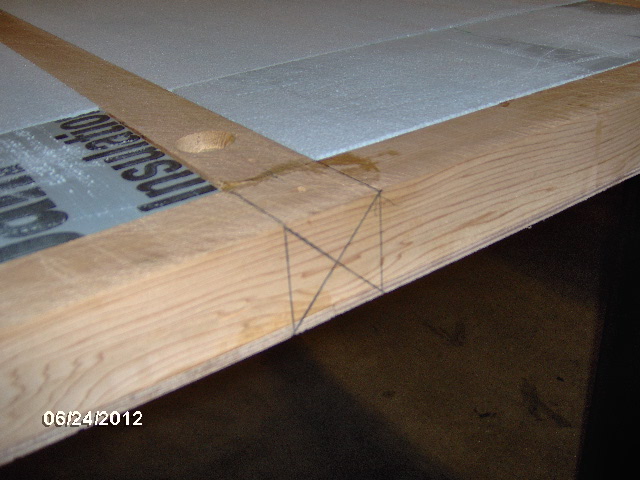
Here I am using a small machinist V-block to align the drill while piloting the mounting holes from the transfer punch marks.
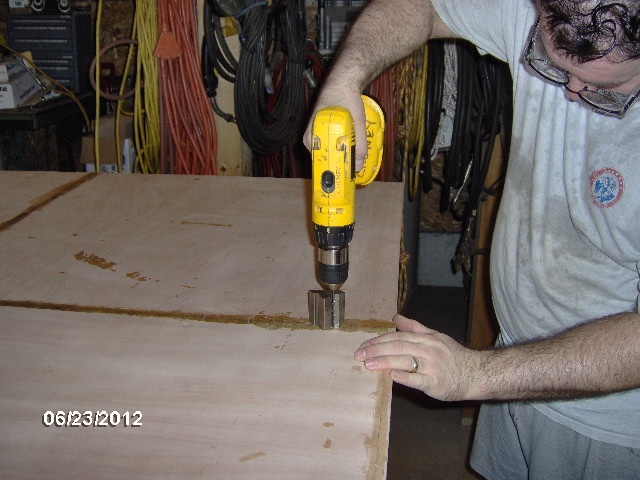
I had brought some spade bits with me, but Karl had a nice set of Forstner bits, so a used the 1 inch size to counter bore for the thread inserts.
At first I just drilled (spot faced, actually) enough for the insert flange to sit below flush, but then I realized that they would be much more forgiving of bolt length if I buried them a bit deeper, so I went back around and bored the holes until they were all flush with the back of the Forstner bit.
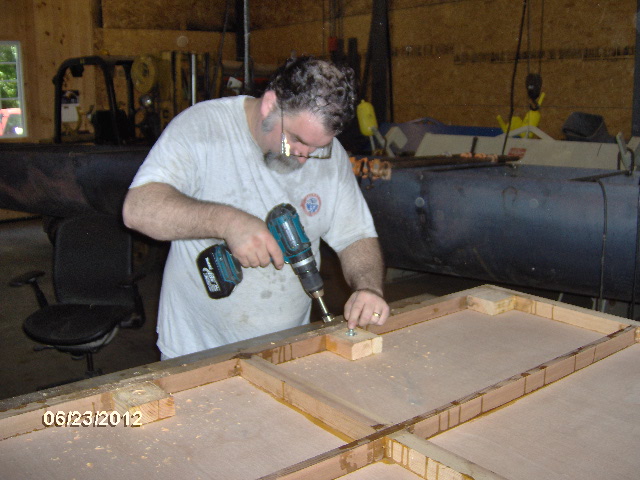
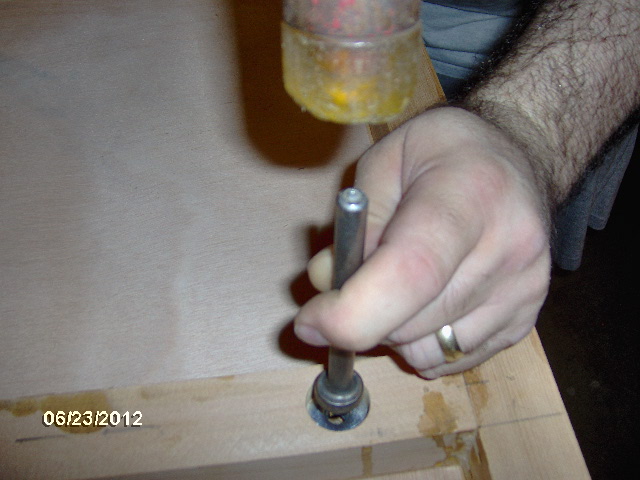
Here you can see me using the head of a weld stud (Karl’s idea) to drive the thread insert into place.
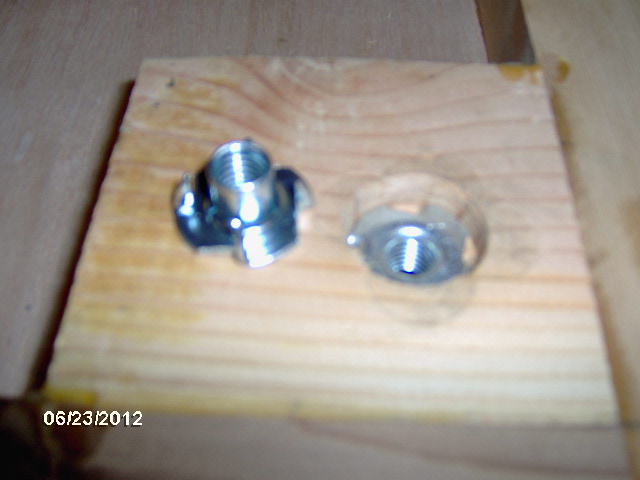
Here’s a fuzzy pic of two thread inserts, one installed and one upside down. You can just make out the the spiky tangs that bite into the wood and keep the insert from turning.
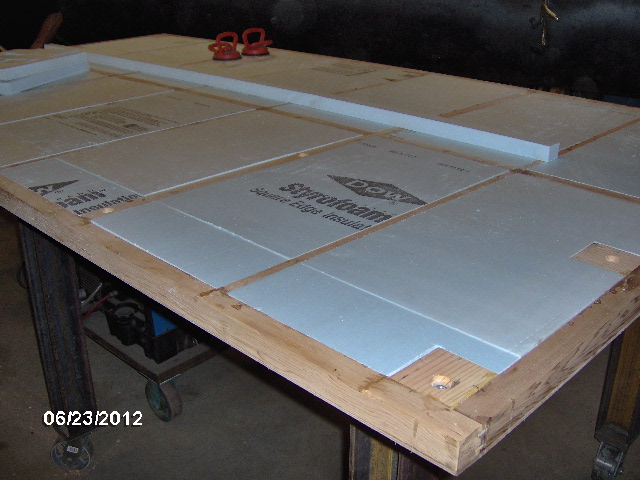
Time to start fitting the foam into the floor cavities. Started with 1-1/2 thk 4x8 sheet and used the circular saw with extruded aluminum guide fence to rip the first cut. Foam dust clings to everything.
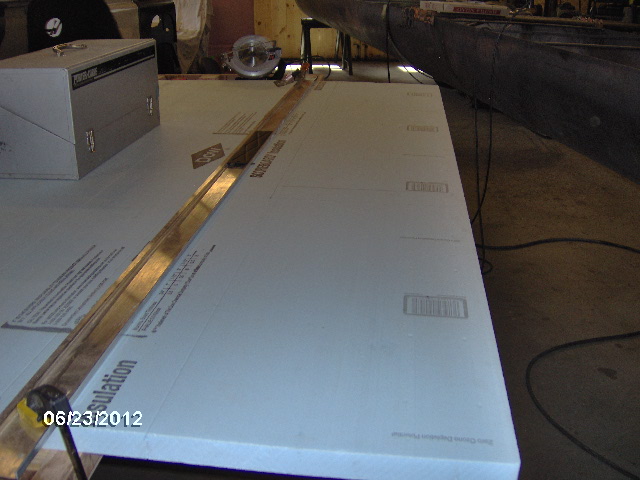
The foam they sent is square edge but is "Scoreboard", meaning that it has grooves, or slits, about 1/2 inch deep on both sides at 16 and 24 inch spacings. I was expecting solid tongue and groove (or ship lap, what I saw in the big box stores). No big deal. I think the square edges worked out better anyway.
Once we started fitting some of the panels very closely we started to get concerned that if we stuffed the piece down in too hard during dry fit, we might not get them back out easily to apply the glue. You could feel the air squishing out when the foam was pushed down. Karl had a great idea and got out his panel suction cup handles.
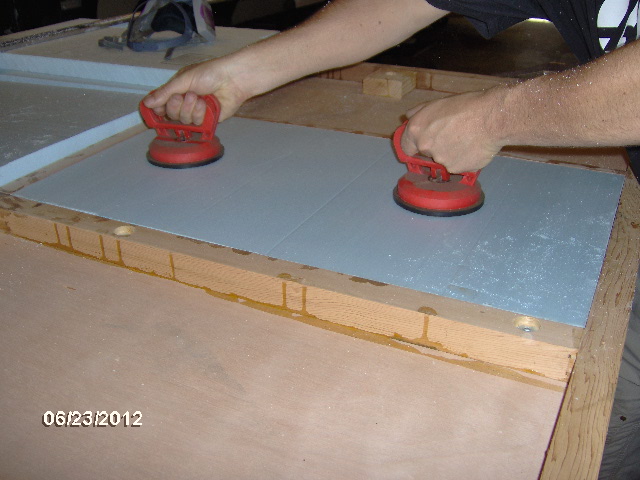
I wasn't sure they would work on the foam, but so long as they weren't placed on one of the factory score lines, they worked great!
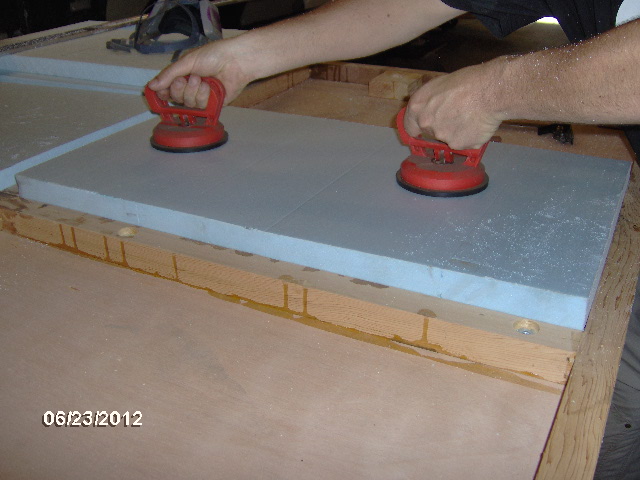
That allowed us to fit the foam snuggly (for the most part) and not have to worry about lifting it back out.
For the cross cuts we just used a straight edge and utility knives (the long snap off style that could be extended out a couple of inches) with fresh blades to score through.
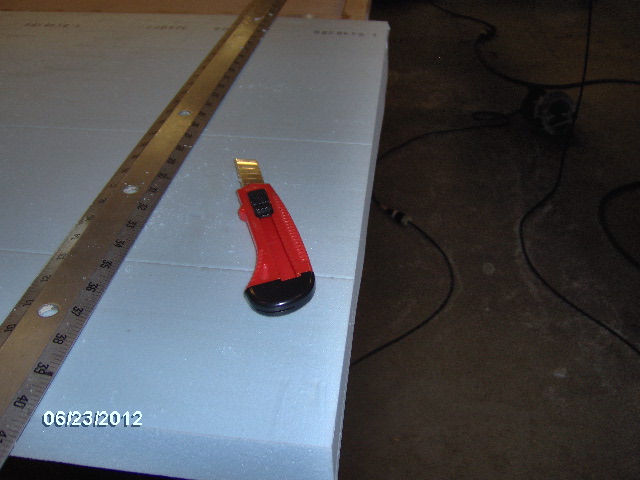
I found if I measured the space at both ends (some spaces had slight variations of 1/32 to 1/16 inch) and cut with the razor one for one I would usually have to knock the panel down a little with my make shift sanding block. The trick was to hold the knife low to the foam and drag the blade down into it in a single long motion. Couple of three passes and it zipped right through cleanly. Hold the knife up too straight, or try to pull it through the foam directly and it would plow and tear. Long flat strokes sliced right through. If I wasn't super careful the cut could wander out of plumb resulting in a tapered edge. Depending on which way I could either sand it back snug or it would fit the space with a slight gap. The worst were about 1/8 inch in a couple of spots, but for the most part everything fit nice and snuggly.
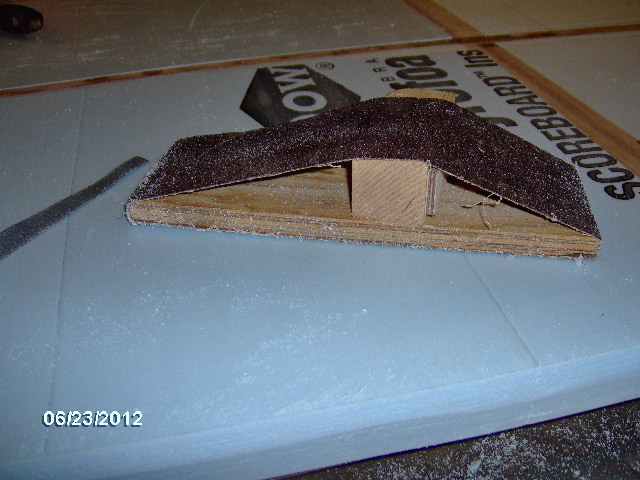
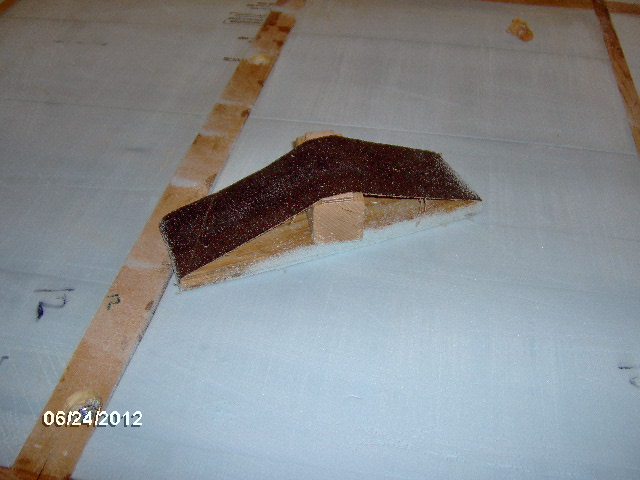
Block is a course belt sander belt over 1/2 inch ply with a chunk of 2x cedar wedged in to hold the belt taught.
Making progress.
The big sheet was pretty much spot on the 1-1/2 inch thickness and the yield was good with few drops.
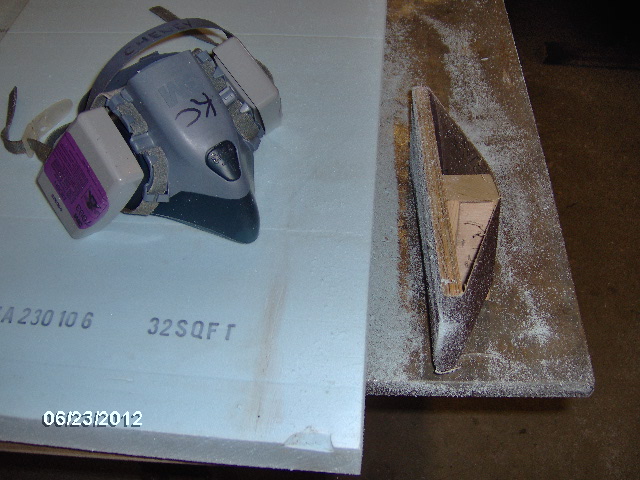
Here's a closer look at the sanding block with coarse grit. Karl experimented with scoring part way through and snapping the foam the rest of the way, but that sometimes left an ogee shaped bump. If you look close you can see the edge of the foam where I have sanded it back closer to square.
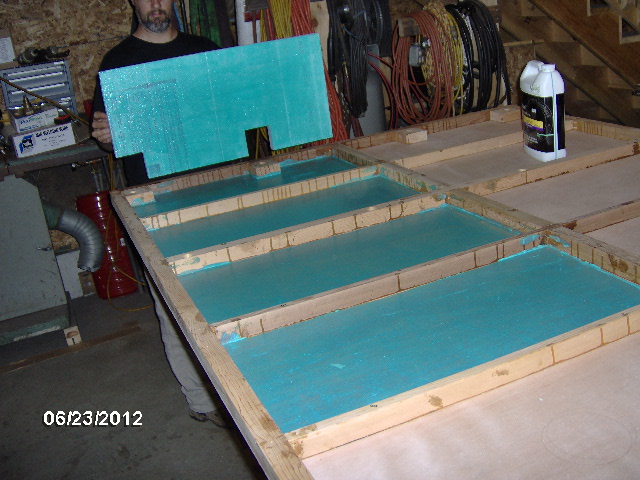
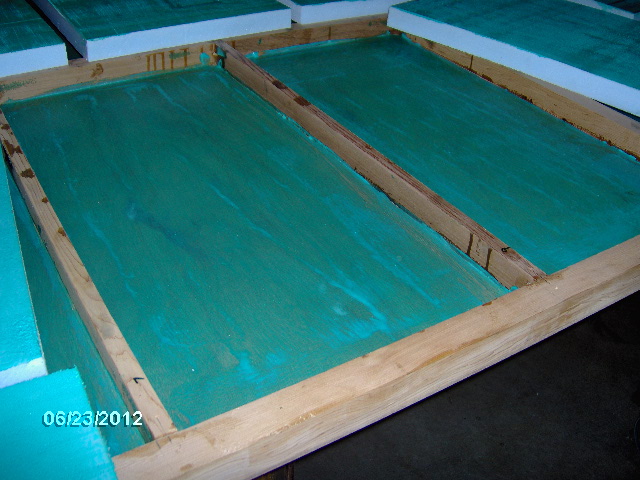
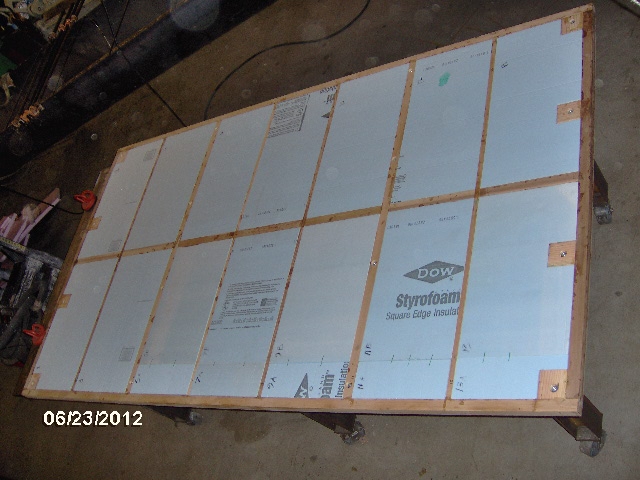
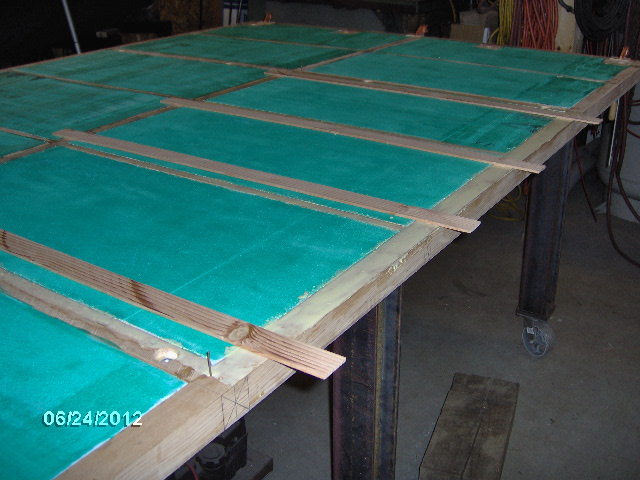
We worked across the front and down the curb side when we moved on to a 2x8 piece of foam. We found that we would get a better yield by using the 2 ft width supplemented by the drop strip from the 4x8 sheet. Didn't bother gluing the pieces together, nor did I bother to fill the very slight gaps here and there. Here you can see the finished dry fit with the leftover pieces; pretty good yield.
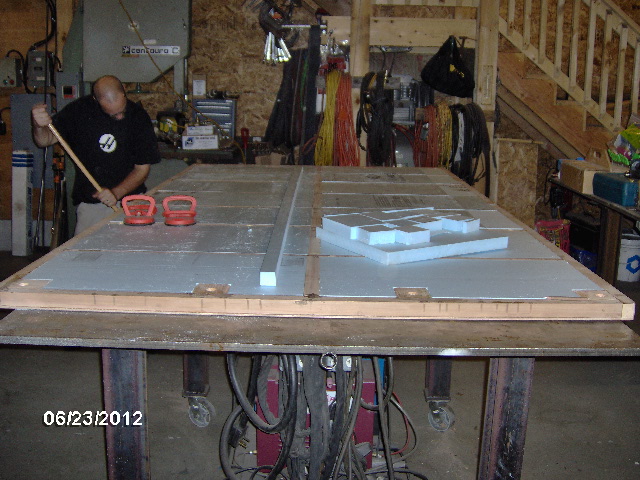
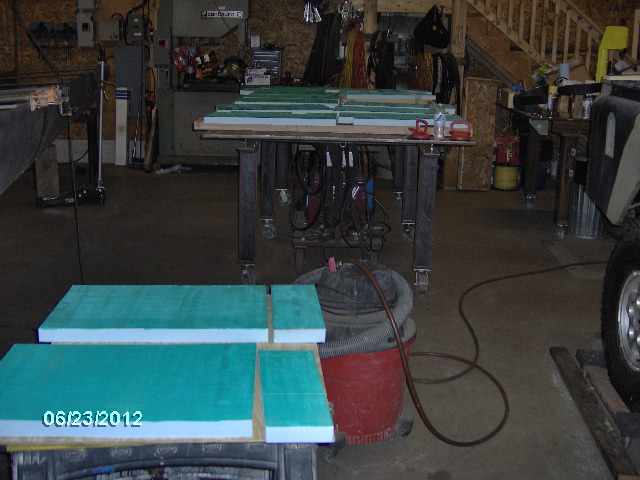
Although you see Karl sweeping, we quickly determined that the shop vac was the best way to clean up. Took a little while doing that.
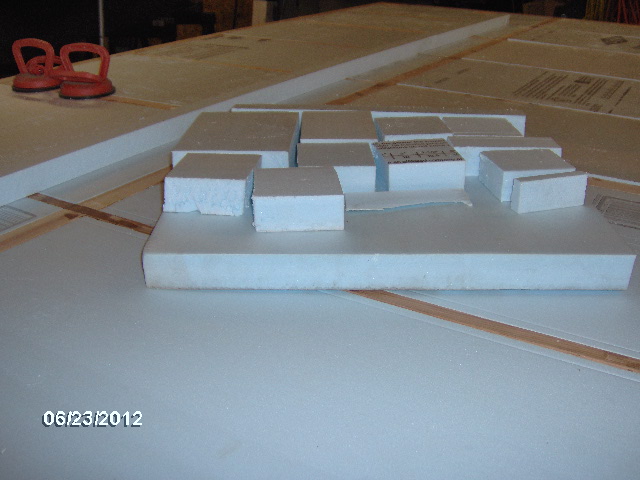
Here's a better look at the two piece panels.
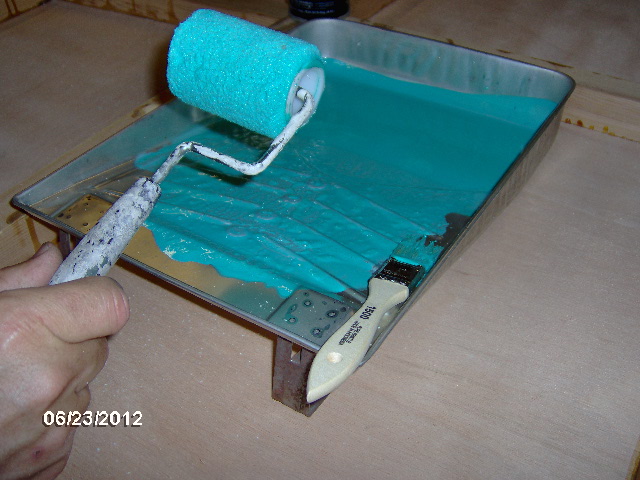
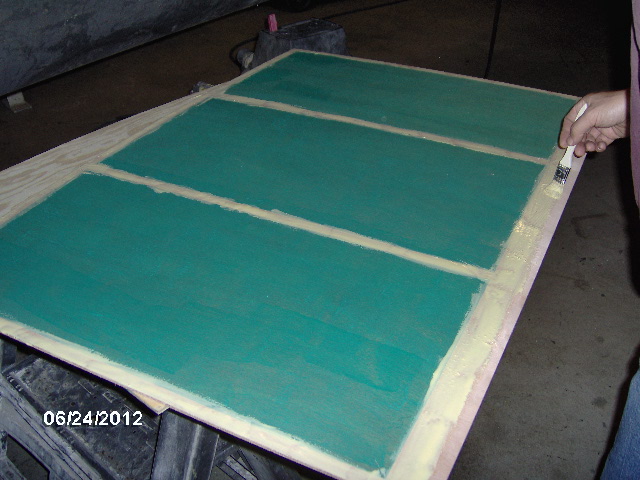
While I was fussing with details, Karl read the instructions on the 30NF adhesive and found that they recommended rolling it on for better coverage than spraying or brushing (in that order). This solved the problem of glue placement and having to resurrect my spray gun. It was very easy to apply with a 4 inch roller and a chip brush to get into the corners. We left the sides of the cedar uncoated because we didn't want the foam to stick accidentally on the way in.
The instructions said that the adhesive would dry in 30 min, longer when humid, shorter when hot, then you have 4 hrs to join the parts. Well, it was both hot and humid. The wood parts dried in about 40 min, but the foam parts needed a lot longer (they don't absorb any moisture). We had planned to go out to dinner with the wives, so I went home, got cleaned up, and returned with Yvette in tow. Karl and I zipped out to the shop (while the girls played with kittens) and popped the foam in in about ten minutes.
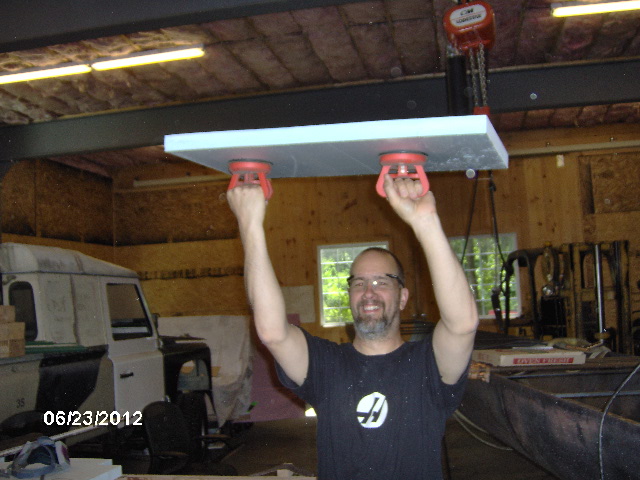
I had one piece that I started to pat down a little prematurely and it popped on the factory score line. A couple of quick passes with the sanding block on the broken piece to smooth the edge from the score tab and it slipped right in place. Just to demonstrate how quickly and securely the adhesive had grabbed, I had Karl stick the suction cups one each on each of the front panels, then lift the whole end of the floor off of the work table.
Clean up was a snap. The pan cleaned up easy with water and a paper towel, and the rollers slipped off easily the next day, with just a little rubbing to peel off the gummy bits from the roller ends.
A hard days work.
Dinner at a local Mexican restaurant.
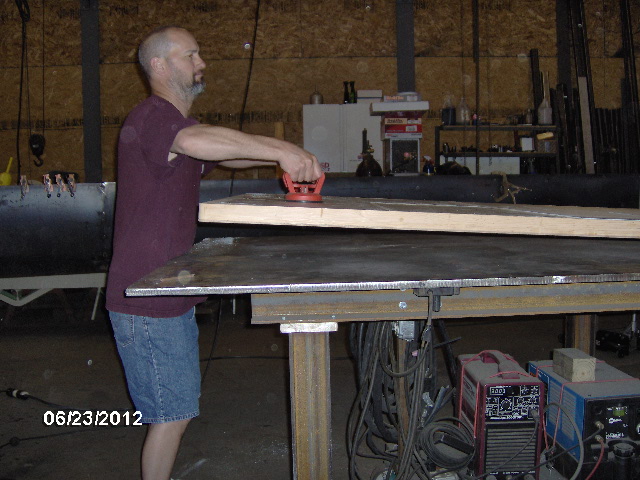
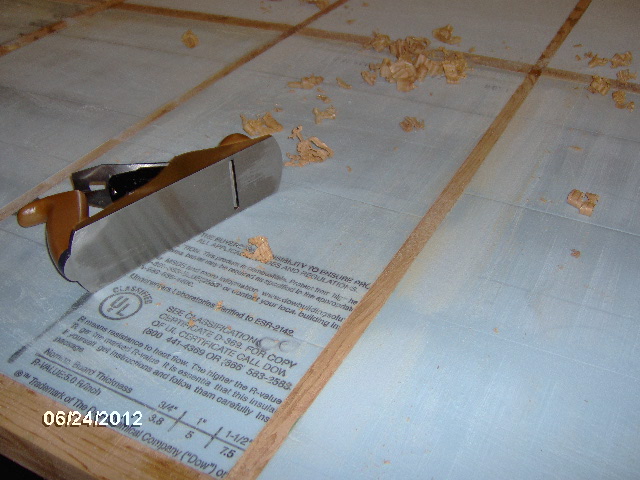
Sunday I made a long sanding board out of 1x4, a long sanding belt, spray adhesive and a few pneumatic staples. The 2x8 foam was just a little thicker than 1-1/2 inch and needed to be knocked down. There were also a couple areas where the xmbrs were just a touch higher than the foam, so I kissed those a couple of strokes with the bench plane. You can also see that I have gone over all of the even foam just dragging the short sanding block across one pass in each direction, long and short, to "break the glaze" on the foam.
Vacuumed up all of the foam dust (seemed to take hours) then went around and marked the locations of all of the xmbrs and blocking on the perimeter of the frame.
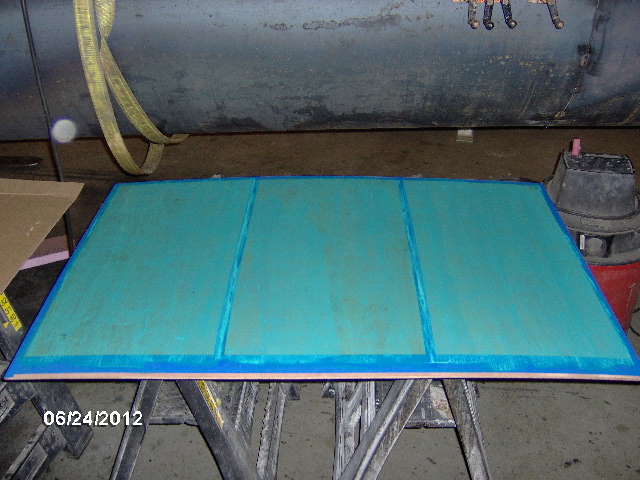
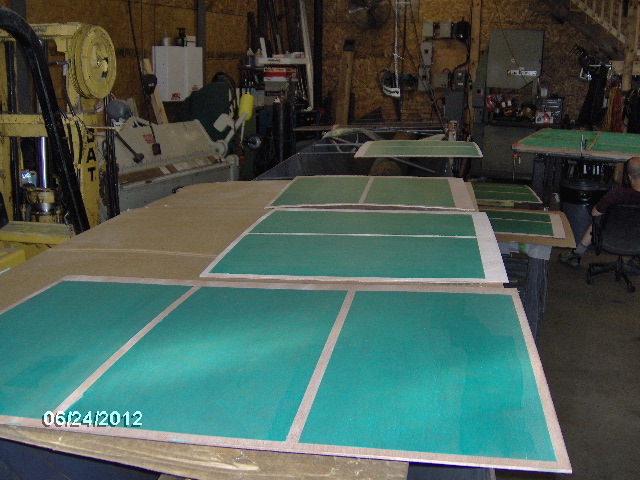
Then I did a dry fit of all of the floor top skins and masked the edges with 2 inch wide painters tape to protect against glue squeeze out.

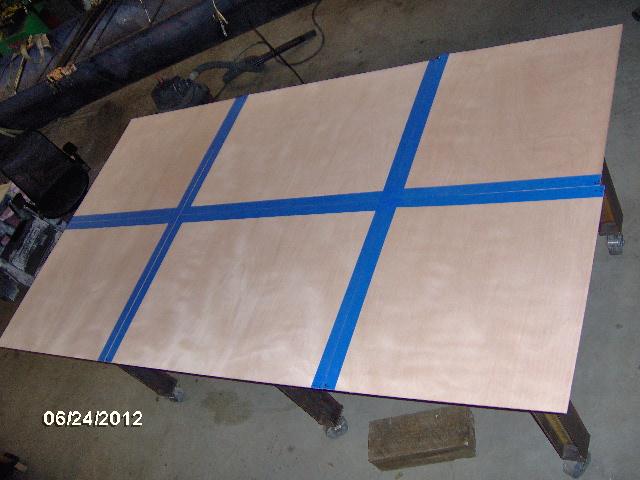
The rear street side panel needed a little truing (probably the one I cut), which I did with the little Surform rasp and my small oak sanding block.
The two middle panels have adjoining grain patterns which should not have been given the Max Cut sheet optimizer layout. They should have each come off of the short end of a sheet. Hmm, might explain the missing galley wall skins? Oh well, I can't complain.
Then I started flipping the panels over and masking with both 3/4 and 2 inch wide tape to cover the wood glue areas from getting contact adhesive on them. I know I said I would do this more simply, but Karl's voice of experience, combined with my obsessive nature just couldn't risk it. Sorry Linux, guess I just like making things difficult.
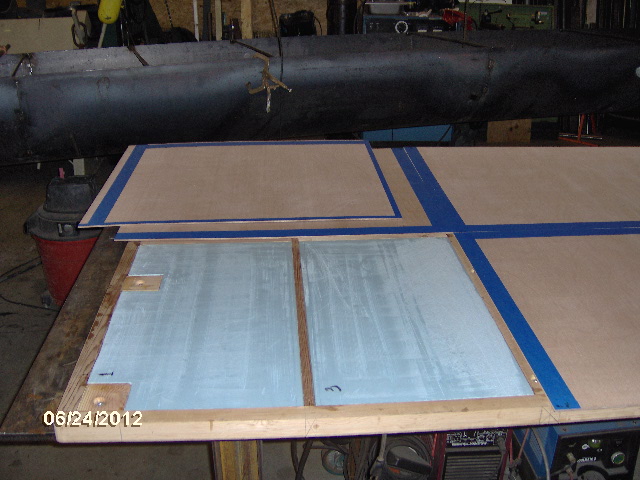
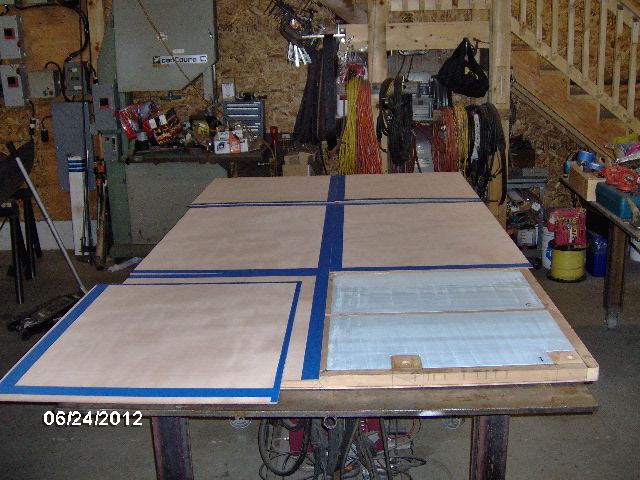
Actually it was not that difficult because the glue reveal and the 3/4 tape were the same width, and I had traced the edge of the frame onto the underside, so all I had to do was overlap that by 1-1/2 inch. Then I just book leafed the panels and aligned the middle lengths of tape to the xmbrs and the marks on the perimeter I had made earlier. Time consuming, but easy.
I set a finish nail just to the left of centerline at both front and rear and strung a string line.
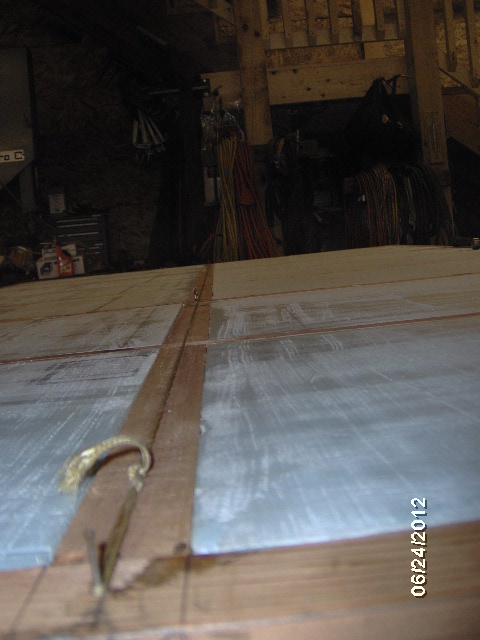
Then I added some more nails along the string, one at each corner of each panel, and one at the outside front corner of each middle piece.
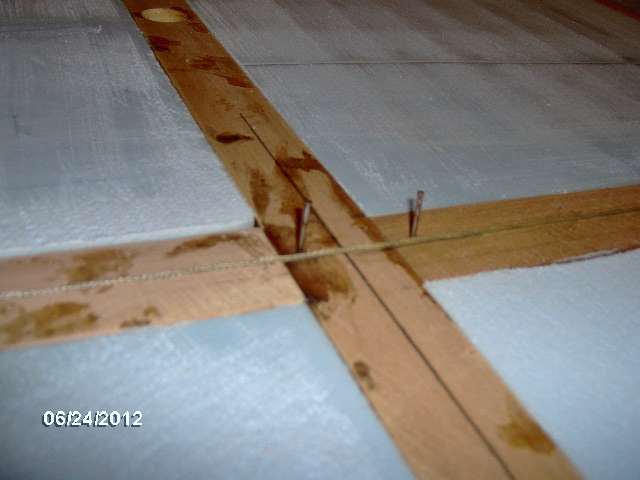
The nails will come into play later when we start setting the panels.
It was easy to roll the adhesive onto the foam without too much getting onto the wood.
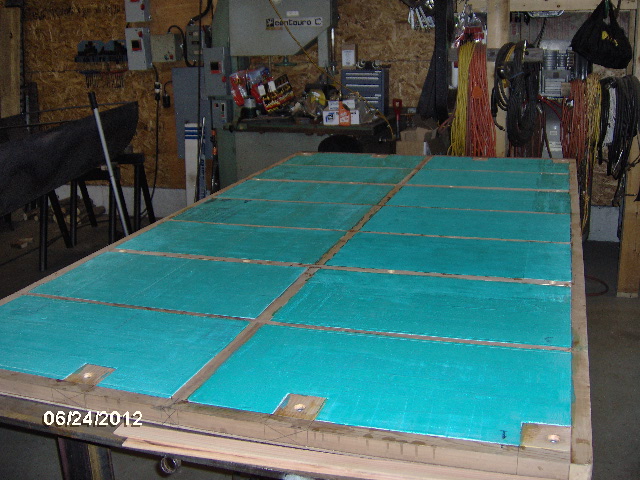
And the panels all coated.

Pulled the tape off of the panel backs.
Had a little lifting in a couple of spots. this was the worst of it; no worries.
Took forever (about 1 hr 40 min while we were entertained by kittens) for the adhesive to dry on the open pores of the foam that had been blocked down.
Once that was ready I went ahead and squirted the TB2 wood glue down on both the frame and the undersides of the panels while Karl followed behind spreading with the chip brush.
We positioned stickers made from the leftover slats starting in the middle street side.
And then things got too busy for pics. I'll try to describe.
First we pushed the middle panel up against the nails on the centerline, then forward to the nail on the front 2x xmbr, before pulling the stickers out and setting the piece.
Then we set the rear street side panel up against the centerline nails and the middle panel.
Then we pulled that front nail and laid the front street side panel.
Pulled all of the centerline nails and set the curb side middle panel up against the street side panel and its front nail.
Then the rear curb side panel. Something was just a bit off, so we made sure that the centerline joint, that would show in the galley floor, was tight and had a slight gap where it could be filled later and hidden under the bulkhead wall.
Then pulled the last nail and set the front curb side panel.
Through all of this I was just stapling on the perimeter frame and at the bulkhead xmbr, leaving the center field of the cabin to be weighted and the rear edge of the galley floor to be clamped. Karl kept calling for more staples, "they'll be under the mattress anyway", and I kept saying, "we'll weigh it down".
We had not bothered putting anything between the table and the underside, but we did put a big piece of cardboard over the top to protect it before adding weight. Figured the masking tape would keep any squeeze out from getting on the panels and the cardboard might help soak up extra.
It was after 8pm by now and I quickly started to clean up and put tools away. Popped open the stapler magazine and realized that I had run out of staples some time back. Quickly reloaded and went back to where I had finished, started lifting cardboard and shooting more staples into the perimeter. Pretty obvious where I had run out, but I went around the whole thing and stuck them in every 4 inches or so.
Tonight, Monday, Karl had unloaded the weights and pulled the cardboard (only had a few spots in the galley where it had stuck). the tape did pull little whispers of grain, but nothing that a quick hit with the palm sander wouldn't take care of. I went around the seams and a couple of trouble spots with a narrow scraper and knocked the glue down, then sanded the seams and tape areas smooth.
I'll save the rest of tonights efforts until I get the pic's loaded.
All for now.


 I can't thank him enough for all that he is doing.