Okay, prepare to go OT. It is fall
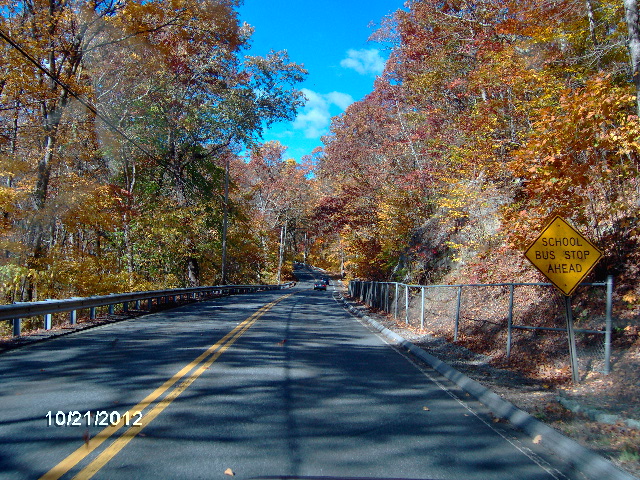
in New England and that means that the pumpkins are ripe and, what is a boy to do?
Well, it's punkin chunkin time!
http://www.punkinchunkin.com/If you have not heard of the growing craze that is gaining popularity among a ton of backyard engineers, a few genuine engineers, and lots of hardcore fabricators then you are missing out on some crazy excitement, and dare I say, a bit of danger, too!
Check out
Siege-Engine.com for the whole story on Mista Ballista, the world's most successful competition ballista (...oh yeah, it's the world's only full size competition ballista

).
We compete in the very popular torsion division where bundles of twisted rope are used to power our “not really a catapult like device” to throw a 10 lb. pumpkin as far as we can. Our personal best is 1060 ft. The record for our class is over 3600 ft! That's over 1/2 a mile!
A ballista is similar to a cross bow, except that the twisted rope is the spring and the arms are relatively rigid (whereas on a crossbow the arms are the springs and are flexy). We are going to attempt to compound our bow string this year, and in typical fashion, our team has consternated and discussed and procrastinated to the point where I felt that the only way to make it happen was to take a few days off of TPCE and focus on fabricating the necessary parts. Karl has been very busy making deadlines on paying jobs, and Sandy is throwing a monkey wrench into the whole mess, but the days “off” from work due to the storm have allowed me to spend some extra time getting these things done.
Last week Dave, Jeff D. (Nerd Herd Jeff, not smoked rib Jeff), Eric and myself met up at Eric’s place in MA to do the final pack up of both Mr. B and the small utility trailer that we use to tow support equipment (so towing is involved and that is how I justify using bandwidth here!). It was a drizzly day, but we made good time getting things ready. Despite checking the extensive lists of what goes where, it still seemed like we had lots more empty space than we should have, at least until we got everything in its place.
Since we travel on Thursday, we like to have Mr. B all packed up and over at Dave’s place for the transit down to Mecca (there is always some last minute fab work that needs to get done, and since the ride to DE is so long, Dave likes to pre-stage here on Wed. and have a driving partner for our early Thur. departure. On the same token, I will be towing the ute again this year, so I wanted to have that packed up and down here at Mecca, too. We used to leave late night Wed. and drive all night, but that gets old fast.
With the storm, Eric was reluctant to load his generator onto the ute, so we left that spot empty waiting to see who would end up with power after the storm. Karl’s power is not restored yet, so he is reluctant to commit his welder/generator. Still working that out, but we will need elec. power in the field, so … (update: Eric has power, so Dave will bring Eric's unit with him...Eric and others pile into mini van, so no room for genie there).
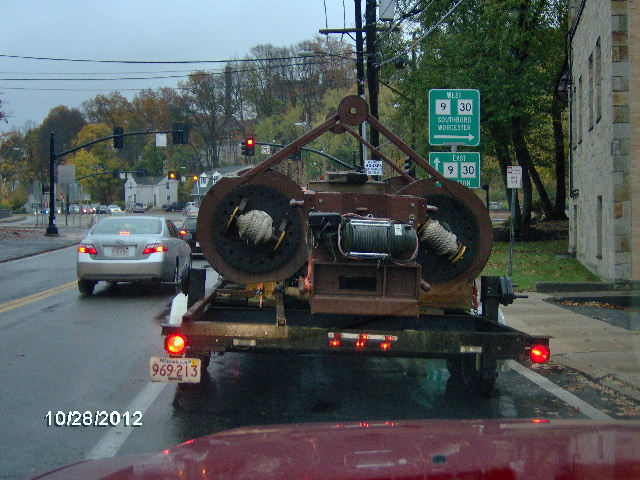
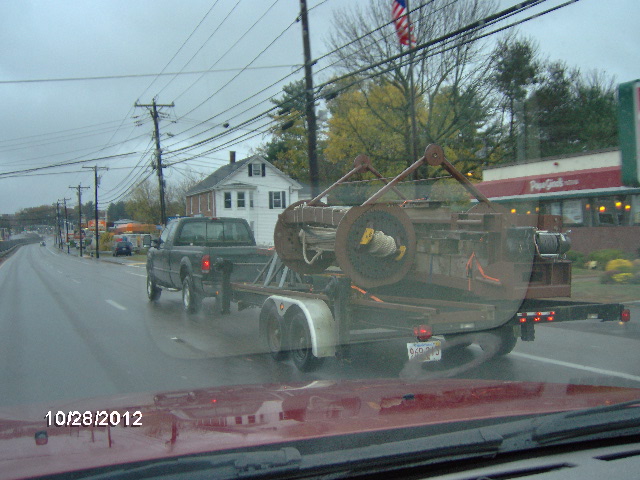
Here are a couple of shots of Mr. B on the road as Dave and I left Eric’s place. The rope bundles and forward stanchions are laid down on their backs and slide back over the axles during travel. The big black disks are 36 inch sprockets that we use to wind the rope bundles. The white blobs in the center of each disk (modioli… it’s Greek for “washers”) are the rope bundles consisting of 30 or 40 some odd wraps of 1 inch dia twisted nylon rope stretched really tight as it is wrapped into the bundle. The little round disks at the top with the holes in them are where we attach the hydraulic ram that we use to pull on the sprockets to twist the bundles. Between the ram and the sprockets we use a piece of roller chain, like on your bicycle, except that the rollers are 7/8 in dia and the pitch of the chain is 1 inch (IIRC). The side links on the chain are 1/4 inch thick! We call the chain "The Anaconda" because it is like wrangling one to handle it.
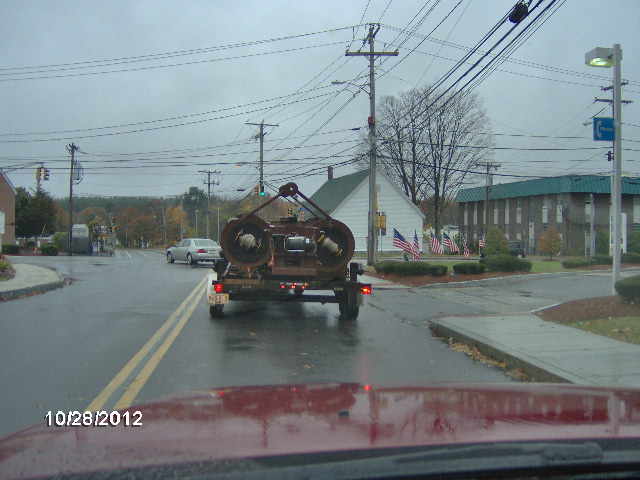
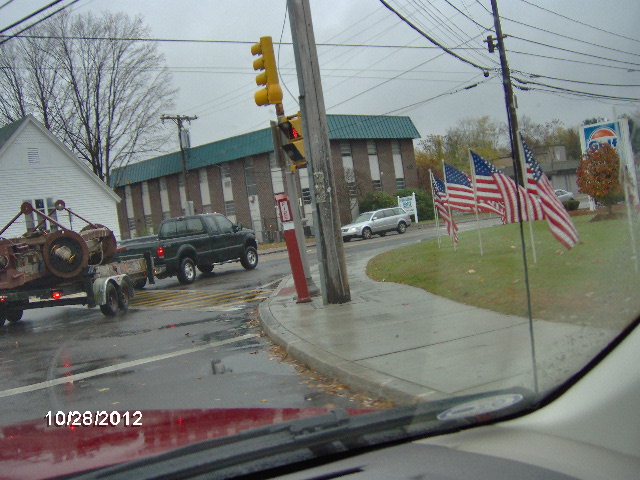
The winch on the back is a 15k lb Warn.
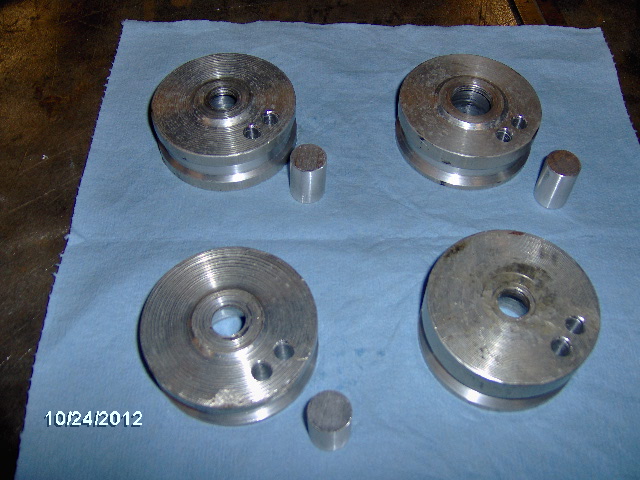
Anyway, here are some of the parts that I have been making for the compound bow line setup. These pulleys are fixed to the ends of the arm tips to give the eye splices in the bow lines something to wrap around. In order to compound we will be extending the bow lines (there are top and bottom lines that support a pouch for the pumpkin) so that a portion of line glides around each pulley (even tho the pulleys are fixed and should not rotate). The plan was to put a keeper loop around the front edge of the pulley to keep the bow lines from slipping off. Here you can see the two holes that Karl and I drilled in each pulley, and the little slugs of 5/8 round alum. that will be drilled thru to act as the keepers.
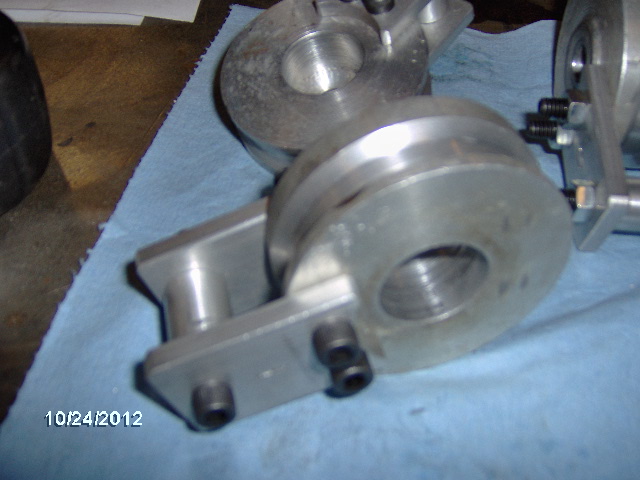
Whipped up some alum. tabs, drilled a few holes, and presto, arm tip pulley keepers.

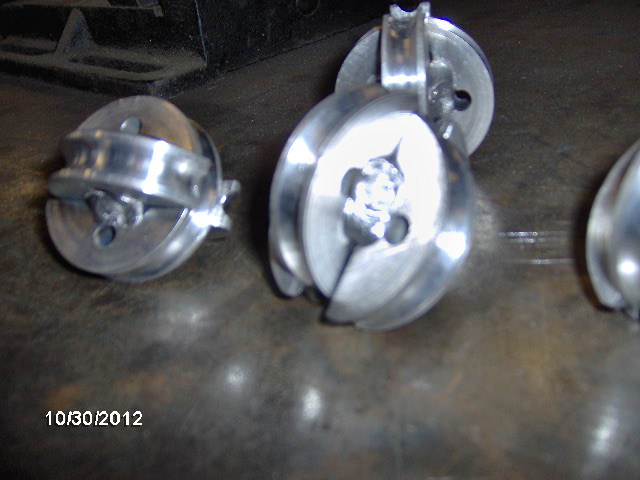
In order to extend the bow line (which is some super swanky Vectran synthetic stuff, super light, super strong, does not stretch) with maximum strength, we needed a way to interconnect eye splices. Jeff D. came up with the idea from some electrical insulators and I ran with it making these couplers from 2 inch dia alum round. First I shaped a HSS cutter to groove the diameter; then I parted them off in 1/2 inch thick “pulleys”; then I drilled a couple of holes in each so that we could wrap the line with tie wraps to make sure that the couplers don’t flip out during moments of slack (like during installation and set-up); then mill a slot in each so that they can key together to form the coupler. Dry fit.

MIG welded on generator power.
We don’t have enough of the expensive Vectran to reach all the way back to the available anchor point on the winch frame, and we would rather use material on hand than have to go out and buy wire rope cable and related hardware, so I devised these solid round bar link arms made from 1/2 inch round steel (about 4700 lbs. tension). The end that will get welded to the winch frame once we have Mr. B set up in the field and can figure out the final length of the links is shown dry fit here. The two tabs will get welded onto the winch frame with a little bit of space between for articulation. The hole in the strap tab that will get welded to the rod is just a touch over size, also for articulation. The bolt is 1/2 inch Gr 5.
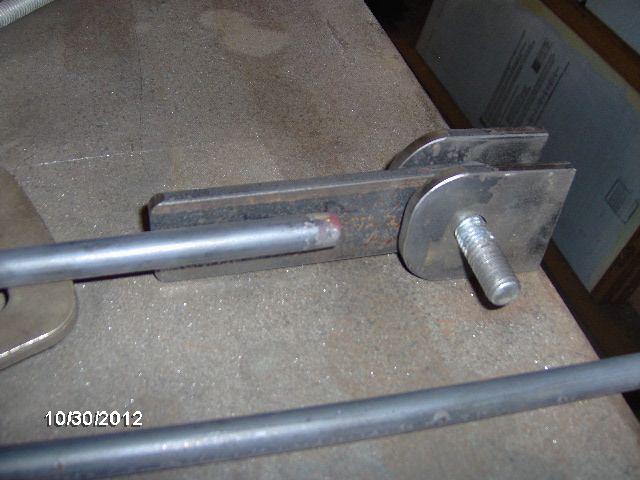
The other end of the link needs to accept the bow line extenders and the best way to attach those is with more eye splices. In order for the eye splices to not slip out, they need to have some angle to the splice, which means that they need to wrap around something with some girth (hence the pulley like couplers above). So at the front end of the anchor link rod I devised a clevis consisting of bent flat bar tabs and alum double groove pulleys. Here are the formed clevis yoke halves tack welded onto the rods just before Karl MIG welded down all sides of the rod.
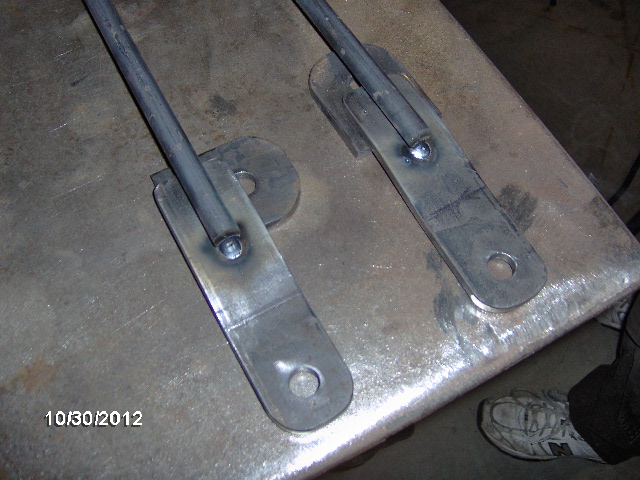
(The other tabs are just sitting underneath as temporary shims during welding.)
Here are the completed clevis' after bolting on the other sides using the pulleys as spacers and welding to the rod down both sides.
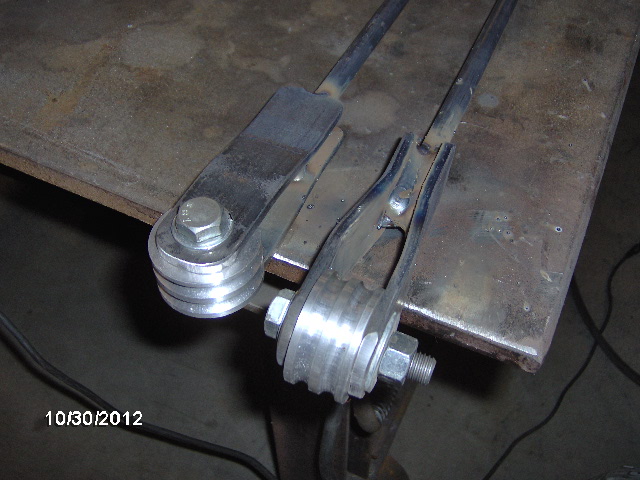
The two bow line extenders from each side of the ballista will be laid into one pair of grooves with one link rod located on each side of the winch frame.
So to recap, the pumpkin and pouch will be in the middle of the arms (think cross bow); the top and bottom bow lines will run out to the couplers which will be located near the arm tips; the bow line extenders will pass through the pulley keepers sliding around the arm tip pulleys where they will be anchored on the double groove pulleys at the front end of the link rods; the back end of the rods will be anchored to the back of the machine.
Eric's math says that we should get a better push at the end of the throw doing this. If it doesn't work we will just pull the extenders and couplers off and reattach the regular bow line back onto the arm tips.
Wish us luck.


 ).
).
 I mean, just tell me straight, "We should have fixed this when we were here the first time, but our technician was lame and we have to sell you some BS to try to snow you over."
 I couldn't see out of the back or passenger side. Got to the tire shop 1/2 hour before closing and they turned me away. Drat. These pics where taken later, but you can see how crowded it was in there.
 The Race is On ... My deadline is June 1 2013 ... KC , likely you’ll be finished before that ... sans spherical Orange distractions ...
 Maybe I screwed up... again?