Not sure I can picture your water spout idea, Bonnie, though I do appreciate the suggestion. I'm going to let this one stew on the back burner some more, until I get closer to that point in the build.
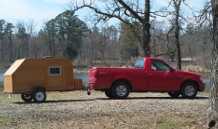
Progress.
Here's a pic of that counter face frame fix I mentioned. The upper galley shelf face frame is shown above, with the under counter face frame corrected and dry fit below, in reverse (i.e. looking at the back side..when flipped face out it will be on the curb side).
That was Wednesday eve. After dry fitting, I masked, glued and screwed, again.
Yesterday was two different turkey dinners with Vette's family first, then my family afterward. First dinner was at about 1:30. Turkey, stuffing, gravy, mashed spud, sweet potato with little marshmallows, butternut squash, mushed turnips, roasted acorn squash w/ a little cinnamon, potato soup, fresh baked bread, fresh cranberry relish, Rene's pork pie, choc/choc chip fudge, ginger cheese cake w/ pumpkin mousse and chocolate ganache on a choc graham crust, chocolate bomb, strawberry Napoleon cake, homemade pumpkin cream filled cream puffs/éclair's, etc. Caught in the moment and didn't take any pic's, sorry.
Second dinner was about 6pm. I will wait and describe when I get the pic's taken with mom's camera (I left my camera behind at the 1st dinner).
Today I slept in, then got up and went in to my desk and worked on the 3D model adding the wall blocking for the dome lights (... actually located up high on the side walls), coat hooks, and reading lights. Also detailed and placed the arched ribs that will form the front roof radius spanning between the back of the front cabinet floor and the top of the front cabinet face frame. Updated the drawings and printed out fresh prints.
Still to be determined, hatch strut blocking, and galley wing table blocking. For now, I have decided that the light switches will not need any additional blocking, other than the interior wall skin, or I can make some simple stainless steel switch plates. I had also thought that I would include a dedicated hanger for the hog leg holster (.357 mag bear repellent), but have decided that the coat hook will be adequate for the leather part, and the catch all shelf will handle the rest.
So after getting that sorted out it was off to the big orange to buy more wood. One 1x3 x 8 ft maple for the arches and ...you will see; some more 1x2 maple for the ledgers at the backs of the cabinets and shelves (probably not enough to complete the job, but picked out the acceptable wood and will cull more as it comes available); a 1x3 x 8 ft select pine for the additional wall blocking (may already have some drops for this, but couldn't remember); and another top bearing flush cutting router bit, 1 inch long.
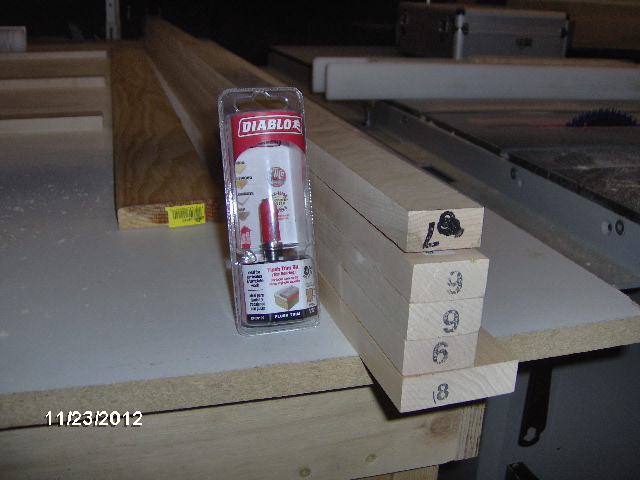
I looked up a source for a replacement collar and Allen wrench for my lost set screw on my 1-1/4 long flush cut bit, and it was about $6 plus shpg. For $10 I got the same/shorter bit and will just swap the collar around as needed.
Then I striped the masking and sanded the under counter face frame flush... again.
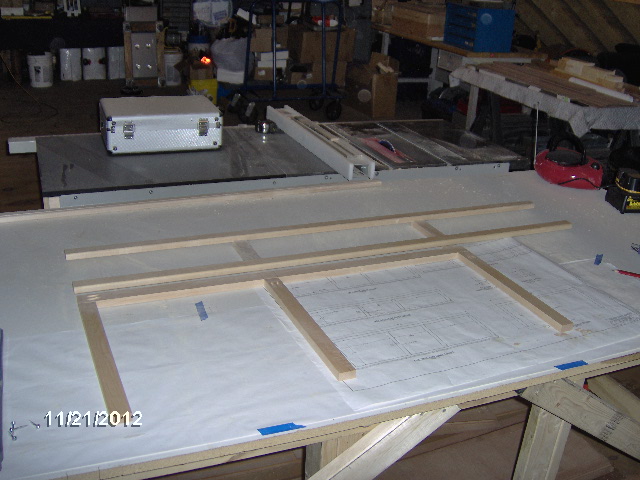
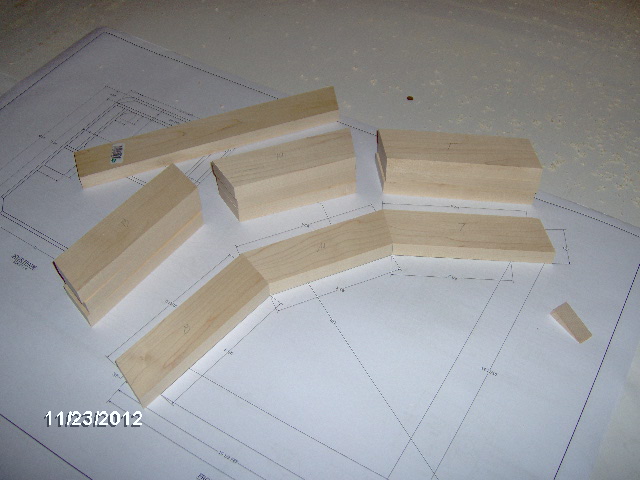
Finally moving on. Here's a pic of the full scale plan for the front radius arches.
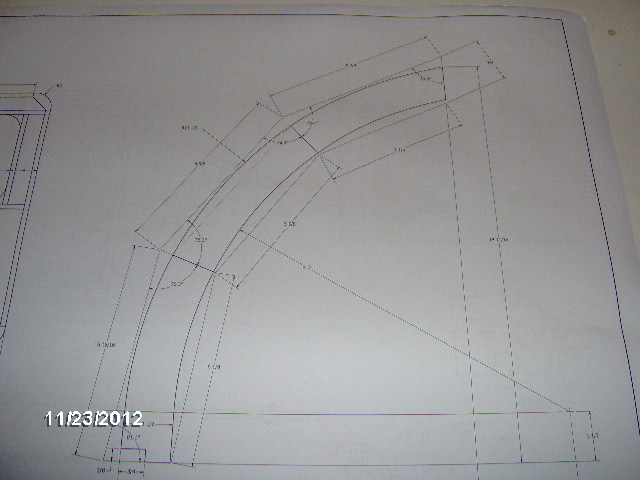
The final arched rib detail is shown superimposed on the mitered stick assembly. The mitered joints are all the same angle, but the top and bottom cuts are each different. And, of course, the angles are irregular, 76.3 deg for the miters, 63.5 deg at the top, and 81.1 deg at the bottom. The power and curse of 3D modeling.
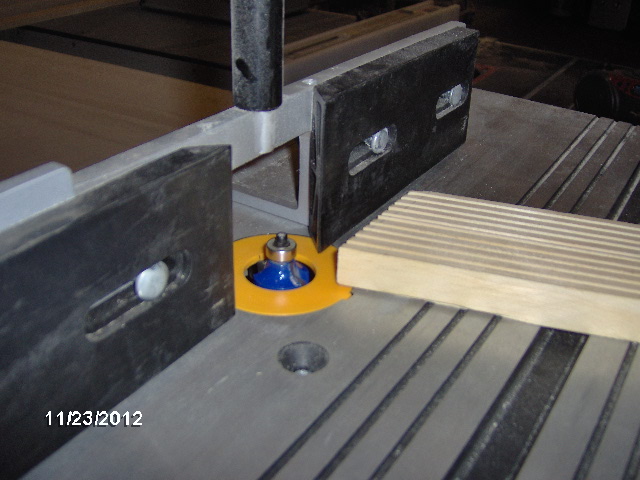
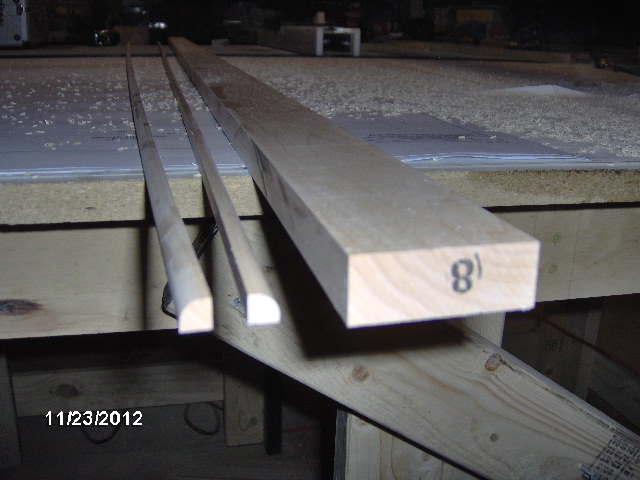
Well, the arch segment blanks only need to be 2 inches wide, and I need some small 1/4 round trim to use as the ledgers for the shelf and cabinet floor supports, so I started by making the 1/4 round out of the edge of the 1x3. First I set the router table back up with the round over bit and the feather board.
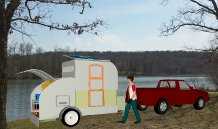
Here's a sketch of the idea.
Then I ran both edges of the 1x3 through the router. Actually, I ran each edge through a few times because the board wanted to tip a bit due to it being so long and me working alone w/o out feed rollers. Not a big deal, just had to run it through until it was all uniform.
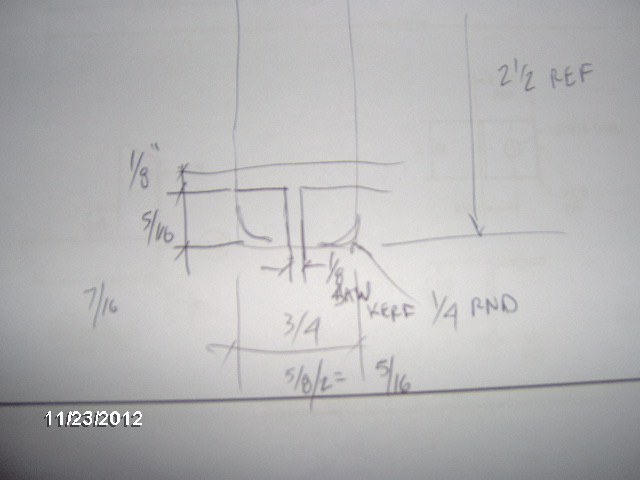
Then I ran the board through the table saw on edge with the blade depth set shallow, flipping it around and running it through again to make sure that the slot was centered.
Then, without changing the fence, I set the blade higher and ran the board though on its side getting this.
The board was still just a shade over 2 inches, so I reset the fence and ran it through again.
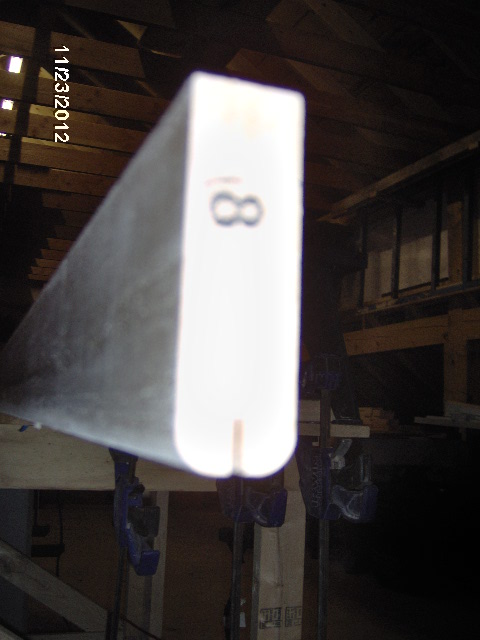
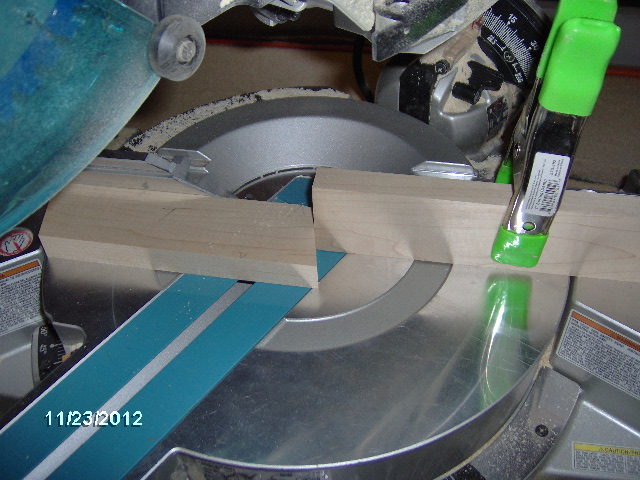
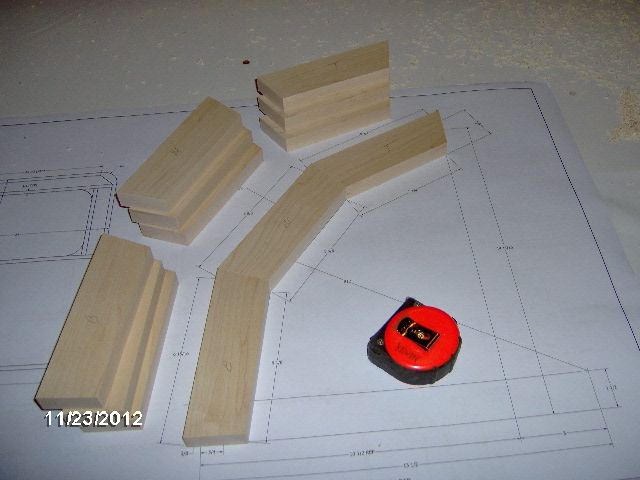
Then to the miter saw. So first I set the saw for the 76.3 cuts, did a test cut and laid the part right on the drawing to check. Once I was happy with the angle, I set a stop block for the length. After the initial cut all I had to do was flip the board, place it against the stop, make the next cut and repeat. That gave me the middle pieces for all four arch ribs.
Then, in order to maintain the exact complementary angle, I left the saw the same and cut the top and bottom pieces a little long using the same angle at each end.
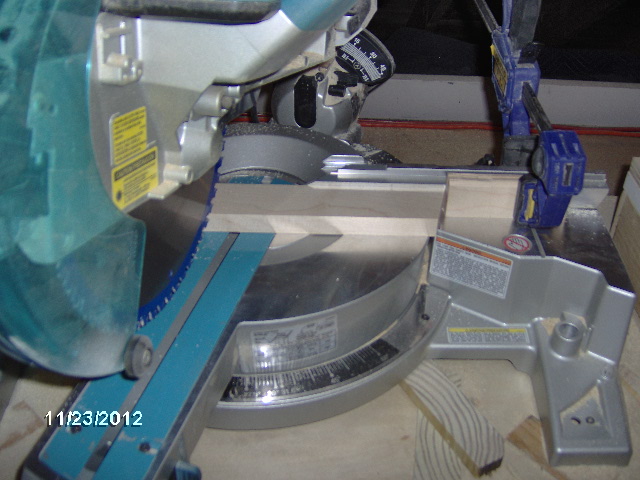
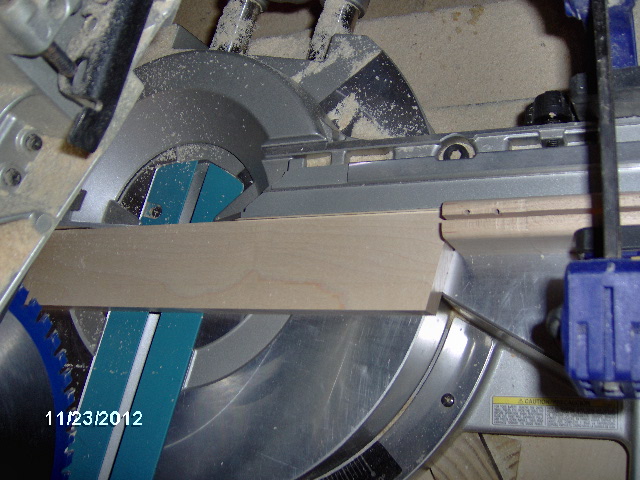
Then I reset the saw and stop for the top angle, running the top pieces for their second finish cuts. Then reset for the bottom angle and made the second cuts on those
Ending up with this.
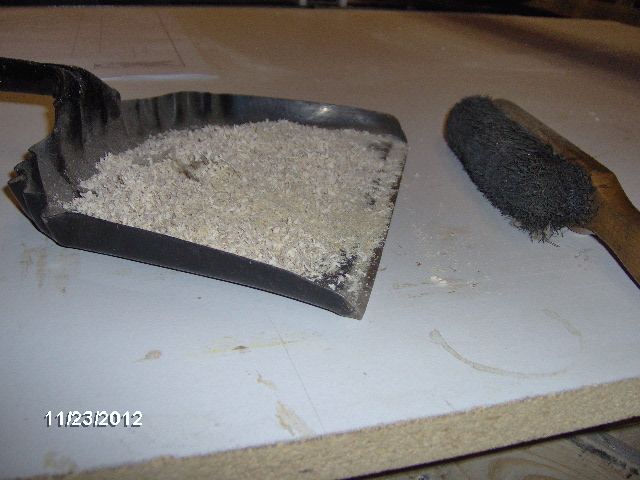
This evening we are serving a fine helping of maple saw dust and chips.
And with that I called it a night. Hope to make a bunch more progress tomorrow.