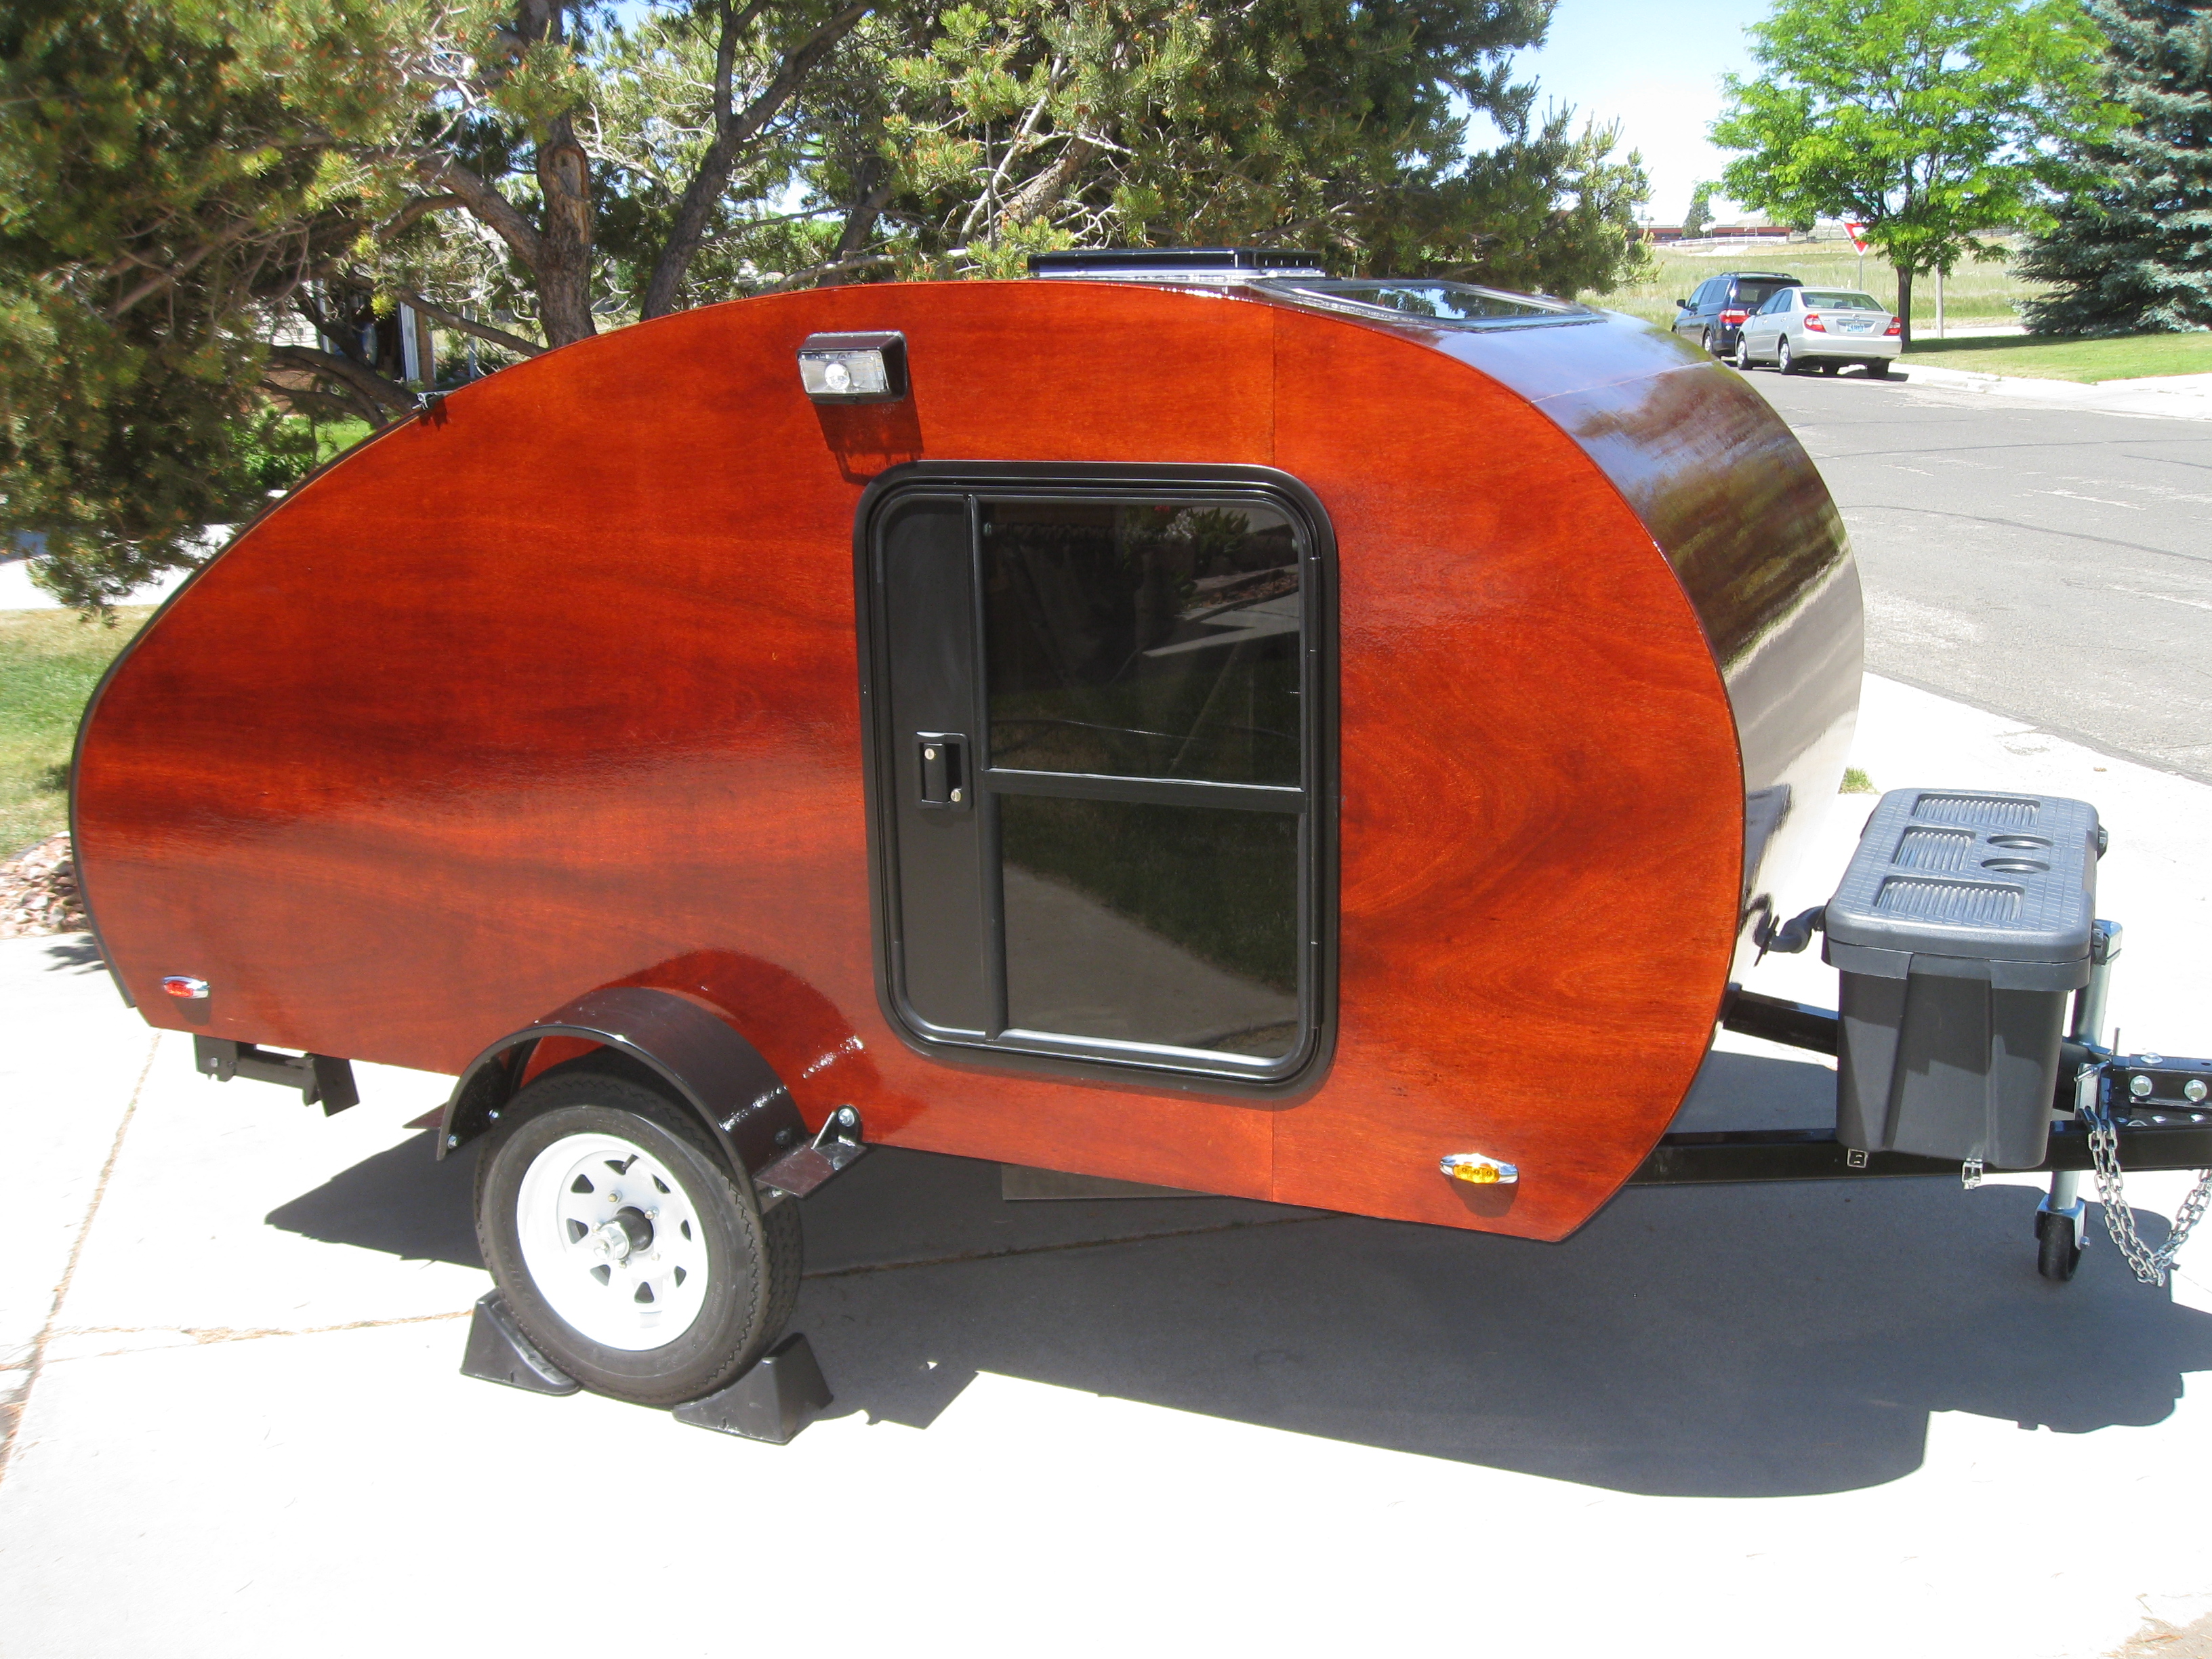
I think that I would purchase a couple rolls Kraft paper, tape it to the outside and then draw the shape based on the outside. Once that is done, trim it down to fit your interior. (If you want a full wall height, you'll have to tape a couple pieces Kraft paper together; but, that's no big deal.) After that, you can verify that you did it right by taking the cutout inside and placing it against the wall. Then, if it is correct, tape or tack it there and draw in where the supporting skeletal boards are. You'll be able to feel where the skeletal boards are. Both sides should be the same; but, just in case, tape the pattern to the inside of the other wall and check it. To do that, you will be using the other side of the pattern and you can mark in the skeletal boards for that wall, too, as the skeleton boards may differ some. Be sure to mark which side of the paper represents the driver side and which, the passenger side, so you won't need to question it later on. Then, you can use that as your pattern for both sides and know where to put your plywood seams, etc. Because it was easier to erase mistakes, I used pencil when I was doing the original marking and then went over it later,on a flat surface, with a Sharpie marker and a ruler.
After you're done, roll it up and save it because it can come in handy later on, when you are looking to make updates, such as where you can add shelves or clothing hooks or whatever. I've pulled mine out and referred to my Kraft paper "wall maps" several times already. Also, take lots of pictures before you close up the walls. There may be times when something that you want to know, such as wiring, may not be on the Kraft paper drawings; but, you'll be able to see by looking at the pictures.
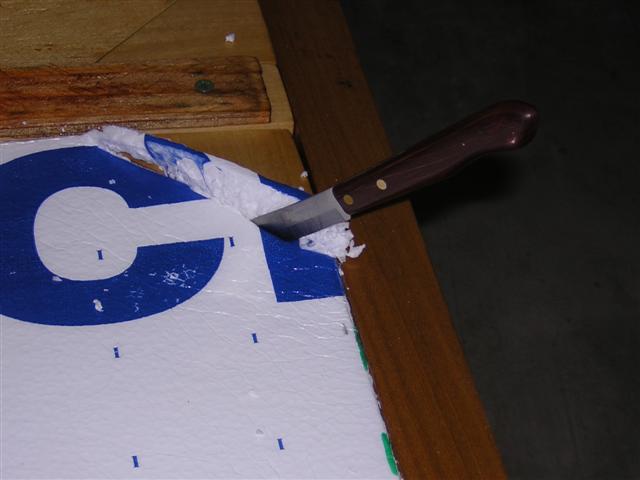
For the insulation, I would measure at the top and bottom between the area of each set of ribs and then transfer those measurements to the Styrofoam, using a straight edge ruler to draw between the marks on the foam. If you have to make adjustments to the foam after you fit it, you can use a hot knife to cut off excess or to cut a small piece to stick in where it might be lacking; but, that's just my way of doing things. Here are some pictures:
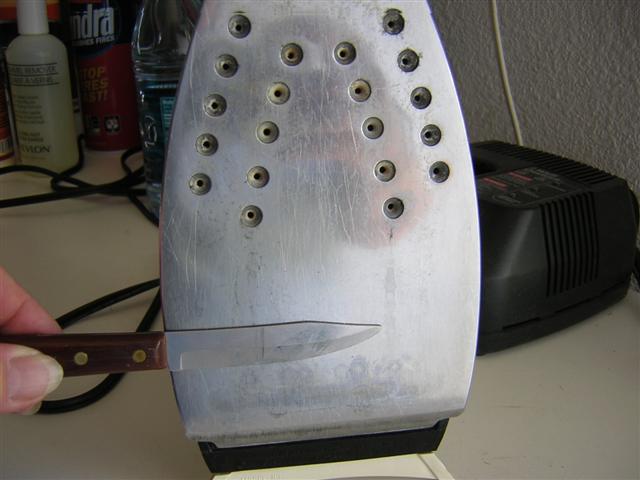
You can use an iron to heat the knife for those trimmings and it will keep the Styrofoam debris down.
In this picture, I was mapping the straight back wall; so, I didn’t bother to take the Kraft paper the entire way up. I simply wrote the information on the paper:
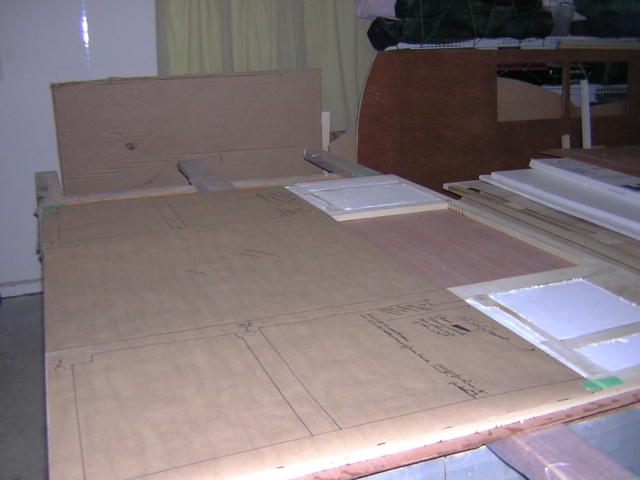
Please notice that I also marked where the screws are and whether they were Kreg or standard screws.