Veggies are good, and the "Sprint to Spring" contest is starting up again, although this year's prize has been reduced to $250 per winner.
Installing the wall blocking continues, and toward the bottom of this post are some screen shots of the preliminary hatch actuator arrangement; already subject to change.
Yesterday (Wednesday) I started by going around and making sure that all of the street side interior blocks fit their intended recesses properly. A kiss here and there with the sanding block, cheap serrated boning knife, and/or extended razor knife while indicating up orientation with a sharpie for repeatability brought me to here.
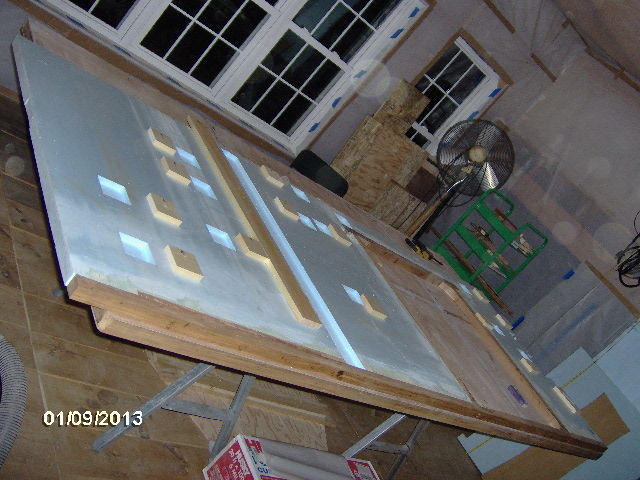
The front all ready to go with a bit of plastic coated freezer paper under the exposed edge to protect the cabin floor/work table.
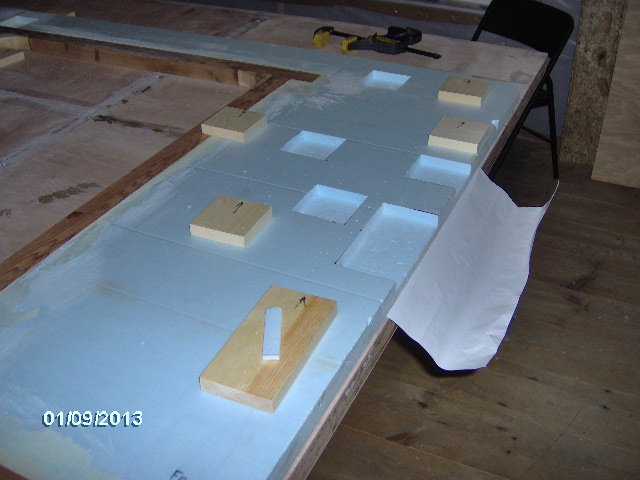
Mid cabin.
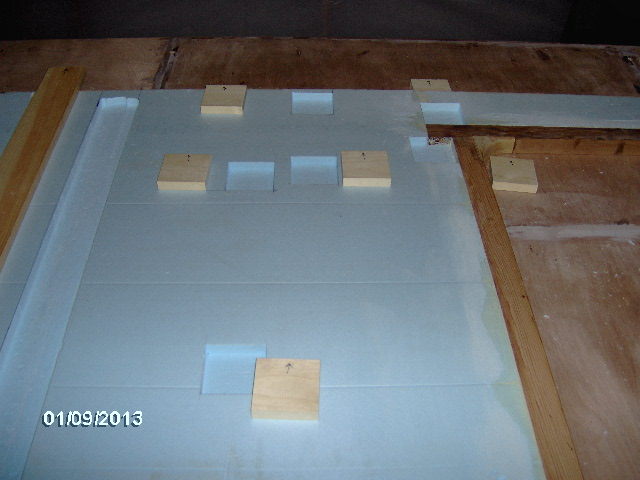
Started gluing at the front. The ones at the edge I just clamped. Shop temp started at 46F and went to 48F with the turd burning (40F outside, no woodstove downstairs). Seemed to take forever for the GG to kick and after sitting in my car all day it flowed like molasses. Used too much on the first piece shown here. Also note the cardboard box; welding wire spool used to weigh down additional blocks in the field.
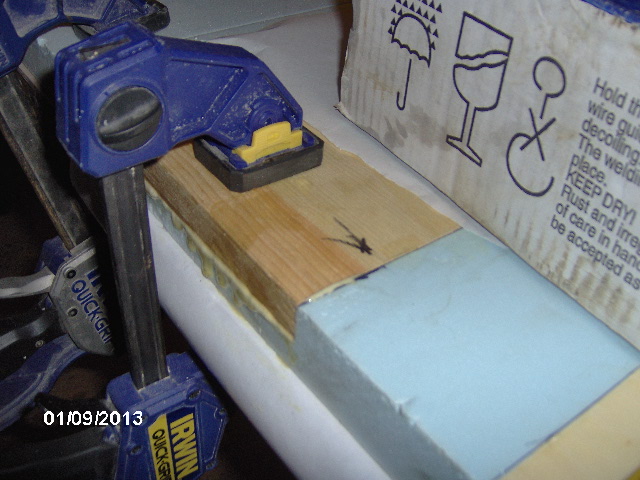
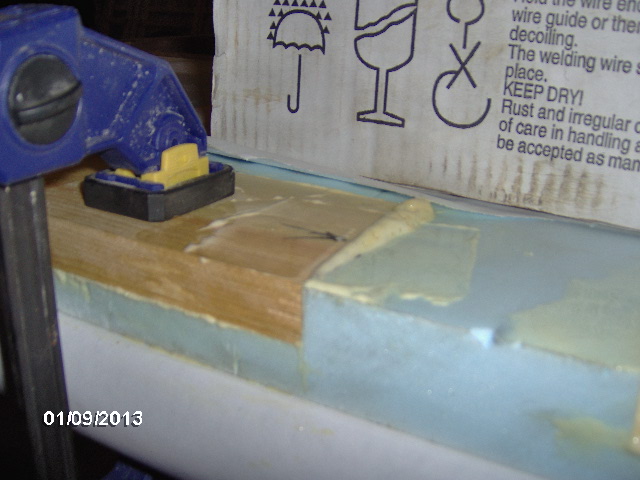
Note the freezer paper (plastic side down) between the wire box and glue.
Found this trick here on the forum somewhere (wish I knew who to credit). Use those cheap temporary credit/membership card promotions that always seem to come in the mail as glue spreaders. Worked perfectly for my 3-1/2 inch wide recesses.
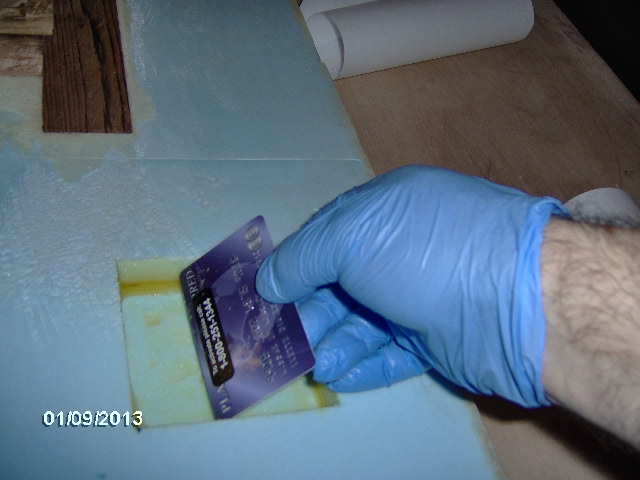
Plenty of clean-up required at the front.
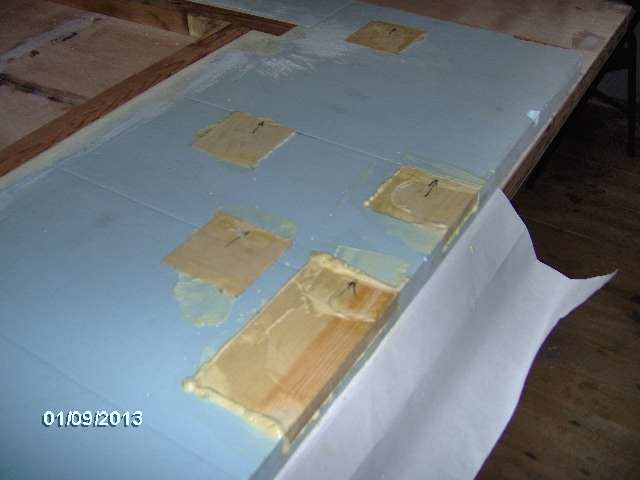
Same again at mid cabin; dome light and coat hook locations.
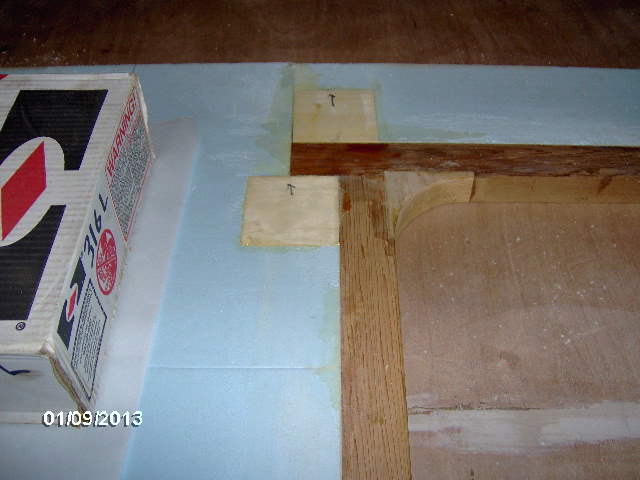
One of the shelf locations at the front I tried to get away with just one wire spool on two blocks, but I must not have got it centered well because one of the blocks lifted at the top.
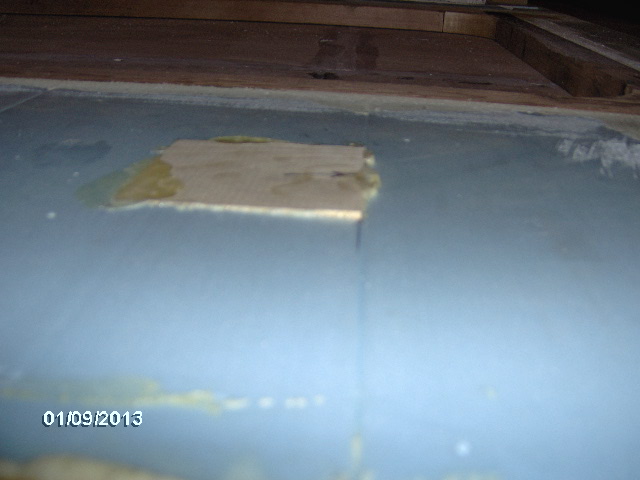
Will have to work on my sanding technique; glad I tested.
I only had so many boxes of wire and so much gumption (and was a little leery of doing the bulkhead location without a long strong back to clamp down, so I finished up at the mid cabin.
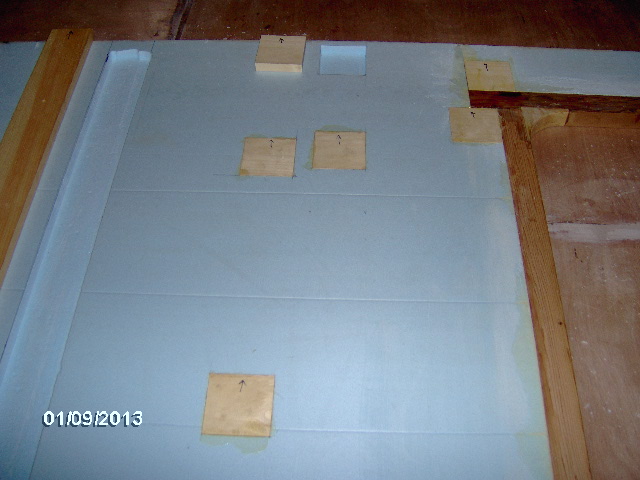
Turned to fiddling with the plans and linear actuators to make sure I know what I may or may not need for blocking before going too far. Messed around with the paper plans and a compass a bit before deciding that I could do it much more efficiently using CAD.
Some deferent perspective shots of the turd before shutting down for the night.
Looking up
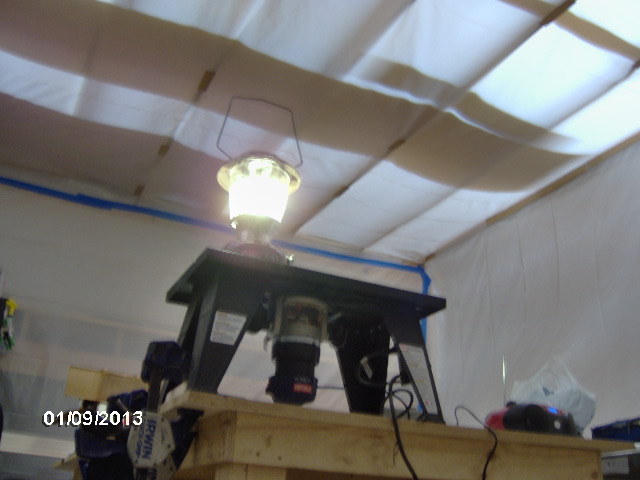
Ambiance (shop lights out).
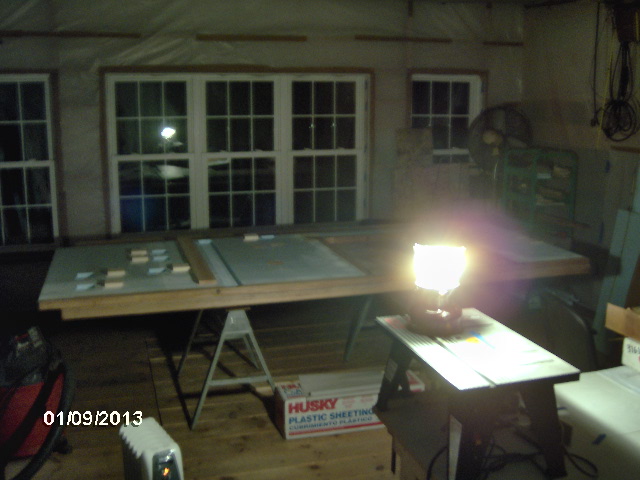
And the last gasp upon shut down, blue and gold.

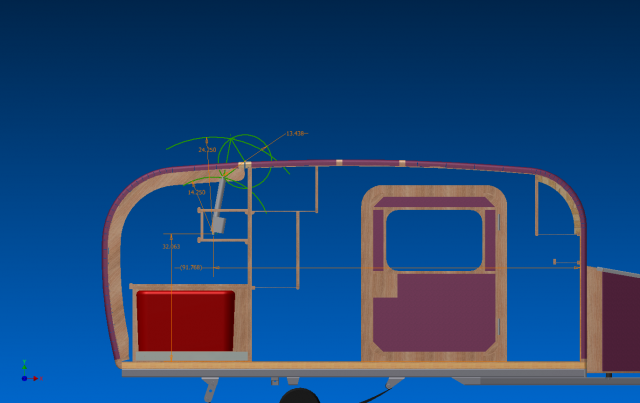
This evening I got serious about attempting to incorporate the freebie linear actuators to raise and lower the galley hatch. Here is a screen shot looking through the curb side wall (with the street side wall “turned off” for better contrast).
And a closer shot of the hinge area.
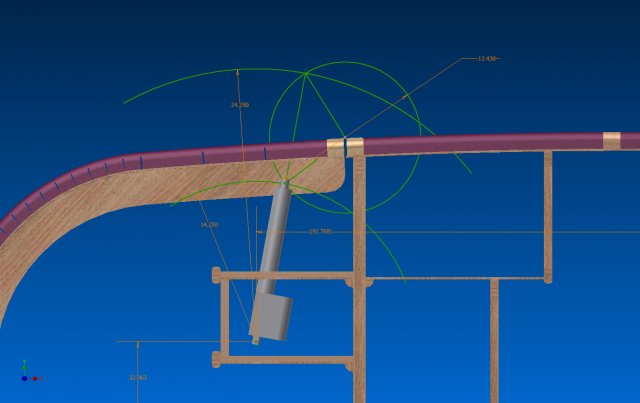
The two green arcs centered on the cabin side anchor point of the actuator represent the extended and retracted lengths of the actuator. The circle represents the path of the rod end anchor point on the hatch rib about the hinge. The equilateral triangle has its base in a line with the fixed (cabin side) of the actuator so that the action is spread equally about the point where the rod is at 90 degrees to the hinge centerline. This is the point where the actuator travel is most efficient providing the most power to lift the hatch and least binding (lowest vector force trying to rip the hinge from its spar).
Through iteration, by varying the distance that the rod end was from the hinge (diameter of the circle), and the height of the fix pivot point on the cabin side above the floor (and thus the dependent location of the pivot horizontally) I was able to find the end points that corresponded to my 95 deg hatch travel (from closed to open). I did allow for a little positive closure so that the actuator pulls the hatch into the seals for sure.
Here is the same set up with the hatch open, and a closer view.
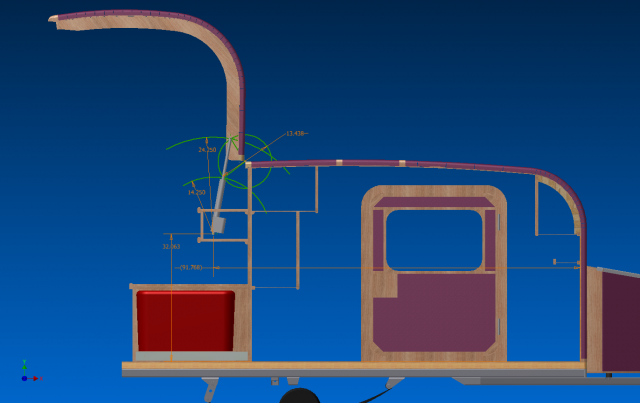
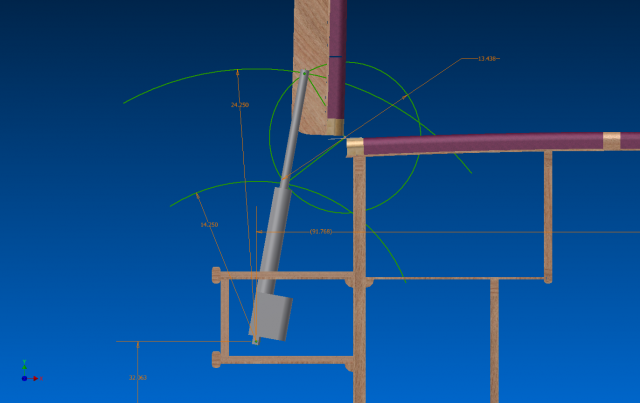
This first attempt was assuming that the actuators would be against the side walls and would be bolted with offset brackets through the outermost hatch ribs. When I started looking at the offsets from the side walls inboard, I was not happy with the cantilever distances, nor the amount of shelving that I would lose to the chases required to box in the actuators. Also, I thought I could do better by making the circle larger, thereby changing the effective fulcrum point and reducing the leverage, stress and load on the actuators. So I moved the actuators inboard to the two more centrally located hatch ribs, detailed a bracket tab that will straddle the ribs in pairs, and moved the cabin side pivot point down and closer to the bulkhead wall. Sorry, ran out of time to get any more screen shots this evening, but will refine it further and post something up as it develops. The new arrangement will steal space from both upper galley shelves, but by centering on these ribs with the actuators directly behind the shelf mullions, and down closer to the shelf ledgers, which are in turn located at the bulkhead xmbr reinforcements, it will add strength while stealing less of the useful shelf space.
Progress is progress. Just need to keep putting time in.
Night.


 .. how about showing some nice salads or perhaps a squash ...


 .. how about showing some nice salads or perhaps a squash ...


 ) So, yeah, it was sticking way up there and causing me to think that I needed more angular travel than I really do. (“DING-DING-DING You Win The Prize Bells” going off for GPW… GeeP dub to his friends
  ).
). 
 In fact I just looked at where the model says the center of gravity is for the hatch and not surprisingly, it is “in the middle”.


 .
. 

.
 In fact I spent some time this evening modeling some aluminum beauties.
 ). Like I have said, the devil is in the details.


