The Bummer offroad build

...ask your questions in the appropriate forums BUT document your build here...preferably in a single thread...dates for updates, are appreciated....

Re: The Bummer offroad build

Postby Ben » Sun Feb 24, 2013 9:28 pm

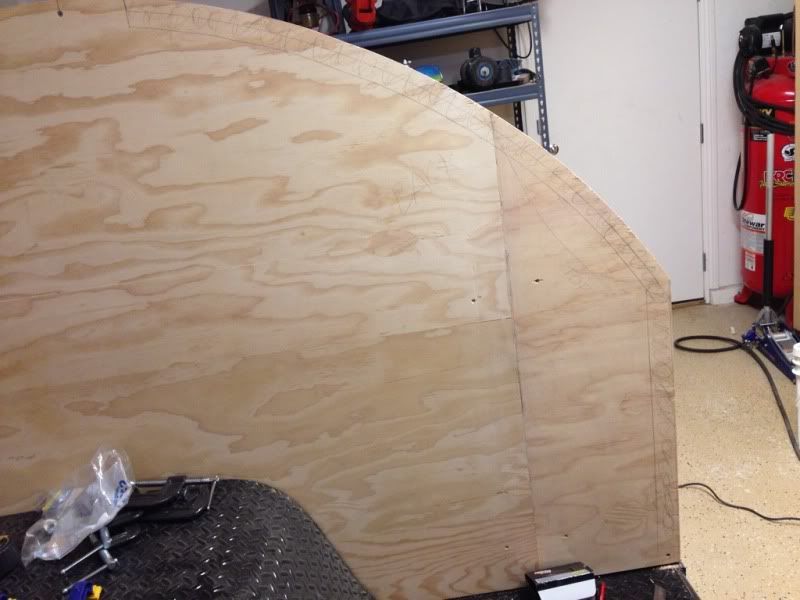
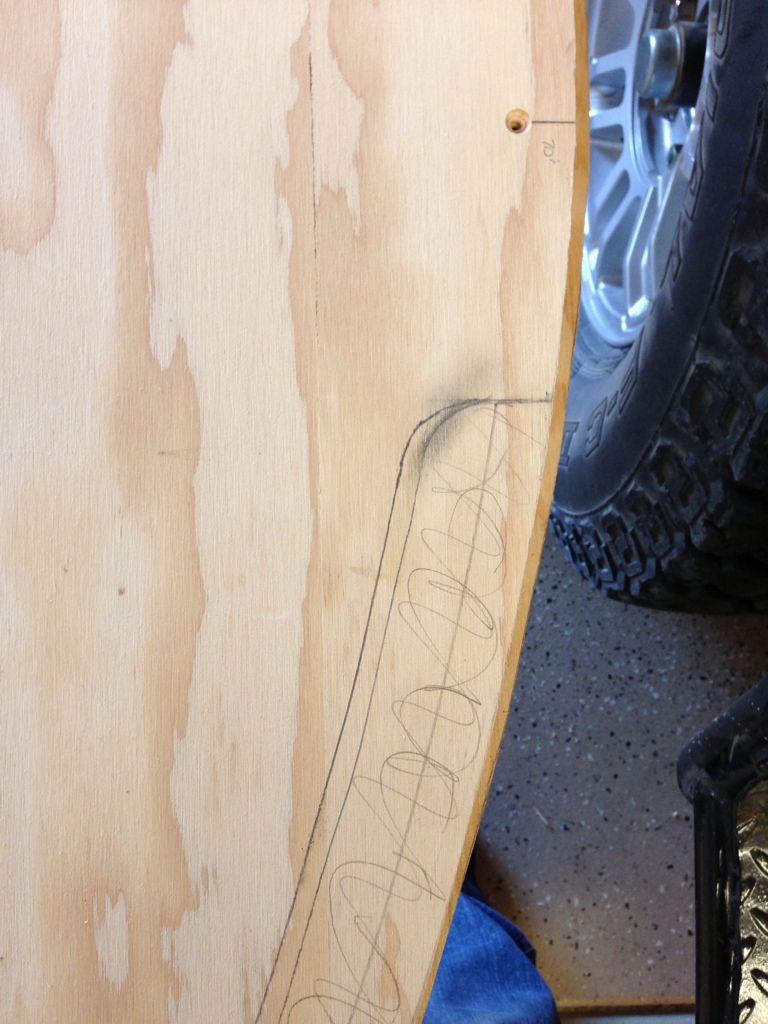
Word of wisdom. Plan your galley hatch thoroughly make your cuts when they are on the bench not installed on the frame!! When on frame it's much harder!! Don't ask why! Lol. I've been stuck messing with the hatch for a couple weeks now and I have to keep walking away.
Going broke quick fixing a bad start!
Ben
Teardrop Master
 
Posts: 200
Images: 221
Joined: Sun Aug 05, 2012 8:39 pm
Location: Hocking hills Ohio

Re: The Bummer offroad build

Postby Silvrzuki77 » Mon Feb 25, 2013 8:14 pm

Why? Lol i was thinking about that today. Are you cuting that 3/8th piece off also? I am going to use alder wood for the interior little price but should be nice.
Silvrzuki77
Teardrop Master
 
Posts: 188
Joined: Thu Jun 21, 2012 3:55 pm

Re: The Bummer offroad build

Postby Ben » Mon Feb 25, 2013 9:19 pm

No I cut a 2" lip out to make a hatch like Steve Frederick in his builds.
Going broke quick fixing a bad start!
Ben
Teardrop Master
 
Posts: 200
Images: 221
Joined: Sun Aug 05, 2012 8:39 pm
Location: Hocking hills Ohio
Top

Re: The Bummer offroad build

Postby Silvrzuki77 » Tue Feb 26, 2013 11:40 am

Yeah i was thinking that was a better way of doing it
Silvrzuki77
Teardrop Master
 
Posts: 188
Joined: Thu Jun 21, 2012 3:55 pm
Top

Re: The Bummer offroad build

Postby Ben » Tue Feb 26, 2013 11:49 am

Read and plan accordingly!! Cut a pattern first sand to desired liking and them cut each one at a time. Over size your rough cut then use router with pattern bit to shape to final size with the pattern you made. That way they are all the same and fit perfect!
Going broke quick fixing a bad start!
Ben
Teardrop Master
 
Posts: 200
Images: 221
Joined: Sun Aug 05, 2012 8:39 pm
Location: Hocking hills Ohio
Top

Re: The Bummer offroad build

Postby Silvrzuki77 » Wed Feb 27, 2013 5:11 pm

What do you guys think about this hatch cut out? Its approx 1 3/4"
Image
Sorry its faint
Silvrzuki77
Teardrop Master
 
Posts: 188
Joined: Thu Jun 21, 2012 3:55 pm
Top

Re: The Bummer offroad build

Postby KCStudly » Wed Feb 27, 2013 5:22 pm

Looks good.

Consider adding a small radius (1/2 to 3/4 inch) in the corners at the top and where the radius transitions to the vertical rear, rather than a sharp notch. Small detail that adds both strength and eye appeal.
KC
My Build: The Poet Creek Express Hybrid Foamie

Poet Creek Or Bust
Engineering the TLAR way - "That Looks About Right"
TnTTT ORIGINAL 200A LANTERN CLUB = "The 200A Gang"
Green Lantern Corpsmen
User avatar
KCStudly
Donating Member
 
Posts: 9640
Images: 8169
Joined: Mon Feb 06, 2012 10:18 pm
Location: Southeastern CT, USA
Top

Re: The Bummer offroad build

Postby Ben » Wed Feb 27, 2013 5:53 pm

I would have to agree with KC I would round the points off for 2 reasons 1 looks and 2 when you cover it that might tend to be a prolbem area ie would you break a seam or trim or ?.
Going broke quick fixing a bad start!
Ben
Teardrop Master
 
Posts: 200
Images: 221
Joined: Sun Aug 05, 2012 8:39 pm
Location: Hocking hills Ohio
Top

Re: The Bummer offroad build

Postby Ben » Wed Feb 27, 2013 6:00 pm

If you look on page 17 of the generic benroy plans it shows a 19" radius that follows the 48" radius I don't know if that's the pattern you were following. Just a thought. But the main thing is if that's what you like that's the main thing!
Going broke quick fixing a bad start!
Ben
Teardrop Master
 
Posts: 200
Images: 221
Joined: Sun Aug 05, 2012 8:39 pm
Location: Hocking hills Ohio
Top

Re: The Bummer offroad build

Postby Silvrzuki77 » Wed Feb 27, 2013 6:06 pm

Copy that guys! Ill post up with a different rendition soon. Want to make it bombproof!
Thanks again for the input!!!!
Silvrzuki77
Teardrop Master
 
Posts: 188
Joined: Thu Jun 21, 2012 3:55 pm
Top

Re: The Bummer offroad build

Postby Silvrzuki77 » Wed Feb 27, 2013 6:17 pm

Image
New radius at hinge and went for 2" instead not going to cut it out for a bit might as well do some more reading first
Silvrzuki77
Teardrop Master
 
Posts: 188
Joined: Thu Jun 21, 2012 3:55 pm
Top

Re: The Bummer offroad build

Postby Oldragbaggers » Wed Feb 27, 2013 6:57 pm

This is an awesome build. I'll bet you could start a business just building those frames and make a small fortune. Very impressive work.
Life is sooooo good.........
Sail...camp....bike...repeat
Becky

Build Journal http://www.tnttt.com/viewtopic.php?f=50&t=45917
Visit our blog at http://www.oldragbaggers.com
Image Image
User avatar
Oldragbaggers
Gold Donating Member
 
Posts: 1842
Images: 331
Joined: Mon Aug 01, 2011 9:22 pm
Location: Essex, MD
Top

Re: The Bummer offroad build

Postby Silvrzuki77 » Wed Feb 27, 2013 7:06 pm

Lol thanks, frame was pretty easy now i have no idea what im doing lol
Silvrzuki77
Teardrop Master
 
Posts: 188
Joined: Thu Jun 21, 2012 3:55 pm
Top

Re: The Bummer offroad build

Postby Ben » Wed Feb 27, 2013 7:17 pm

Don't feel bad most of us don't
Going broke quick fixing a bad start!
Ben
Teardrop Master
 
Posts: 200
Images: 221
Joined: Sun Aug 05, 2012 8:39 pm
Location: Hocking hills Ohio
Top

Re: The Bummer offroad build

Postby Wolffarmer » Wed Feb 27, 2013 9:40 pm

Silvrzuki77 wrote:Lol thanks, frame was pretty easy now i have no idea what im doing lol


Know how you feel. For me the frame was easy also. Then to get to see a TD up close. I had to build one.

:lol: :lol:

Randy
"these guys must be afraid of the dark"
User avatar
Wolffarmer
Donating Member
 
Posts: 4612
Images: 309
Joined: Wed May 02, 2007 1:32 pm
Location: Idaho Rupert
Top

PreviousNext

Return to Build Journals

Who is online

Users browsing this forum: No registered users and 4 guests