Okay, finally some heat. Saturday was 57 deg F in the loft (got up to 67 with heaters and Karl running woodstove below), but it was pouring rain… buckets. 99/ct humidity, which was why Karl had the stove going; trying to drive moisture out of the shop.
I scraped all of the drips off of the “current” cabinet parts and scuffed them all down with 220 grit, then greenie pad, and put another coat of 4:1 Poly and mineral oil on ‘em.
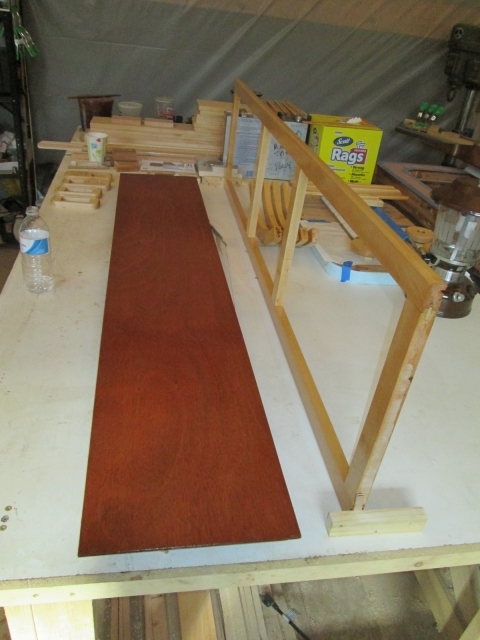


Not sure I was happy with the outcome (more runs, a few thin spots, not super glassy), I went ahead and oiled the light and switch trim blocks with the natural oil.

Sat with Karl and talked for a while. I think his motivation is for me to just finish, regardless of whether it comes out good or not (he says it all looks good to him… from across the room… in dim light). I, on the other hand, try to scrutinize every surface held up to the light. Drat. Not perfect. But if I am to ever get this thing done; maybe I need to move on?
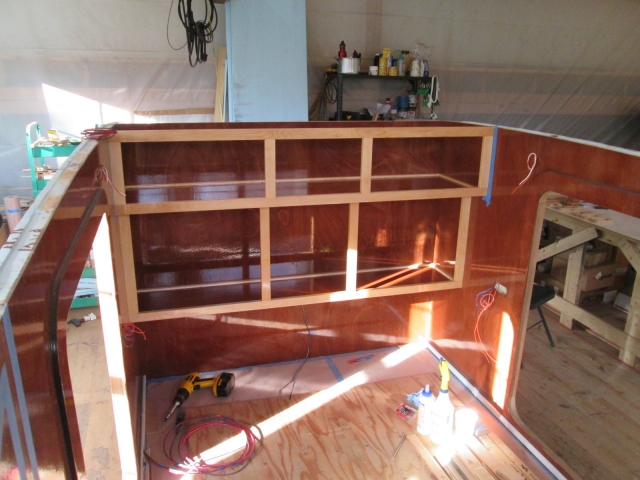
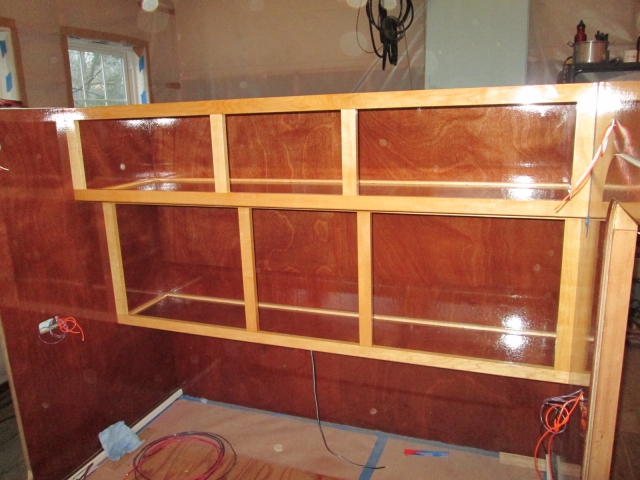
Decided to move on. Happy with the outcome. Built out the rear cabinets for the final time. Here I have slid the lower rear cabinet floor into place; glued between the tape and the edges of the face frame; wedged the lower face frame into place; screwed it; wiped the glue squeeze out; pulled the tape; knocked the upper cabinet floor into place; pilot drilled and screwed that down to the lower face frame using #6 x 3/4 flathead SS screws.
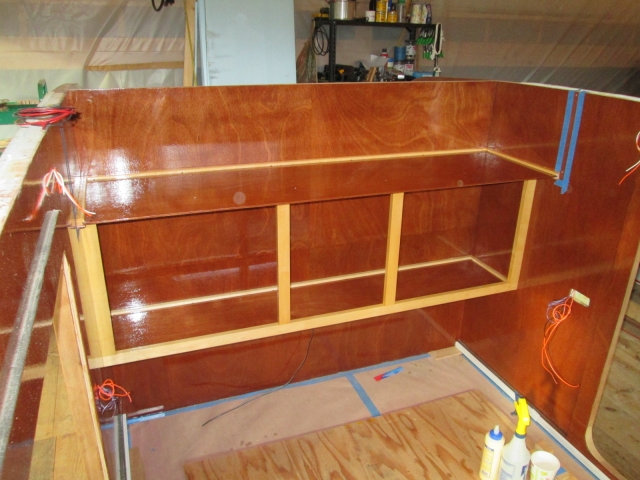
The flathead screws sunk their own countersinks, just like my tests.
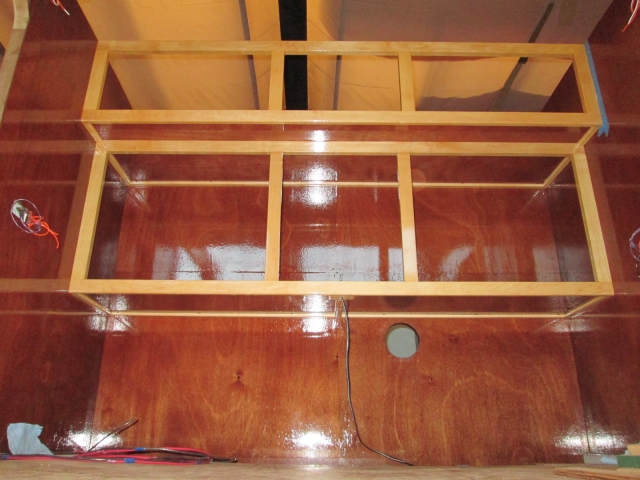
The screws pulled the panel down to the lower face frame pretty well, despite the fairly generous spacing between them (viewed looking up from the curb side doorway).
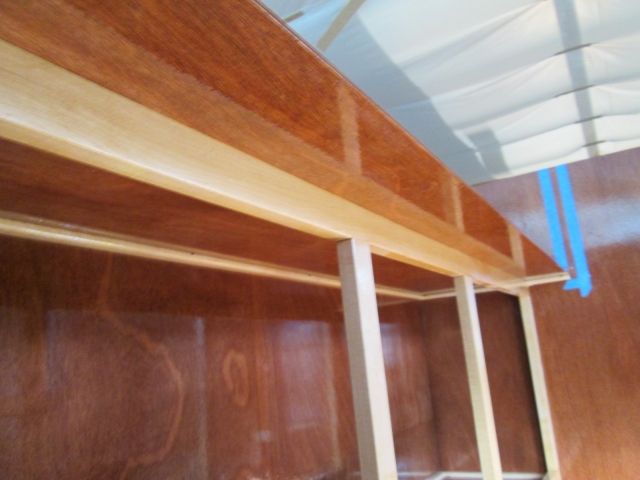
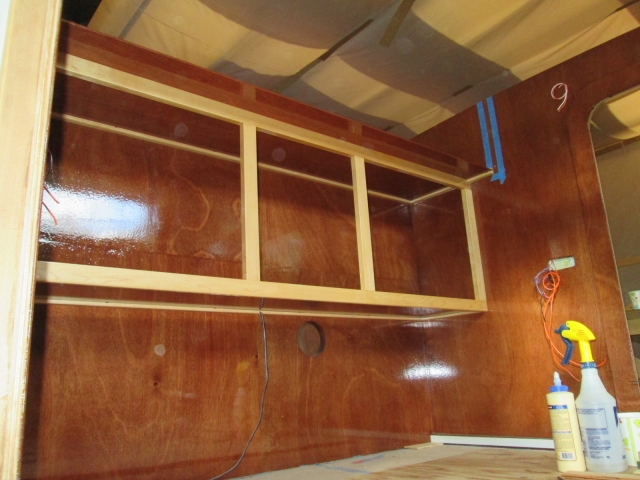
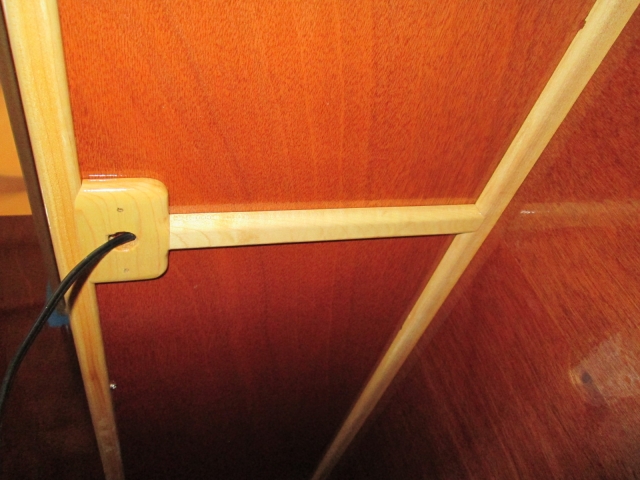
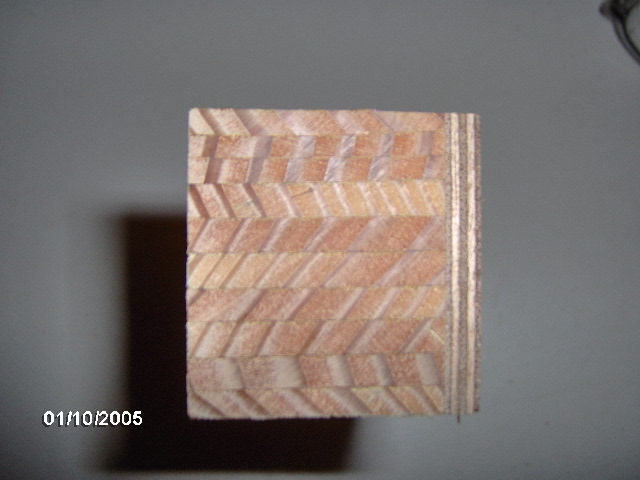
Here is the underside of the lower cabinet.
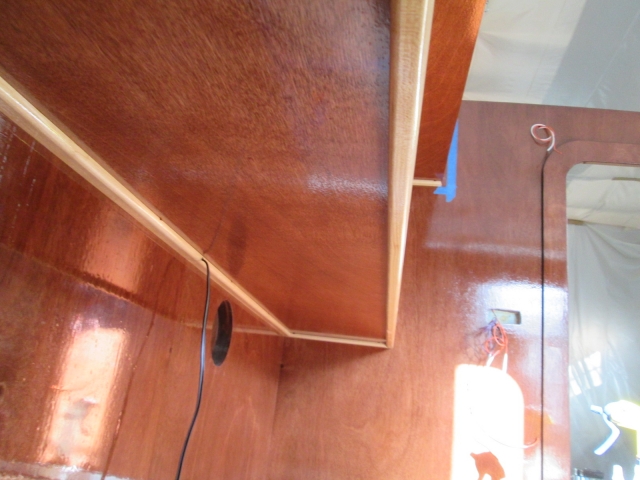
Okay, this seems a little crude to me, but the face frames are flexible enough that I can pull them away from the cabinet floor panels in the middle, so I pilot drilled up through the bottoms of the panels behind the central stiles, and drove one of the #6 x 3/4 FH SS screws at each stile, thus pinning the panel and frame together at these two points. The screws are hidden behind the lower lips of the face frames, seen here.
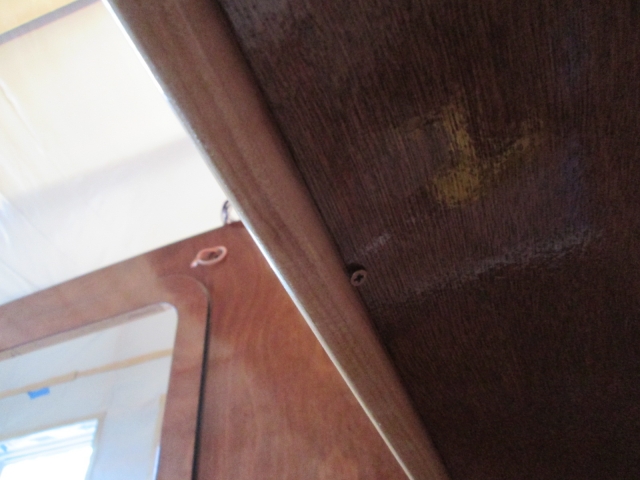
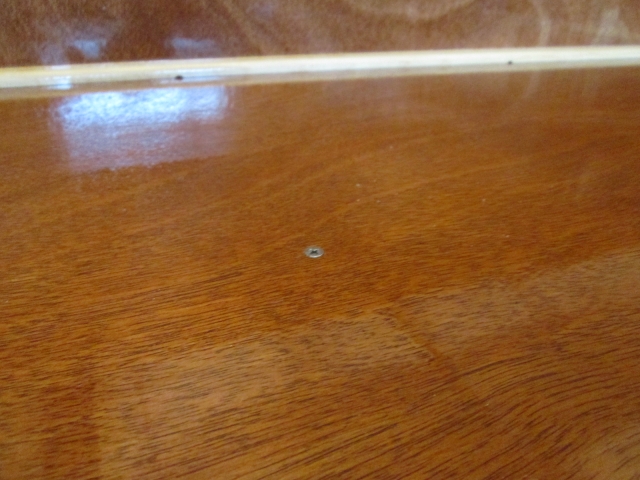
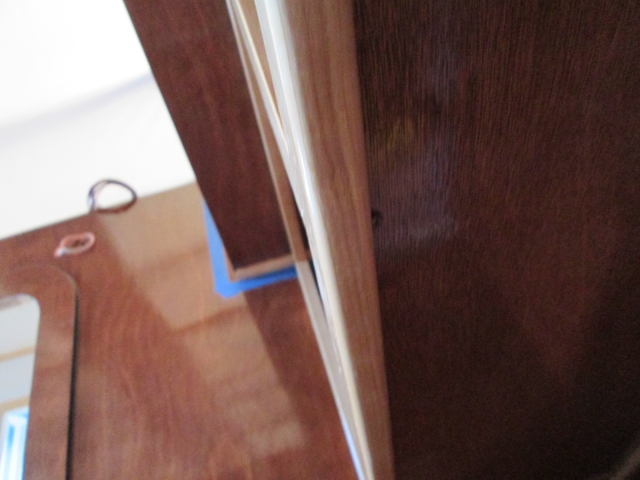
… and here you can just see how the screws align with the stiles (to minimize the chance of the pilot drill blowing out the front).
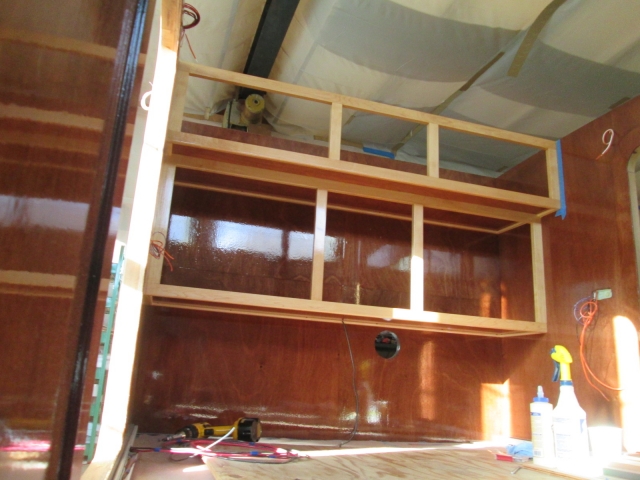
Then I double checked the dry fit of the upper rear cabinet face frame, just to make sure that nothing had changed, and to be sure that I could get it together with the glue without smudging glue all over the inside of the wall.
I was glad I did because it helped me figure out how to hold the frame, how to slide it down in between the wires sticking out from the walls, get the floor panel engaged with the groove in the frame, and where to push out on the street side wall in order to get the face frame to pivot into position without tracking glue all over the opposite side inner wall.
Then I spread glue on the walls between the tape lines, on the ends of the frame, stuffed it in place, and screwed it off using the pocket screws from behind.
Next I laid down under the lower cabinet with my head light on and dry fit the red light wire trim, cutting it to final length. I decided to use the double sided fiberglass reinforced tape to stick this into position (in case I have to pull it down again… a little concerned that it might release in high temps… oh well).

Truth be told, before deciding to use the tape, I dry fit this tight under the cabinet floor and masked it off with blue tape after measuring to be sure that it was centered. This ended up being a great way to help me align the trim while sticking it up. I trained the wire and stuck the trim pieces up. Happy.
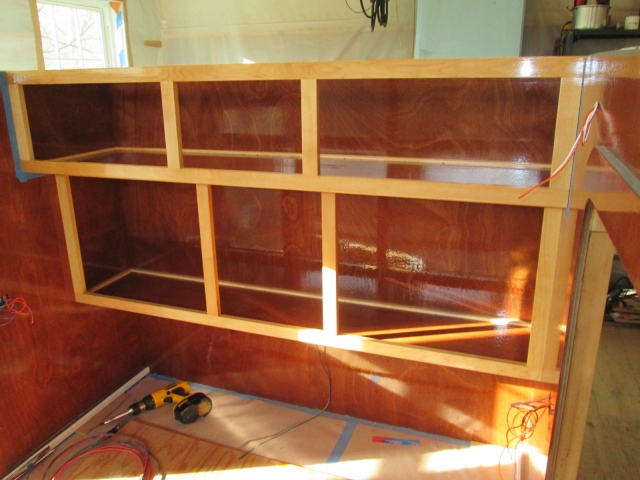
All along the way I used damp paper towels to remove excess glue, and, once sure that no more glue was oozing out, I peeled the tape away.
If you don’t look too close, I think it looks pretty good. Karl says that with the limited lighting inside the cabin, the flaws will go unnoticed. I hope so.
All in all I am happy. It was kind of weird getting back to the build after just a few days off. For example, I about destroyed the top of the polyurethane can getting the lid off. I always make sure to wipe the lip well, but it had stuck so hard that, after prying the lid up and bringing the inner lip of the can with it, I had to use a small channel lock plier to wrest the lid off of the inner lip; basically destroying it. I had kept the empty can from the previous gallon, and spent a good deal of time cleaning that out with mineral spirits and scraping the dried poly from that, so that I could pour the half gallon of poly from the wrecked can into that and save the leftover.
Also, my good 1 inch and 2 inch brushes were both crusty, despite having rinsed with mineral spirits, so I had to ditch those and use new brushes.
Still, happy.


 It is pretty cool KC !!!
  Patterns !!
 Really , it’s so COLD , all we can do is sit here in front of the heater and type about how


 (...but nothing like WD is seeing, hang in there dude!)