Here it is, the Powermatic Model 66 Unisaw. It’s one of the early “vintage” units with 3 drive belts.
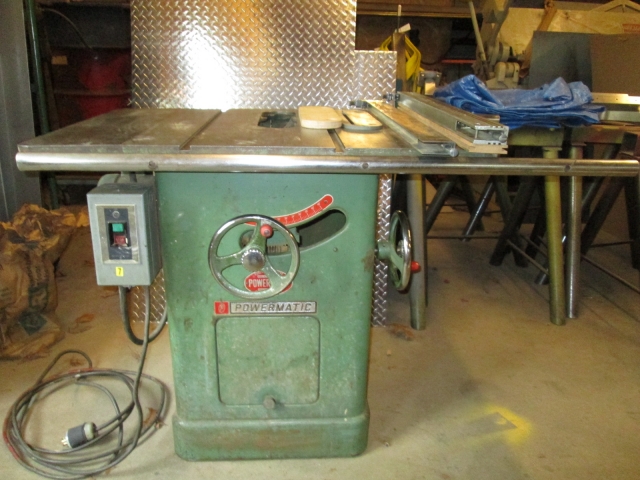
Heavy cast iron top.
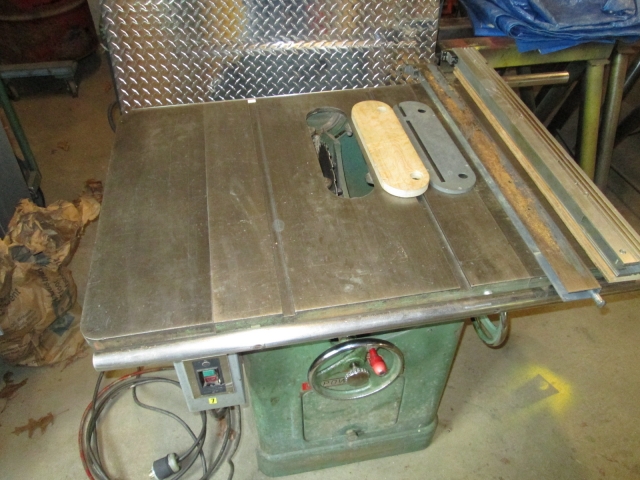
The top needs to be realigned slightly for the die cast OEM insert to fit properly, and the insert may need to be sanded a tad to fit the recess; must have come off of another saw. The plywood insert started out as a rectangular chunk that I grabbed to toe the saw to the front of the UT on the trip home. It just happened to be the perfect width and about the correct length so I rounded the ends over on the band saw and drilled some finger holes with a Forstner bit as a start on a zero clearance insert.
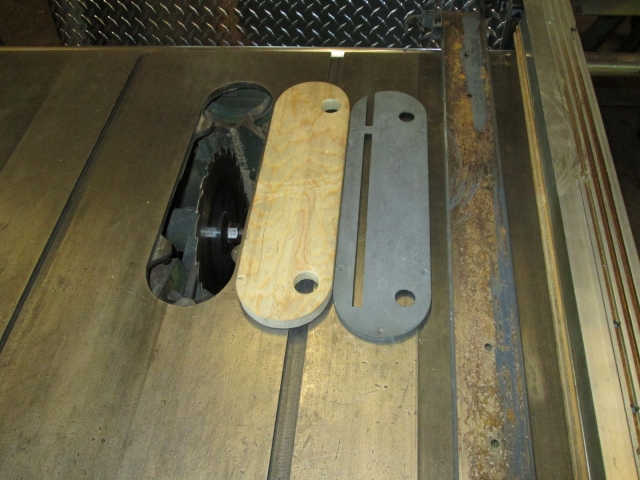
In the above pic you can also see the steel fence that Larry provided (speckled with sap and saw dust that was under the sacrificial facing), and the extruded aluminum fence (sitting on top of the T&G oak hardwood floor slat that was the crude sacrificial face on Larry’s fence).
The fence back clamps.
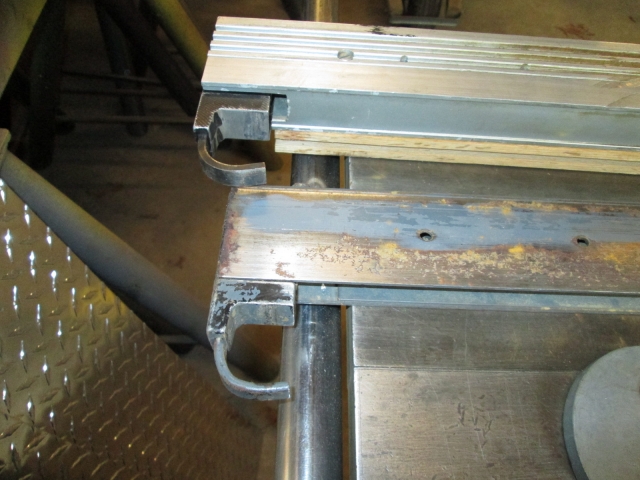
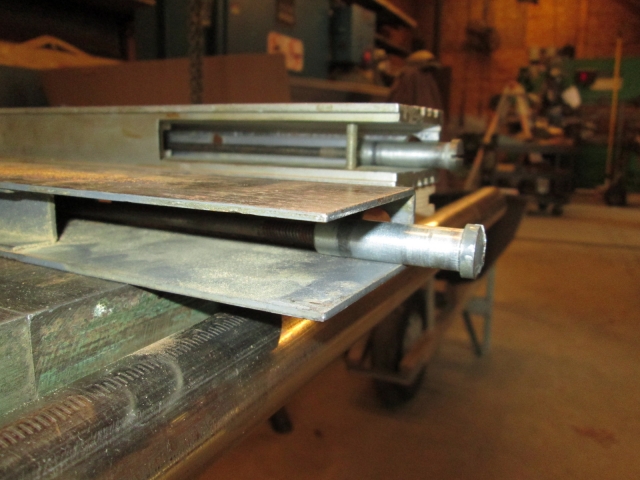
This is the end of the fences where the front cam clamp castings attach. We took them apart to investigate options for making them longer; 28 inch table, 27 inch fences. You can see the special female bolts that pull the clamp rods when the cam lock is engaged.
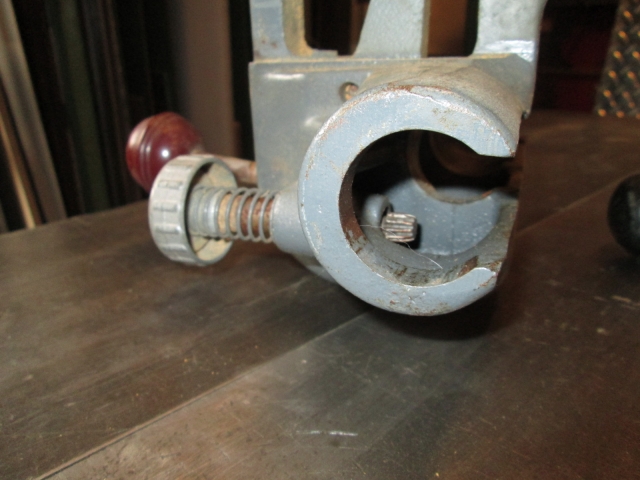
I didn’t get a good overall pic of the fence latch casting, but here you can see the one that the seller included. The rusty shaft with the aluminum knob has a small pinion that you are supposed to be able to push in to engage the gear rack on the underside of the front fence guide rail, allowing it to fine adjust the fence. The shaft is frozen in the casting and the pinion is wiped out.
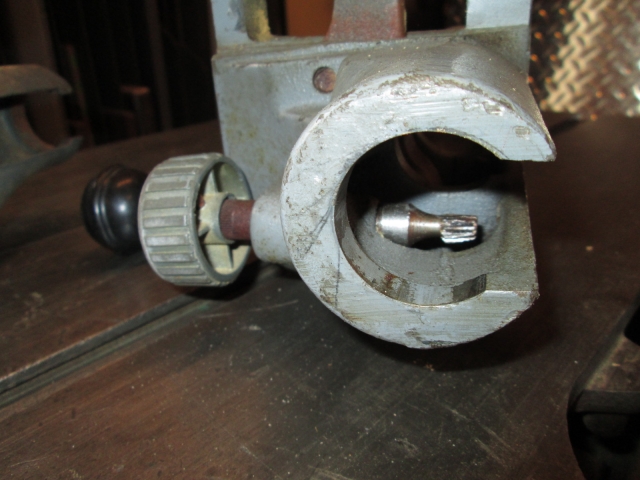
Here is the one that Larry gifted. The pinion shaft turns freely and it has a lightweight spring that disengages the pinion from the rack when you let go of the knob. Also, the pinion is in great condition. Not visible, it also has a small spring to move the locking bar off of the rail when the cam lever is freed. The other one is missing this spring and, not surprisingly, the locking bar is worn down from dragging on the fence to the point where it no longer clamps tight. Plus the red knob is cooler than the black one.
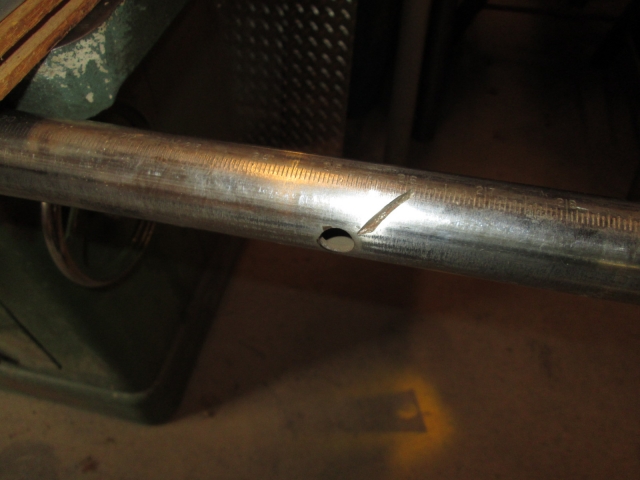
Not unlike the fender on The Charcoal Briquette, someone used the table saw as a saw horse and ran a skil saw into the front fence guide rail.
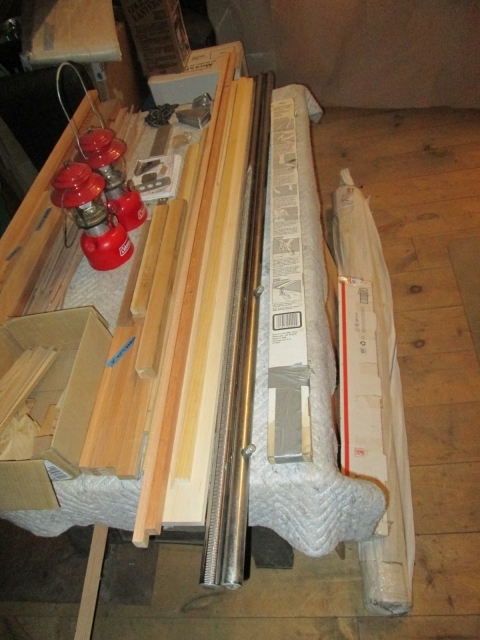
Nestled in with some other stuff on this table you can see the longer guide rails that Larry provided. These will allow me to make a table extension to allow ripping much larger sheets.
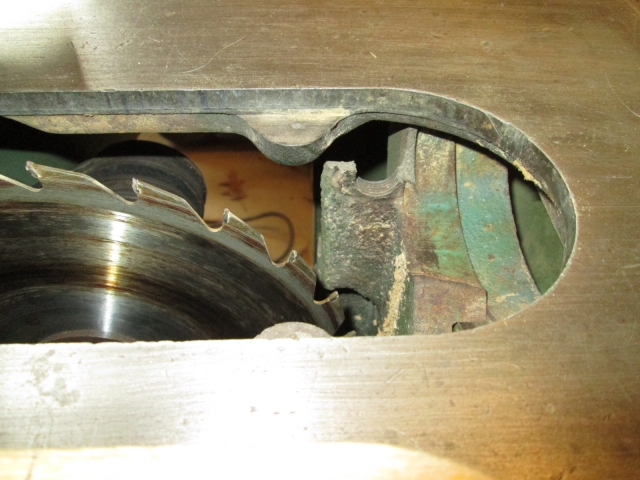
The blade is junk and here you can see the threaded hole that is broken out of the main carriage cradle casting. I think this may have been the mount for the riving knife on the earlier saws, whereas the later saws mount the splitter from the rear with the guard and just clip into something else on the cradle. We plan to attach a vertical splitter to the zero clearance insert and are keeping our eyes open for the guard parts. I have seen the cradle castings for sale, but they do not have this feature (must be from newer 2 belt saws?).
We did plug it in the other night (using Karl’s 3 phase convertor), ran it up, and she runs good and quiet. We could hear a little electrical hum out of the switch box; not sure if that is anything. I did some digging around on the net and fed some links to Karl. He has already ordered new belts and worked out a deal with a seller for a vintage miter gage.
So that’s the latest on the saw.
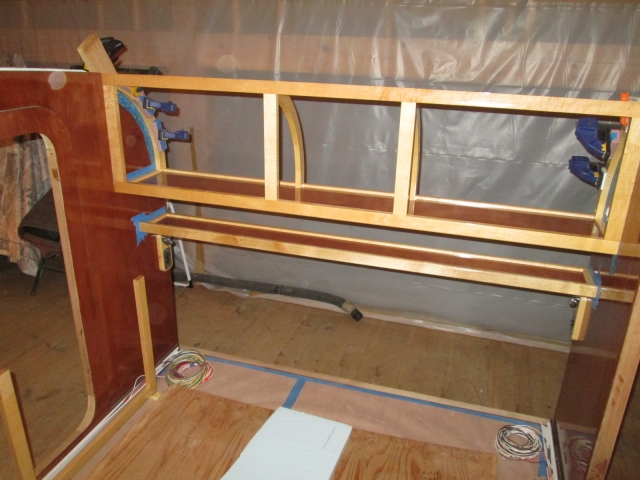
Tonight I made some great progress on the camper build, with a small milestone achieved; the front cabinet, riblets and key catcher shelf are finally installed.
Here the front cabinet floor and ledger have been permanently installed.
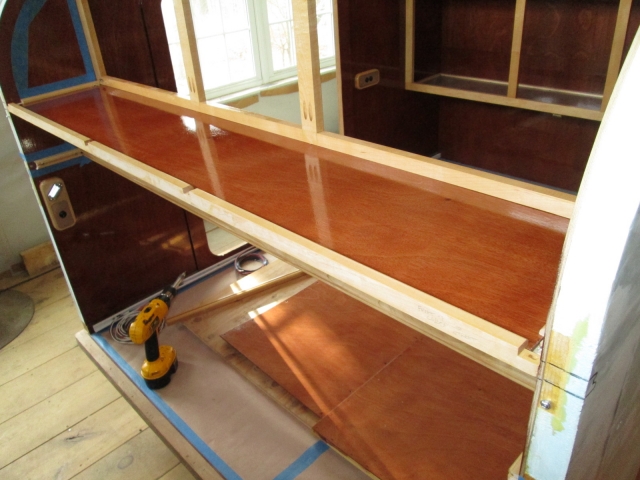
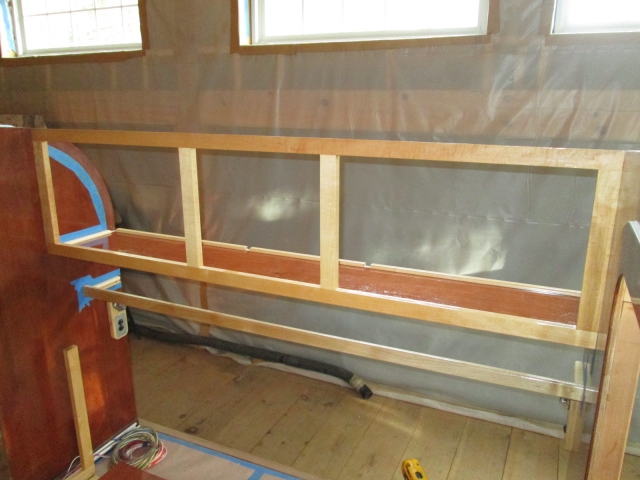
As with the other cabinets, I drove a couple of screws up thru the panel and into the face frame to pin the panel into the groove and prevent the face frame from flexing away from the panel.
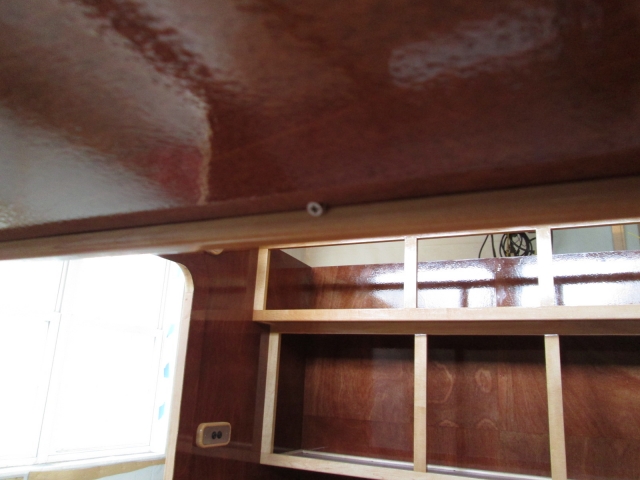
Here you can just see how the screws line up between the pocket screws into the face frame stiles.
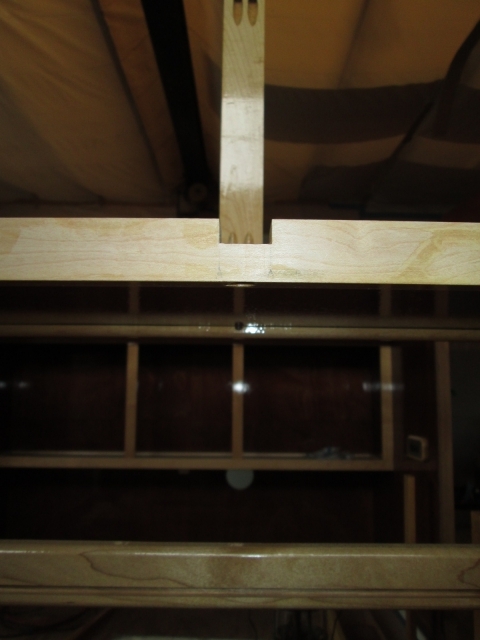
The dark dot to the left of the flash glare is the screw head (not a great pic).
Next is a mini tutorial on using a putty stick to fill screw holes. I have found that wood filler does not take stain well at all. So I have been using the
Minwax colored putty sticks to fill some staple holes and whatnots. The putty is waxy and will not take finish, so I waited to apply it after all finishing is done. I haven’t had to fill any of the maple yet, and I wasn’t sure how well the lightest shade would match, but I needed something to fill the holes in the riblets left by the screws that I used with the spring clamps when I glued up the riblet blanks.
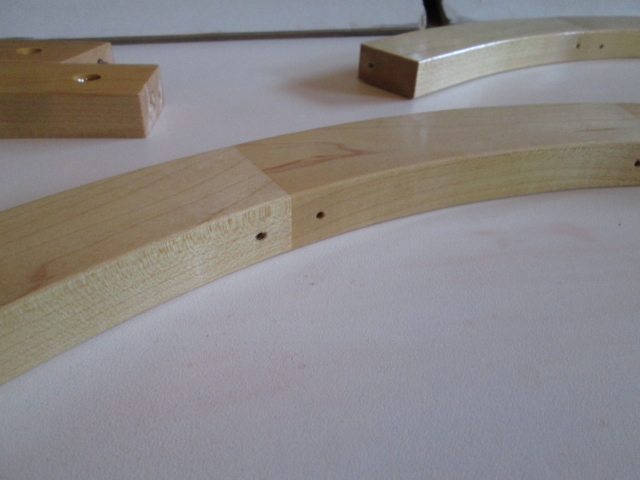
The color match could have been better, but it is better than a dark hole, and I have to keep reminding myself that it is the inside of a cupboard.
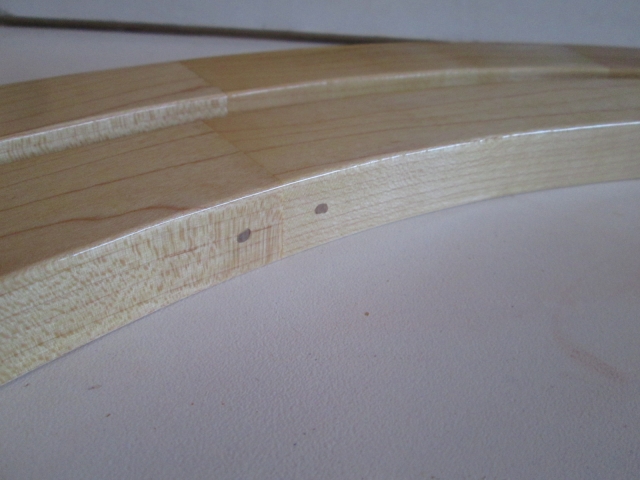
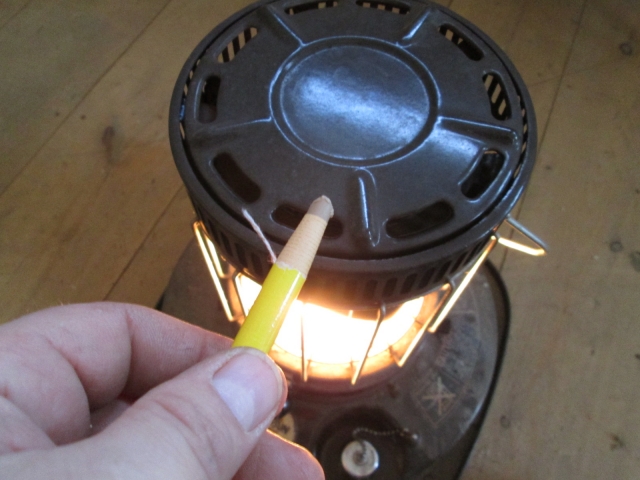
Here are some extra details on how I did it. First, the heat was still coming up in the loft so the putty stick was hard. So I ended up holding the tip of the pencil over the heater enough to soften the end.
After doing a couple I found that if I rolled it back and forth between my fingertips I could form a sharp point that made it easier to get some of the putty down in the holes.
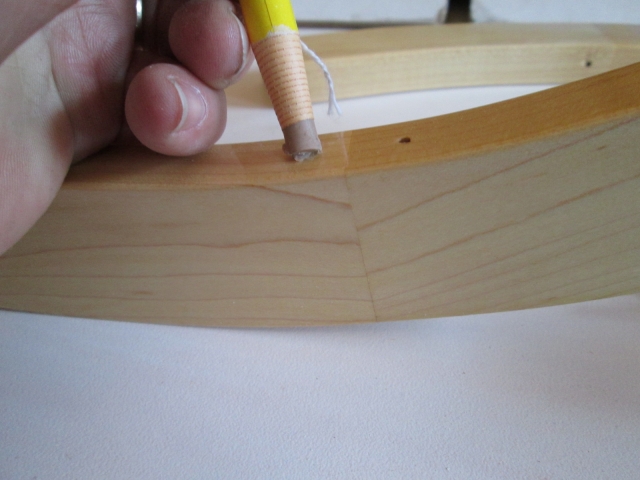
Over fill the holes and press down hard with your finger to make sure that the putty is going into the hole and not just bridging over.
Next I buffed the area with a clean soft cloth (or paper shop towel) until all of the smeared wax was gone and the shine of the poly returned.
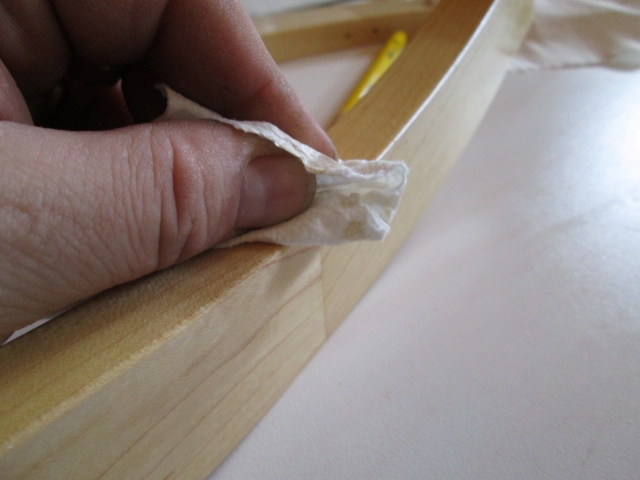
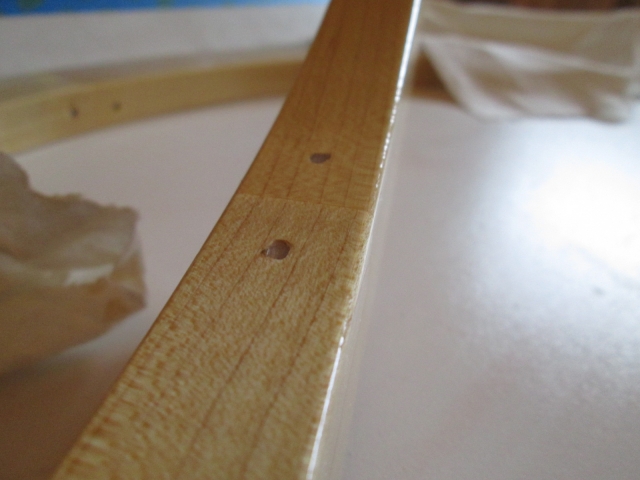
This leaves the putty in the holes slightly recessed, but I’m good with that.
So now, after scuffing some excess poly off of the raw glue areas, the riblets were ready to install. Here is the street side riblet glued, screwed, and clamped (with a backer board to protect the foam and rosin paper wrapped blocks to protect the wood finish).
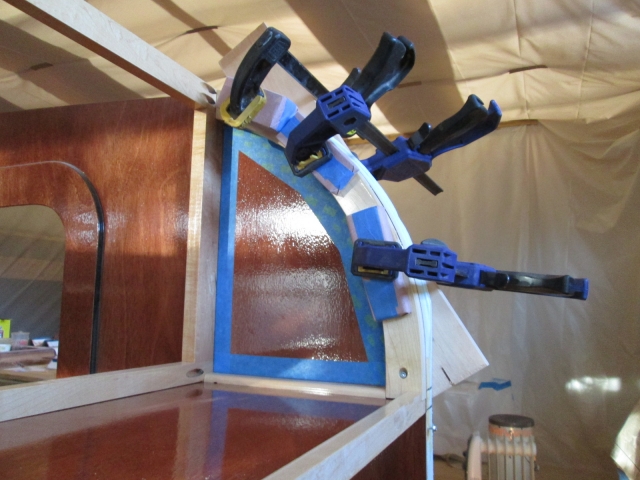
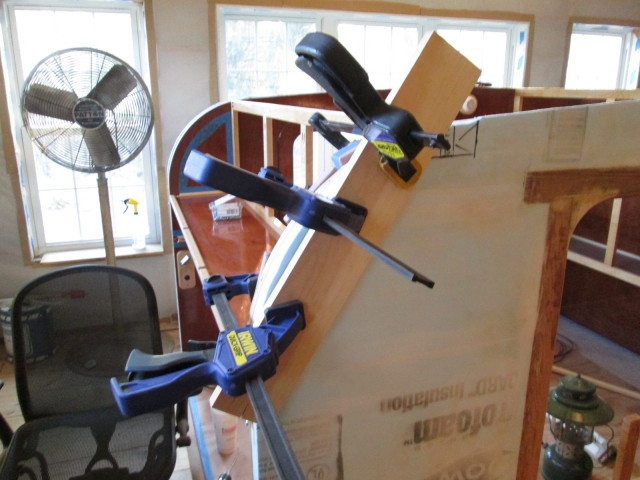
Curb side was done the same, and the middle ones were just glued and screwed at their ends.
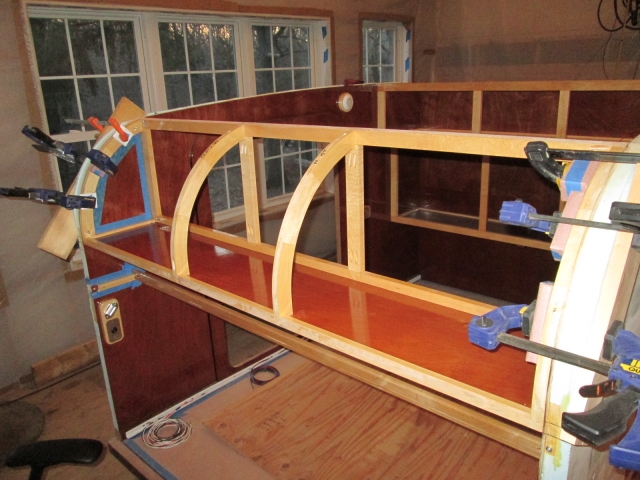
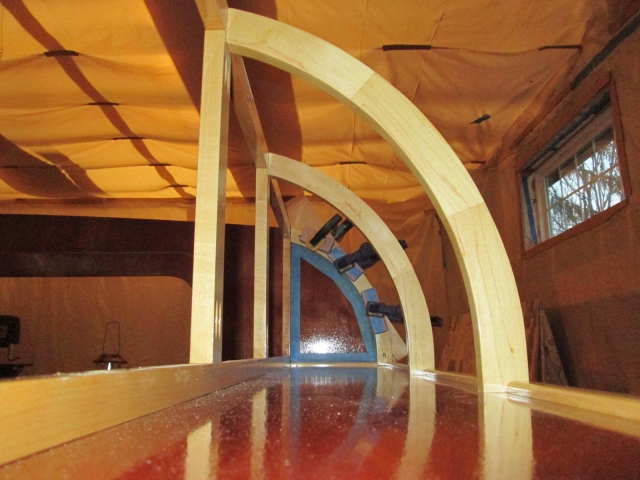
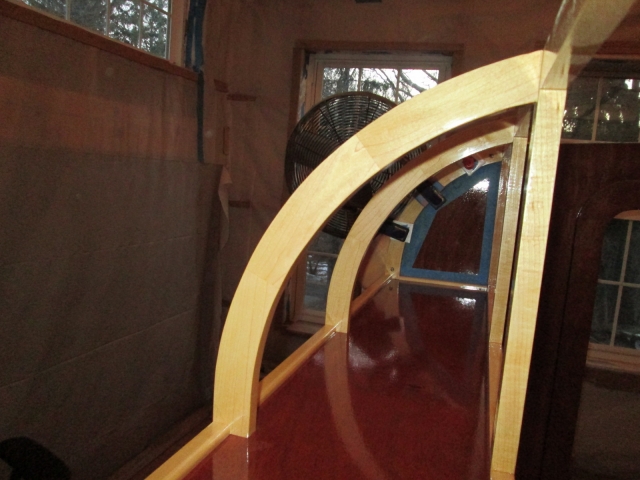
Finally, I installed the key catcher shelf panel and ledger, pinning the panel to the face rail and just gluing, and screwing the ledger into the side walls (all of the panels are allowed to float in the grooves except for where they are pinned; no glue joints to pop).
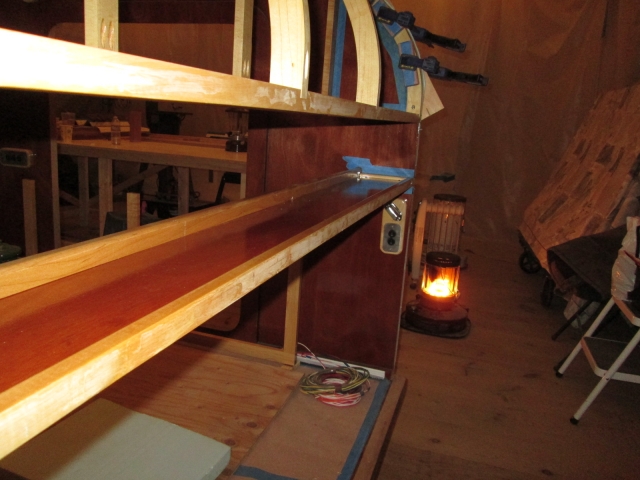
Milestone achieved.
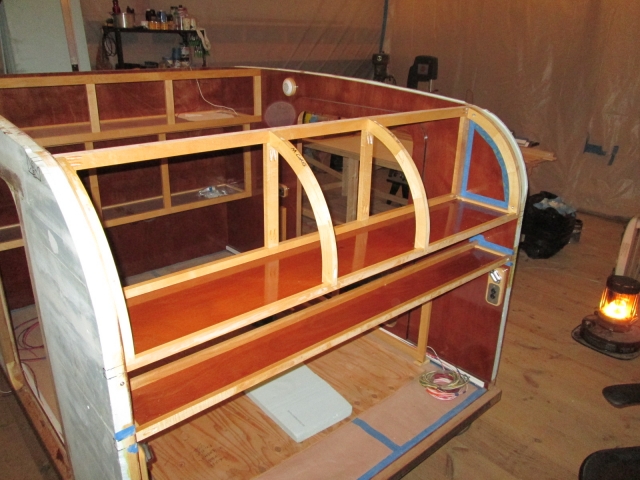
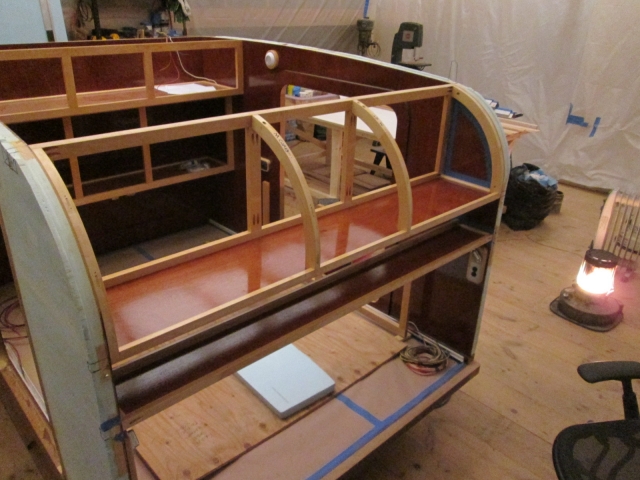


 )
)


