Mel, I guess the stick just seemed like a solution to a problem. It’s funny the things which are meaningful. Scientists have observed apes using twigs to fish ants out of ant holes in the ground, too. They were impressed to learn that man is not the only known species that uses tools. Opposable thumbs come in handy that way, but sometimes they are too large to get the job done! Thanks for the kind words.
Tom (Hardryder56), keep reading for the latest tune up tips on the saw! Thanks for the nice comments and tip on the plugs. That might come in handy in the future.

Grant, you know I’ve never really done this kind of work before, and certainly never to this level of finish and complexity. I’ve learned so much from the help and suggestions provided by all of the good people here! Like tamping the tape onto your clothes to tone the adhesive down before sticking it to your finish (keeps it from lifting the finish), and using the hair dryer to soften the adhesive when removing the tape; both have proven to be highly effective. As always, thank you, too, for the kind words.
I am very proud! It is coming out as good as I could have ever realistically hoped for.
GPW, thanks for the enthusiasm. Starting on the roof was my secondary agenda for today, right after getting the original fence back with the saw… which turned into getting the saw sorted out… which took the better part of the day… and that was enough for me. With the overtime at work and having to go in tomorrow, I figured an 8 hr. day was enough for today.
Jayhawk, thanks. The Okoume is done in Minwax’s Red Chestnut oil based stain, and the maple is their “Natural”. Both have multiple coats of Minwax’s high build “Clear Gloss” polyurethane.
Here we go on a slightly off topic tangent while I take you thru what Karl and I did today to tune up and recommission this grand old saw. It will contribute useful work to the build, so it is relevant in a way.
So after zonking out much earlier than usual for me last night, and sleeping in a lot less than I would normally on a weekend, it was up and out before 8:30 this AM. Picked up Karl for the ride, stopped for coffee and a breakfast sandwich at a podunk deli/convenience store we frequent and then hit the road to do the “rip fence swap back”.
“I wish, that, I knew what I know now, when I was younger” –
Ooh La La, The FacesI have learned a lot about these old American made vintage saws and the variations between eras and brands of similar makes. It’s so hard to make a thorough assessment in just a few minutes with no prior knowledge in a dimly lit room… but in the end, we did okay!
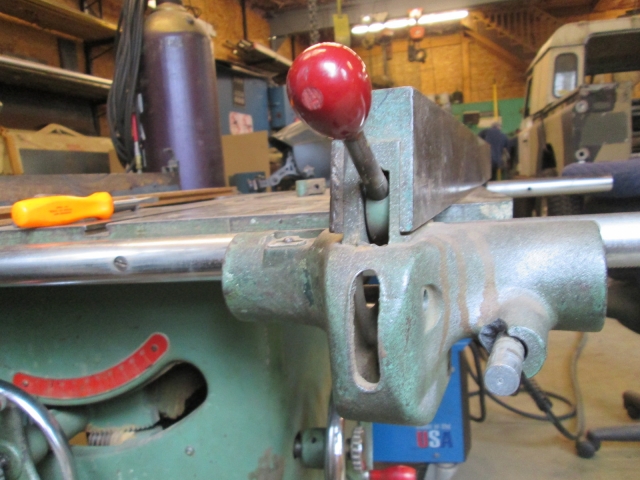
As soon as I saw the original fence again I could see many of the differences. The early ones had separate levers for the front and rear clamps, and the ‘T’ casting, although similar to the other, presumably newer ones, really isn’t the same. They are not interchangeable. This one has a single recessed socket head screw for each the ‘T’ and the far end clamp mechanism, and the far end clamp is actuated by a larger diameter push rod, rather than the smaller pull rod on the “newer” ones. That, and the fence body itself is also cast iron! This thing is HEAVY!

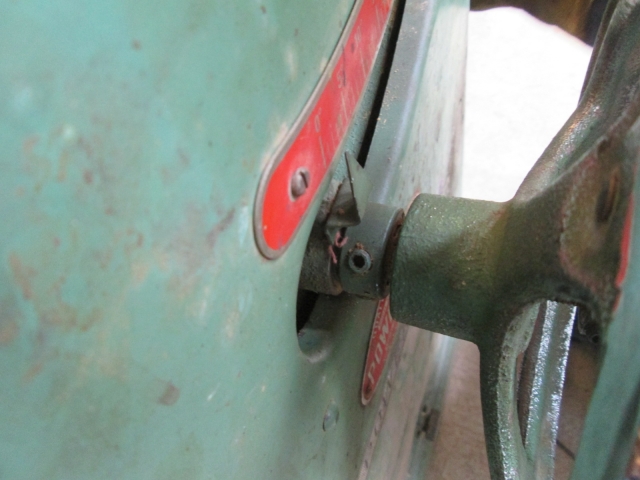
Karl and I more or less came to the conclusion that the saw had been knocked over and fell on its face. The small adjust pinion shaft casting boss was busted, the pinion shaft was bent, and the lower near side fence clamp lever was broken off clean at the threaded end with the broken end stuck in the cam. That, the flattened fence rail on the left front end, and the fact that the table top bolts were later found to be kind of loose, all lead us to believe that the saw had been dropped, or at least flopped on its face.
In order to get the broken stub of the lever out of the clamp cam we had to drive out both 3/8 inch roll pins; one to move the clamp dog with its return spring and spring locating screw out of the way, and the other for the cam itself. While I worked on the fine adjust pinion shaft, Karl was able to extract the stub from the cam and grab a piece of threaded rod to use (temporarily) as a replacement for the near side clamp lever.
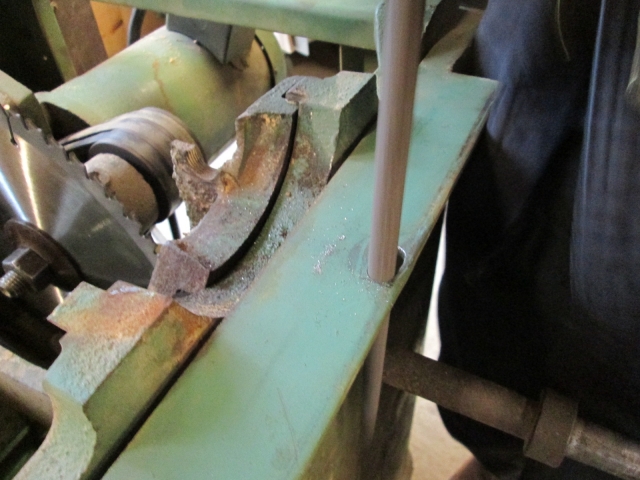
Meanwhile, I removed the set screw that retained the fine adjust pinion shaft, pulled the bent shaft and attempted to straighten it.

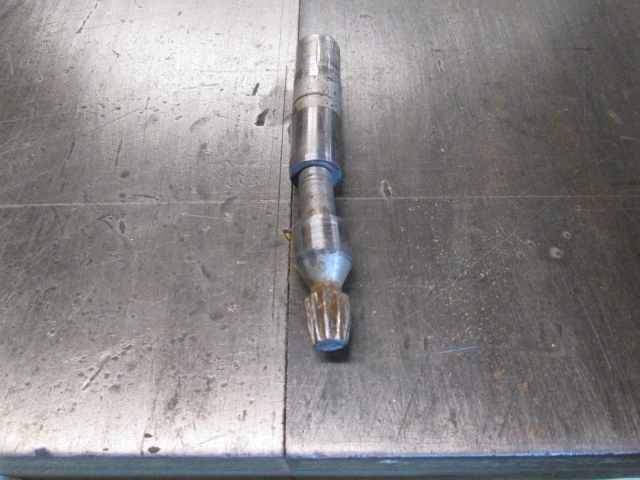
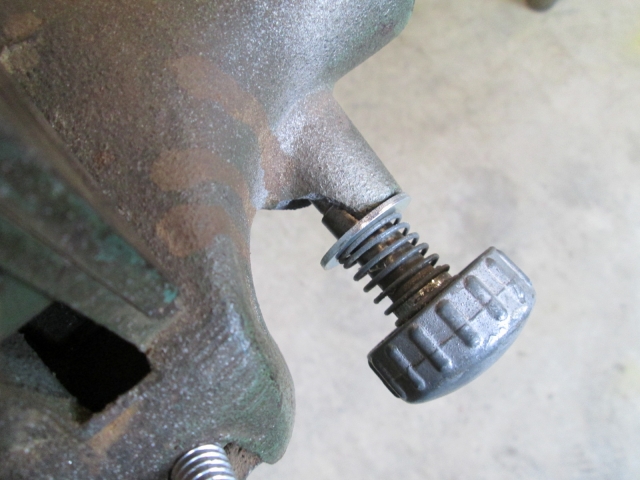
I was able to get the shaft pretty straight, but the pinion still ran out quite a bit and it ended up breaking before I could get it to a useable state. Fortunately, the one in the fence that Larry gave me was identical, so I swapped it in, complete with the return spring. I added the washer to keep the spring from fetching up on the jagged edge of the broken casting.
The outer portion of the shaft is no longer supported, but the feature works again, quite well.
Although not necessary to change the belts, since the table alignment needed to be adjusted to work with the std. insert anyway, we went ahead and took the table top off so that we could better assess things.
Here are the guts in all of their cast iron glory.
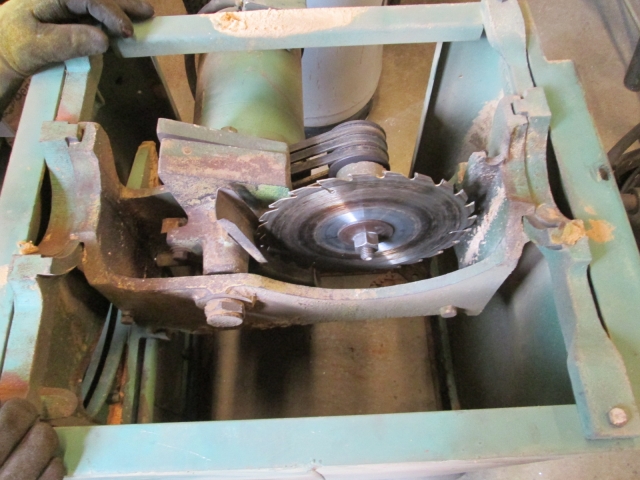
Having the top off made it much easier to locate and remove some wood splinter debris, clean and lubricate running surfaces, and change the belts.
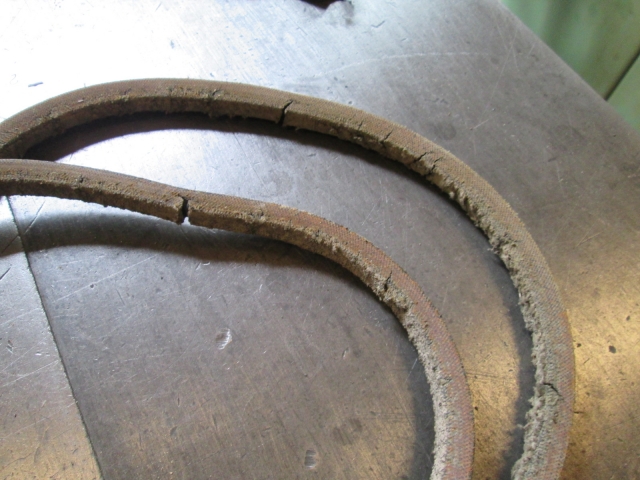
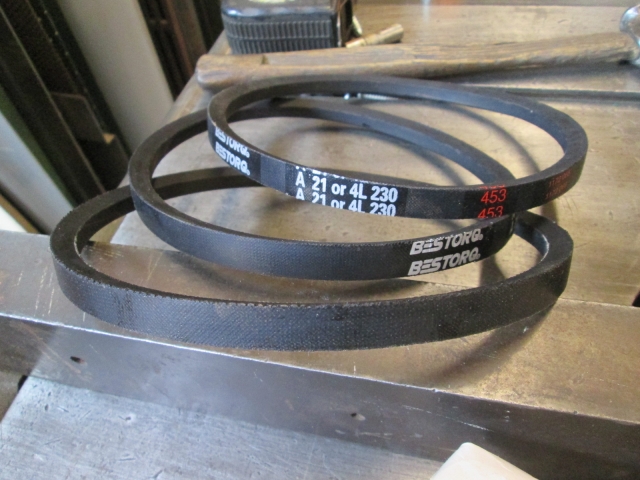
Old ragged belts.
Nice new belts.
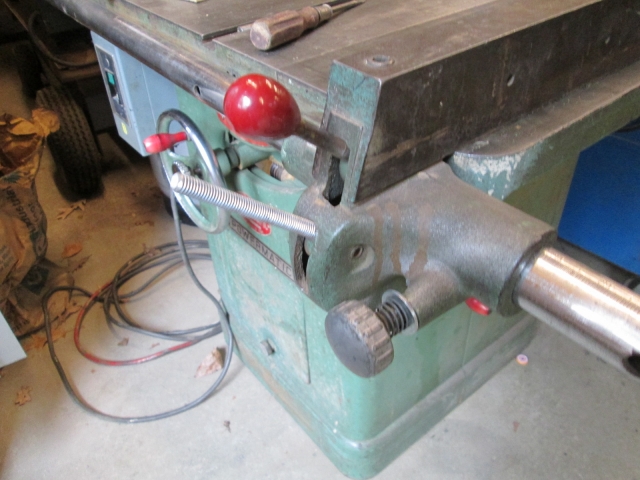
Karl had noticed quite a bit of backlash in the blade height adjustment, and while tightening the belt adjustment bolt on the motor carriage I noticed the blade lifting and dropping about 1/4 inch. So by resetting the shaft collar (located between the hand wheel and the tilt position indicator tab in this pic) we were able to take the play out.
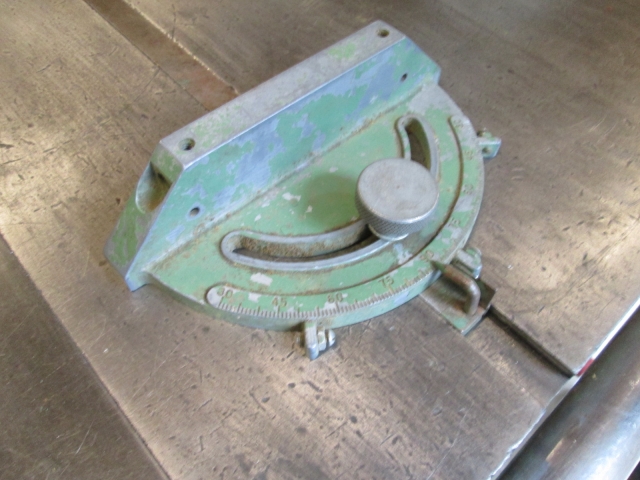
The vintage miter gauge that Karl bought arrived with the belts as we were pulling in from our road trip.
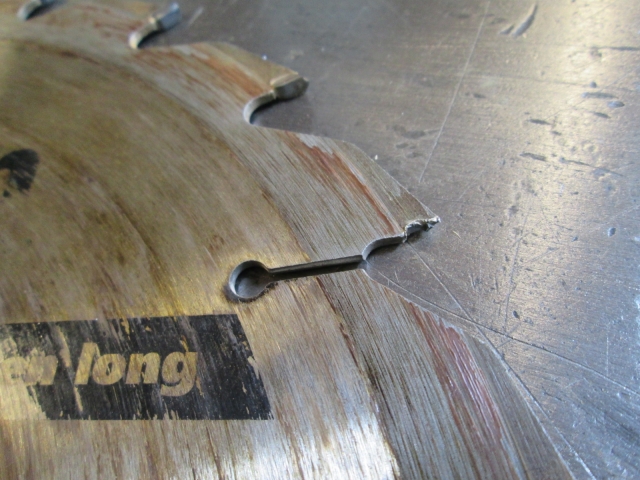
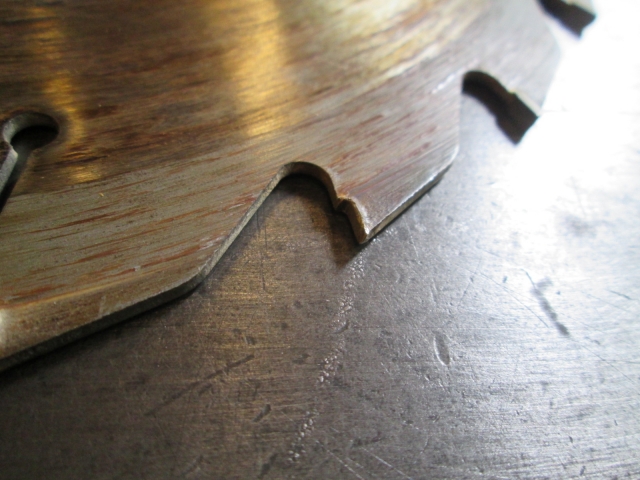
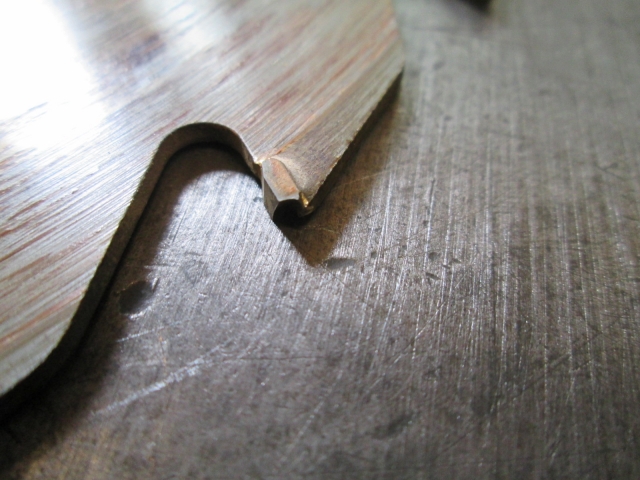
Besides having visible run out and being badly scuffed, the old blade was missing a couple of the carbide teeth and had chunks missing out of a few others.
We needed some set screws to replace the missing ones used to jack the table insert flush to the table top, so we ran down to the local hardware store and Karl ponied up for a new blade, too.
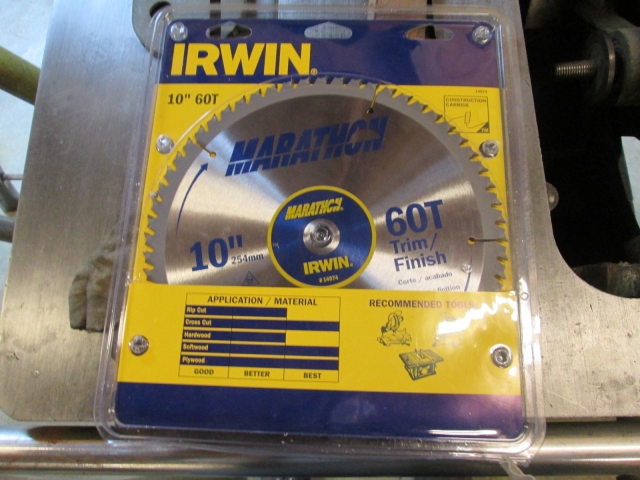
Karl had been reading up on the preferred saw blades, with some really high dollar ones guaranteeing 0.002 inch max run out. When we checked this one it was +/- 0.010 and was readily perceptible to the naked eye when turned by hand. I guess that must be pretty normal for a “good” (not excellent) blade.
I had hand sanded the side of the table insert (using a couple of strokes from the small hand block with 100 grit) so that it would drop snuggly into the table opening. However, when we went to set the table parallel to the blade we couldn’t get it to move far enough to the side for the blade to clear the insert when tilted. We ended up filing the bolt hole slots in the top of the cabinet with a rat tail file to extend the table adjustment.
Despite fitting the table several times and filing more several times (thinking that something else must be interfering), we just couldn’t get the table to move over enough, and when we tried to dog it down parallel it would shift out of alignment just a bit.
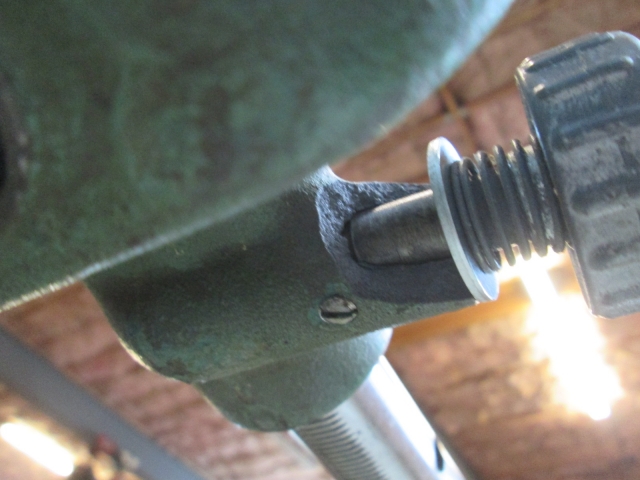
After investigating several potential fetching points, eventually we figured out that one of the ribs on the underside of the table was catching on the edge of the cabinet. A little hit to both edges with a flap disc in the 4-1/2 inch grinder (just under the bolt head where the paint is removed in this pic) took care of that.

Now with the table aligned and the blade centered in the insert opening, the blade still wanted to hit the insert when tilted. Rather than increasing the adjustment slots further, having to remove the table for the umpteenth time, and having to realign the table again, we took the insert to the mill and clearanced the back of it with a 90 degree countersinking cutter.
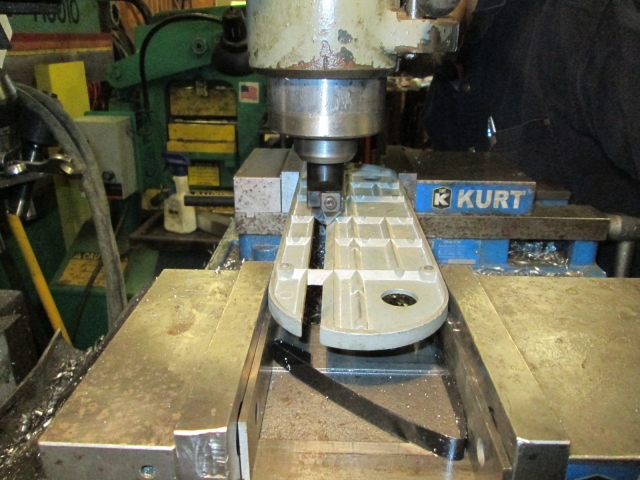
After a bit of hand filing at the ends of the slot where the mill wouldn’t get into the corners, we got it to where we were happy with it.
One of the screw bosses for the fan shroud on the motor was busted out so the shroud could move on the other two screws. When we started hearing some noises while rolling the blade over by hand, I figured that the shroud was probably rubbing the fan. Then I noticed that the fan wasn’t turning with the motor, so I figured it must be slipping on the motor shaft. So I took the fan shroud off and was only mildly surprised to find that the fan was missing. The aluminum ribs on the motor end casing had fooled me to thinking that I was seeing a fan behind the slots in the shroud. We figured that the screw boss had been broken years before, and that when the shroud had rubbed on the fan someone's solution was to remove it. It’s probably not a big issue for intermittent use, but for production work or big jobs with lots of cuts, no bueno. I’ll keep my eye out for scrap motors at work and see if I can scrounge up a replacement. I think if I add a machine screw with nut in the shroud it will prevent it from swinging past the unbroken portion of the screw boss, and will keep the shroud out of the fan. The noise I had heard ended up being the little tin chip chute ahead of the blade; it needed to be tweaked so that it didn't hit the underside of the table when tilted in the fully raised position.
So how did we do? Well we could set the fence and adjust it exactly. It still wanted to be measured and checked and carefully adjusted (it didn’t just snap into place precisely), but having individual control over the clamps at each end is a plus for this, it is not that onerous to do very accurately, and once locked the fence is not going to move.
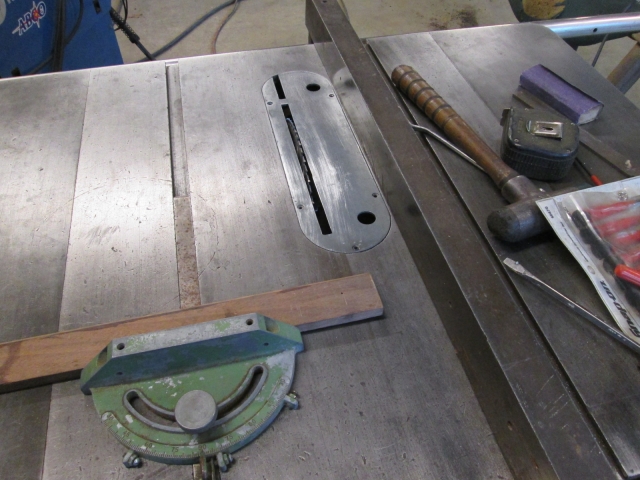
Easily made our first and accurate rip cut.
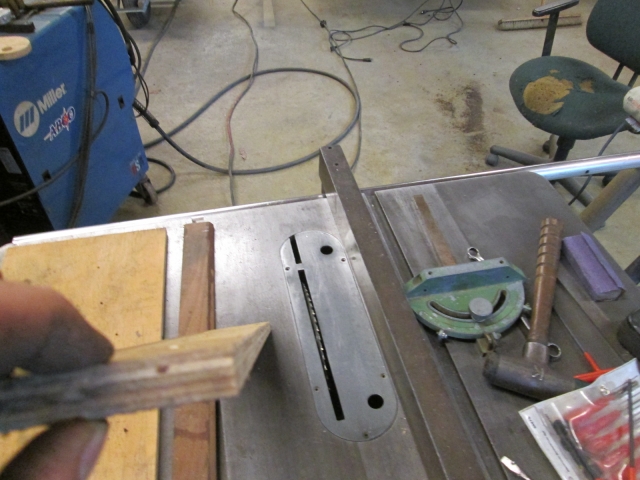
Cross cuts were clean and accurate, too.
The piece of oak flooring used for the cross cut demo was well dried from years of sitting in the loft of Karl’s old barn. Combined with the rather large side clearance on the std. table insert there was a little bit of breakout on the bottom. That should be taken care of when I finish the zero clearance insert I showed earlier.
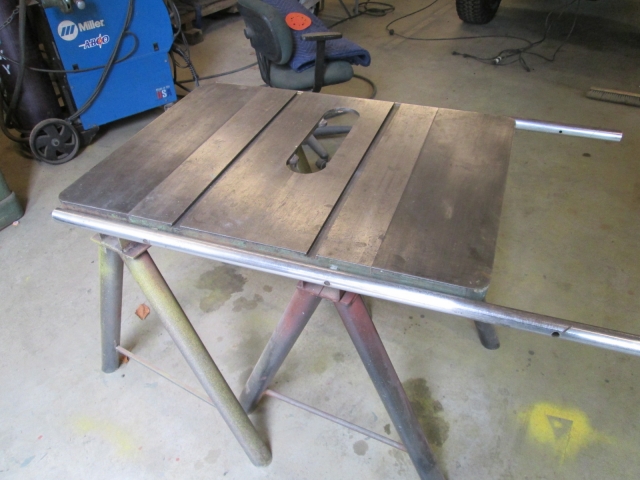
So with that, once we move it upstairs, I will put the longer rails on and build a side table for it, plus I want to replace the rest of the plastic rail spacers with the fabricated aluminum ones. And I want to add a splitter. But for the most part the saw is useable and good to go.