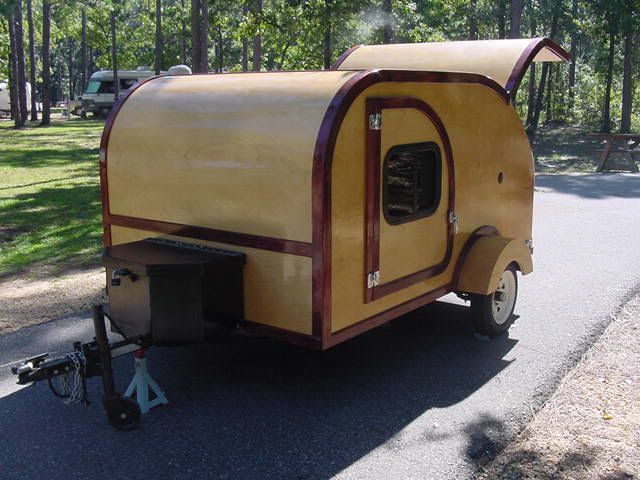
Paul, "Eventually you have to stop engineering and go into production".
Bonnie, We have cats. They have learned that the earlier they try to wake us, the longer they have to wait for their morning meal, and they are indoor cats, so the other end of the feeding process is on there own terms, no need for a morning walk out.
Eagle, glad to hear you are still watching. Ready or not, here it comes.
So last night while I was unloading the wood I asked Karl to start cleaning off the bench some. It was pretty much covered from end to end over almost every square inch, he was going away this weekend and I don't know where everything goes so would have a hard time cleaning it up myself. He picked away at it, reducing the population and making a small clear section at the end of the bench. I joked that he might find the rest of it in a pile somewhere when he got home.
Well, when I arrived this morning the bench looked like this.
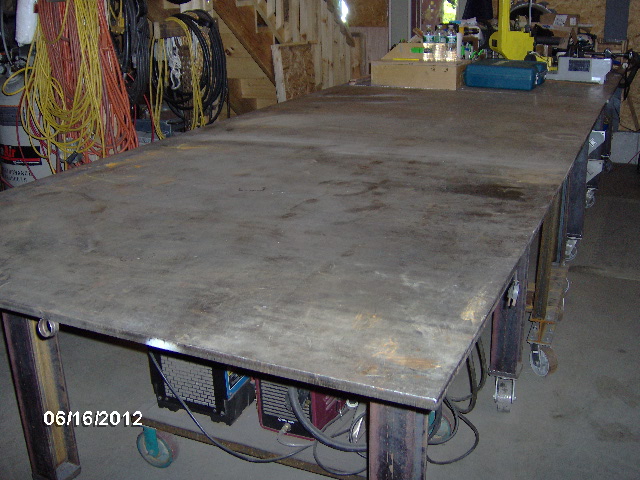
Karl is the best kind of friend.
Seemed to have lost a pic, but it looked just like this one of the front end of the floor frame outer stringers, shown here back to back.
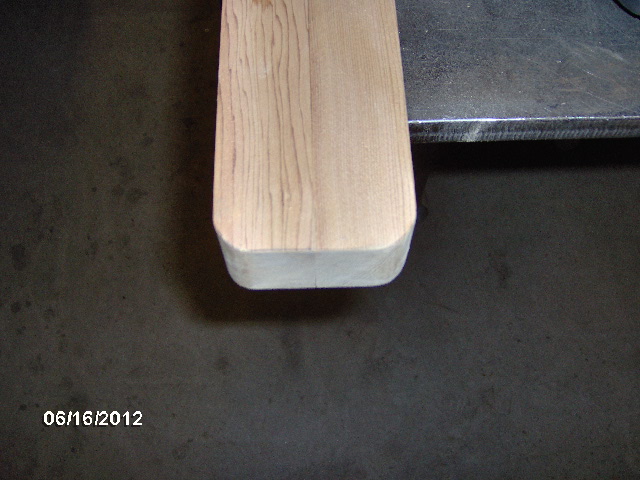
I started by making a test block, tracing the radius around a piece of 1-1/2 inch dia. delrin stock, and using Karl's cordless Makita jigsaw. The blade did not cut perpendicularly around such a tight thick curve so I had to sand some to true them up.
Then I did the first set (the lost pic)...when I realized that I had mistakenly rounded over two of the four 2x xmbrs instead of the long side stringers. Dumb. Same old problem; good plans if you look at them.
Not a difficult fix. I'll just use them in the two middle locations, saving the other two 2x xmbrs for the front and back, then fill the under cut with thickened epoxy or Great Stuff foam later on.
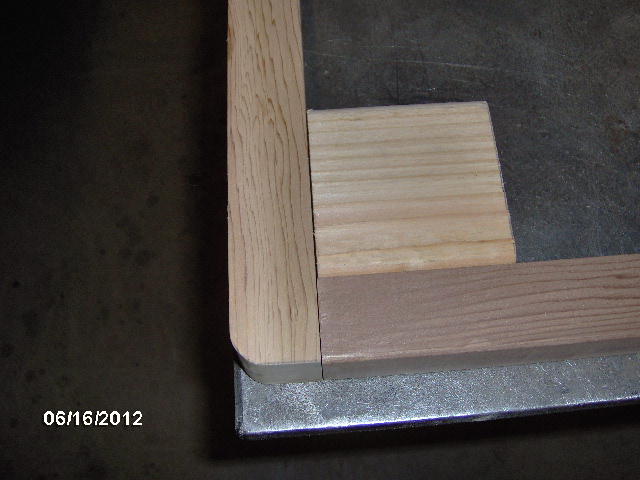
Here's a mock up of the stringer, front xmbr and front curbside corner block.
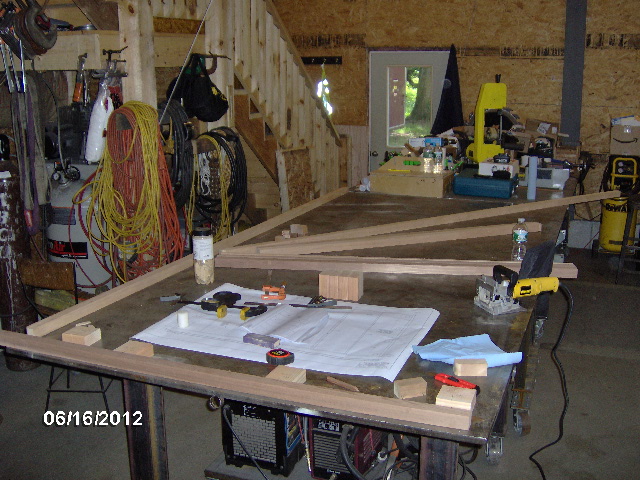
Here's a shot where I'm starting to get organized laying out the pieces and figuring out where the front blocking goes.
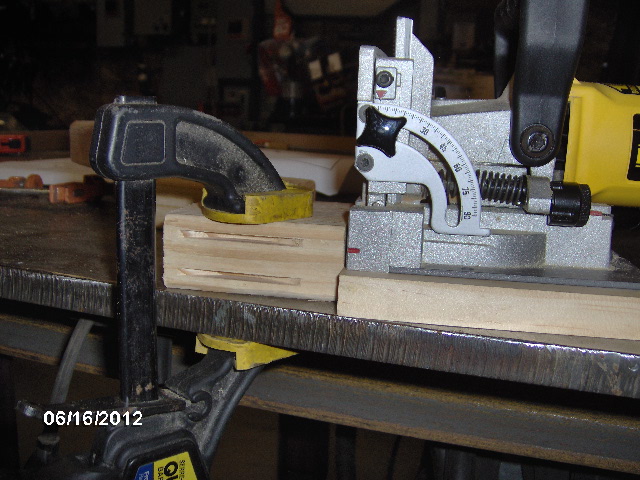
I planned to use a double stack or row of biscuits at each joint, but rather than constantly adjusting the biscuit cutter height and risk not getting it the same each time, I simply set it for 3/8 inch high and used a 3/4 inch thick scrap to step up to the upper slot. That way both the upper and lower slots are each 3/8 inch away from the adjacent face, with 3/4 spacing in between.
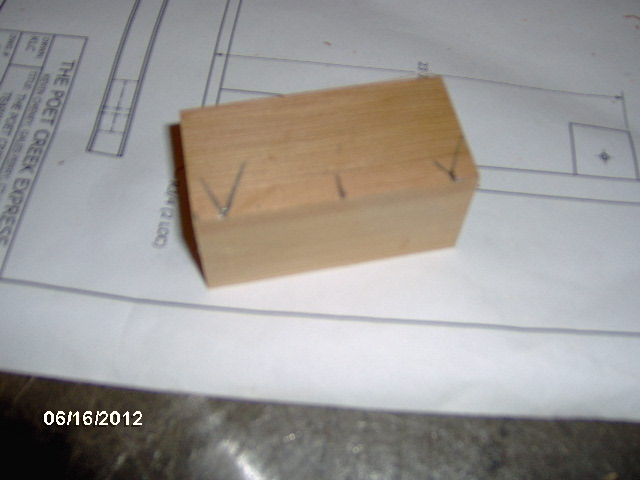
I also made a little gauge block with the center of the biscuit, the edges of the blade when set for a #10 size biscuit (crows feet marks) and then trimmed the block so that each end represented a comfortable margin to avoid blowing out at the end of the slot.
This shows the glue up of the front corner block to the front xmbr, as well as a dry fit up of the front curb side stringer. The stringer to block biscuits were set with the gauge block from the rear of the corner block, and by bisecting the joint between the xmbr and block.
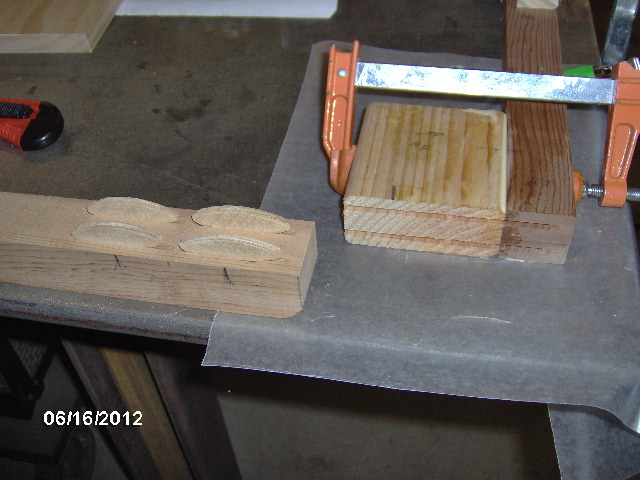
And here is the same joint glued and clamped.
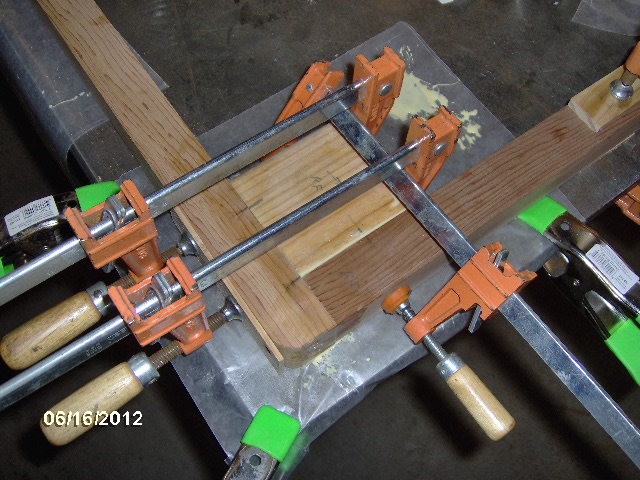
The rest of the front mounting blocks biscuit glued and clamped.
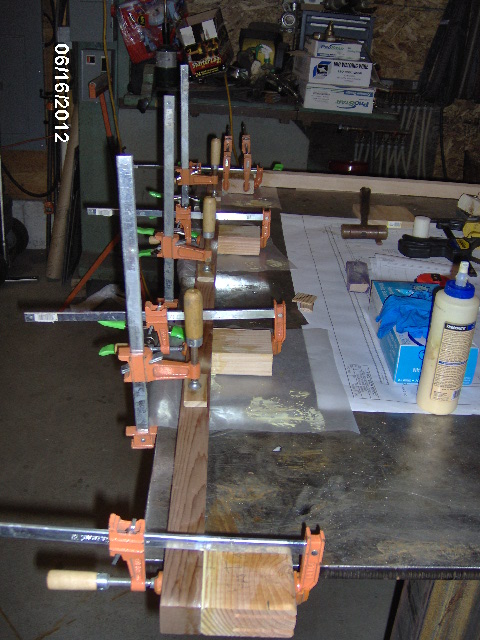
A shot of the remaining xmbrs with biscuit slots. Note the errant radii on the second and fifth from the front (3rd and 6th actual).
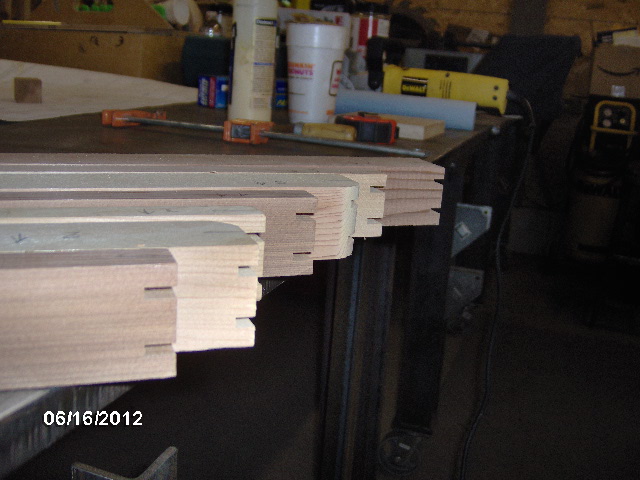
Working my way down the curbside adding xmbrs.
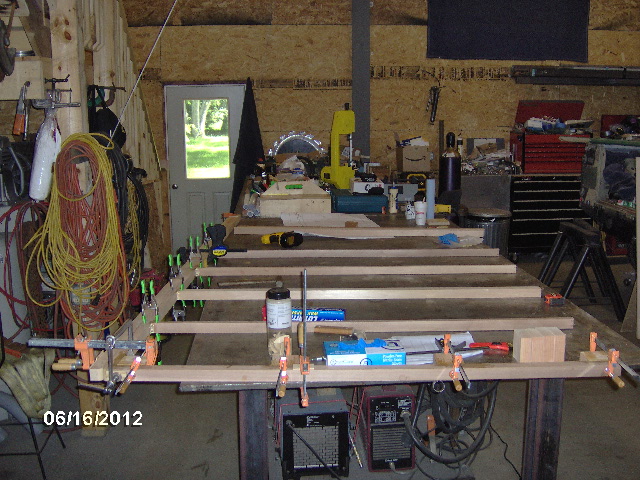
Used the same drywall screw and spring clamp method as seen on the hatch rib glue up. I'll come back and trim out the excess biscuit protrusions before fitting the foam.
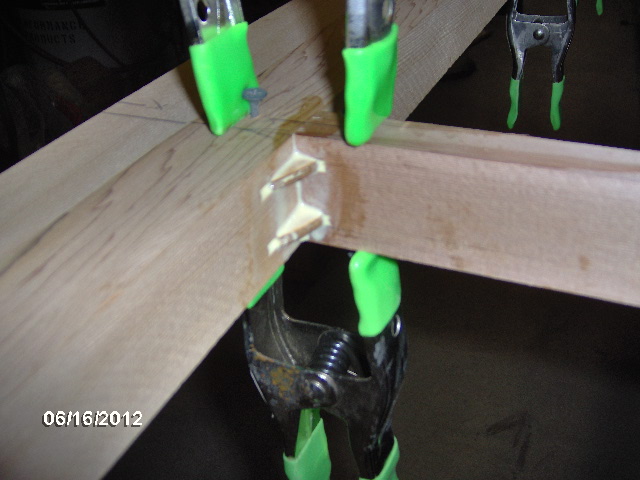
Right after taking this pic I realized that I had not attached the rear xmbr blocking before gluing it to the stringer. Didn't think I could get the biscuit cutter into the corner so I quickly pulled the joint apart and wiped the still wet glue off as best I could.
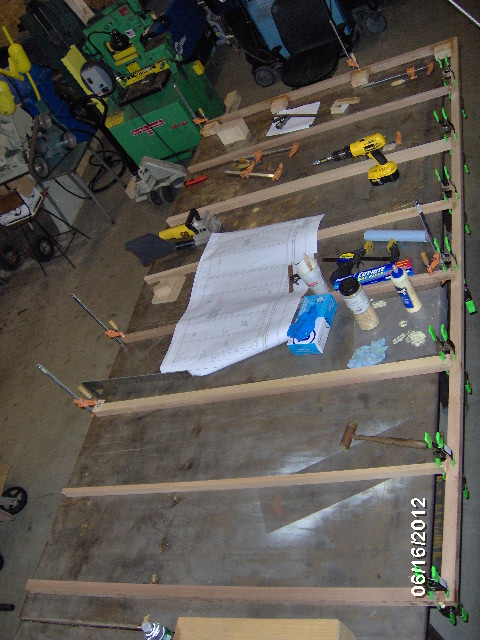
Added the rear blocking to the rear xmbr. Clamped this one right to the bench.
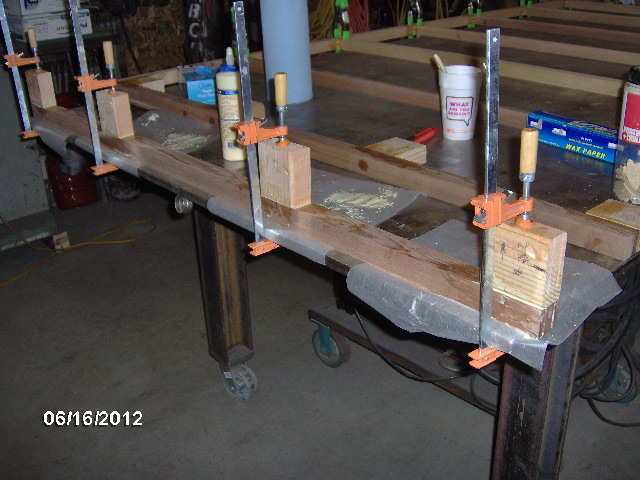
During the 30 minute setup time for each of the glue ups (24 hrs no load) I started sorting and labeling the different plywood parts.
I ran the biscuit cutter into the slots that had been previously glued in order to clean them out and present a fresh surface for the next round of glue. Here is the curb side stringer assembled with all of the xmbrs.
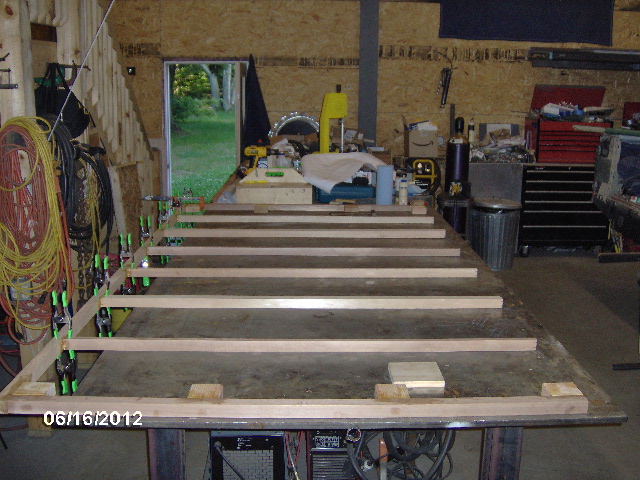
Once that had set up enough to reposition I clamped the curbside stringer to the edge of the bench to anchor it (in case I had to tap the street side stringer into place on the opposite side), making sure to sight down the length making it arrow straight.
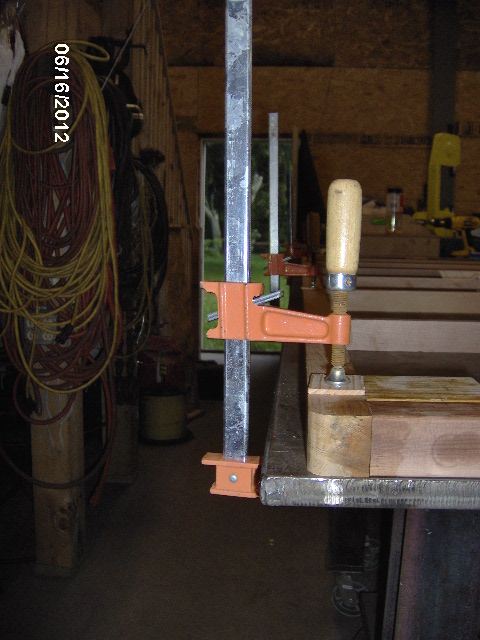
This conveniently left the street side hanging off of the other side of the bench. Here you can see that I've got everything set up (almost... read on) for the more complex glue up.
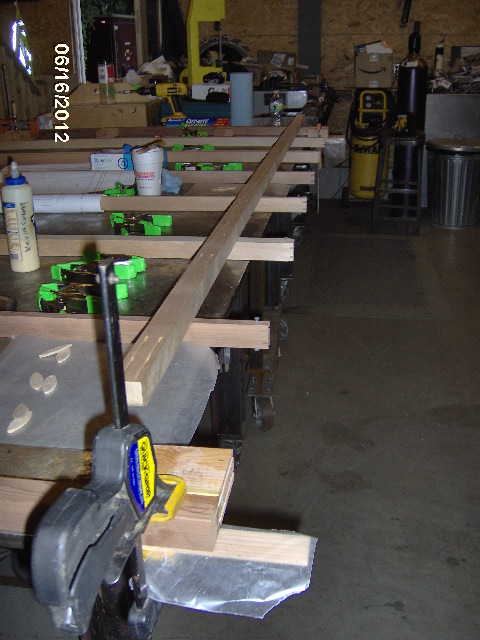
Also note that I have clamped on some ledger blocks to support the stringer while I start the alignment (the wax paper covered stick sticking out near and far). I even added the screws to the top and bottom of the xmbrs, ready for the spring clamps. Can you see what is missing?
After starting the glue up and beginning to worry if the glue would start to skin over before I could get everything coated and joined, I suddenly realized that I had forgotten to pre drill and add the clamp screws to the stringer side of the joint. Doh! Hurry up, finish applying glue, get the biscuits started all at the same time, clamp both ends at the blocking enough to engage all of the xmbrs, align all of the marks, bump them together, grab the drill with drill/driver quick change bit, scramble to pilot the holes, scramble to run around to the back of the bench and get more screws that I had already put away, drive the screws and finally get the spring clamps all on. Whew! Plenty of time. Glue was still wet and got good squeeze out everywhere.
The results of a 10 hr day.
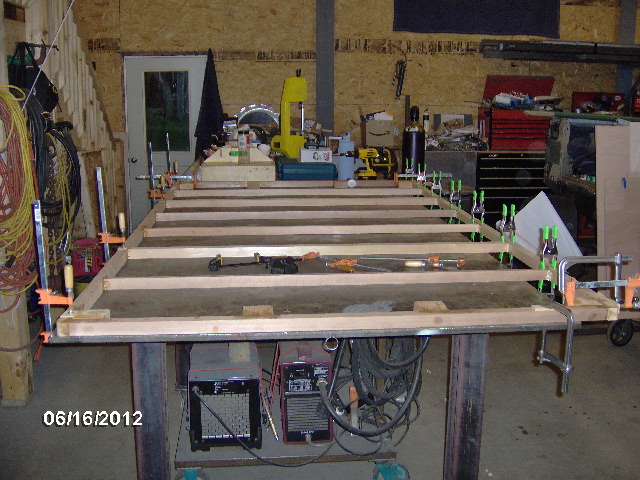
The biscuit joinery went pretty quickly. I haven't ever used a Kregg, but I assume the layout time, clamping in place, and drilling takes at least as much time as the biscuit jointer. The huge advantage that I see the biscuit jointer having over the Kregg is that with the biscuits I can put a screw in anywhere I want without having to worry about hitting another screw.
Some more observations about the cedar: it is a pleasure to work with and the feather weight continues to impress. No regrets, worth every penny.
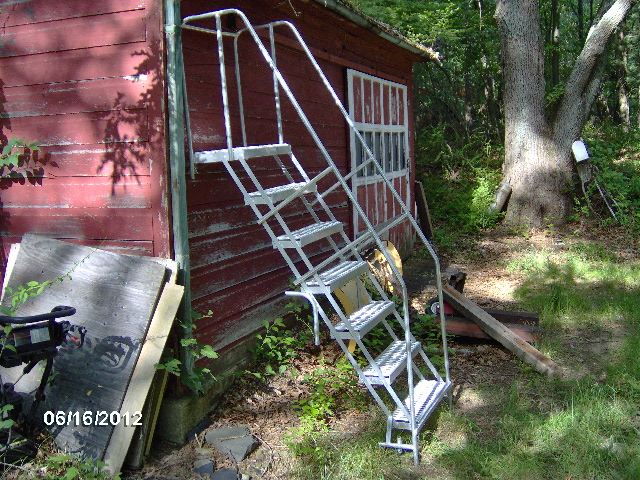
OT - Here's a pic of the aluminum stairs leaning against Karl's old shed barn for perspective.
