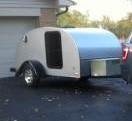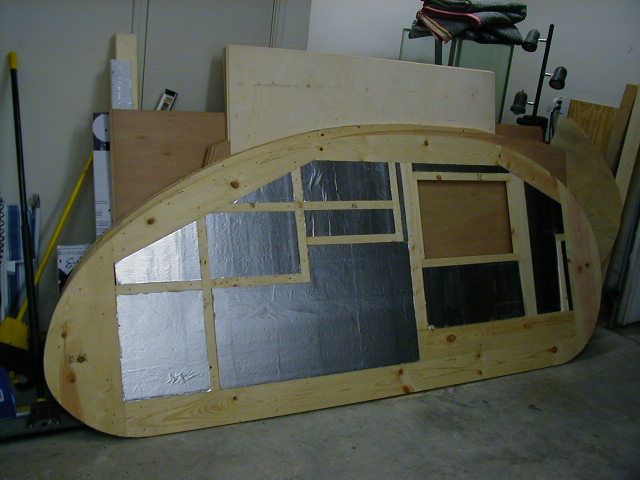
As I plan my 4' x 8' Benroy-style trailer build on a Harbor Freight frame, I'm taking into account my limitations in skills for fabricating things. Currently I'm preparing to create the sidewalls out of 1/4" ply/1" rigid foam/1/4" ply sandwich/composite construction, with solid wood framing inside for structural support.
I know for a fact I will never cut 4 sheets of plywood separately and maintain the same profile on all of them. I haven't seen it mentioned anywhere so far, but is it feasible to expect I can clamp/screw all 4 sheets of 1/4" plywood together, draw out the profile, and cut them all at once? Or was it a given that is how it is done anyways.
Thank you.
Teardrops n Tiny Travel Trailersor t n ttt for short (tnttt.com) |
Cutting Symmetrical Side Walls
19 posts
• Page 1 of 2 • 1, 2
Cutting Symmetrical Side Walls
![]() by shootr » Mon Jul 02, 2012 6:11 pm
by shootr » Mon Jul 02, 2012 6:11 pm
-

shootr - Silver Donating Member
- Posts: 236
- Images: 8
- Joined: Mon May 28, 2012 10:38 pm
- Location: Mesa AZ
Re: Cutting Symmetrical Side Walls
![]() by Woodbutcher » Mon Jul 02, 2012 7:25 pm
by Woodbutcher » Mon Jul 02, 2012 7:25 pm
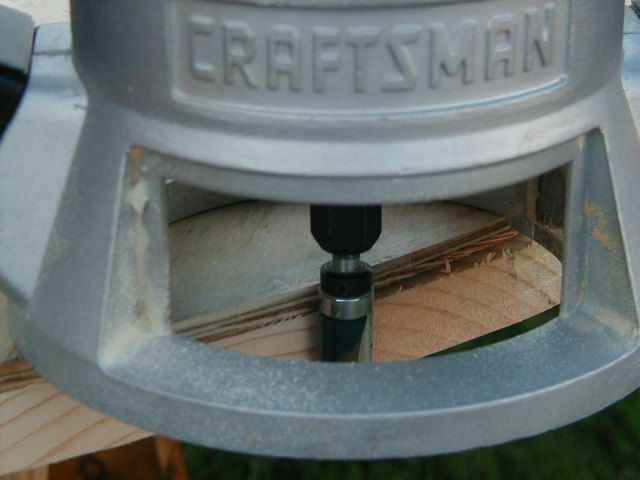
I would suggest making the inner frame work first. Match both to each other. Then attach your skins and trim off the excess with a flush bit (with bearing) in your router. It is easier to use 3/4" plywood for the sides. Much less work and after you make 1 piece to your profile you can match the other using the flush bit. Just a thought.
-

Woodbutcher - Platinum Donating Member
- Posts: 4191
- Images: 45
- Joined: Fri Mar 10, 2006 10:01 pm
- Location: Chicago Suburbs